SGF Connections
A Connection is a stitching point that the Snap framework uses to join rooms together
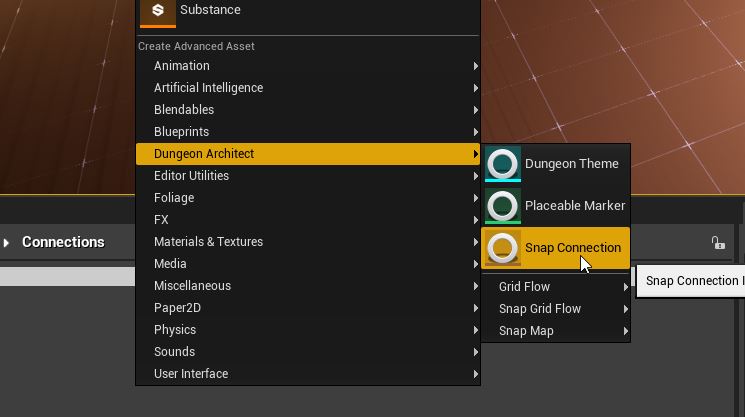
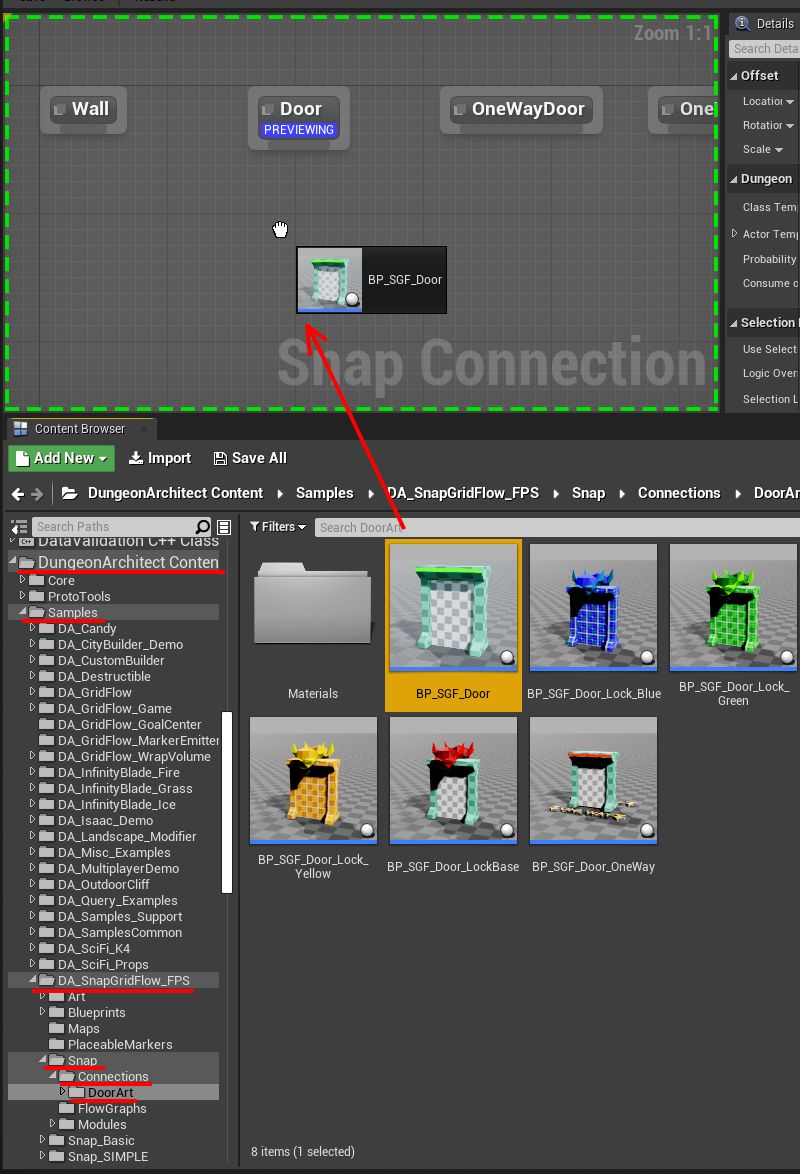
Create a Connection Asset
Create a new Snap Connection asset in the content browser

Connection Editor
Double click the newly created asset to open up the Snap Connection Editor
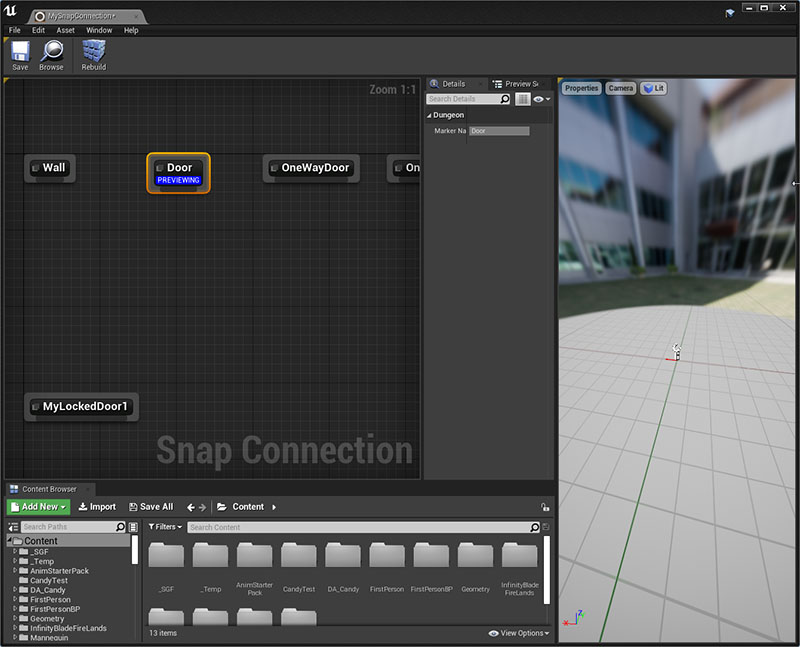
In this editor, you will drop in your door and wall blueprints and link them up.
Setup Door Asset
There's a simple Door blueprint that comes bundled with the samples. We'll use that here, however, feel free to use your own door blueprints
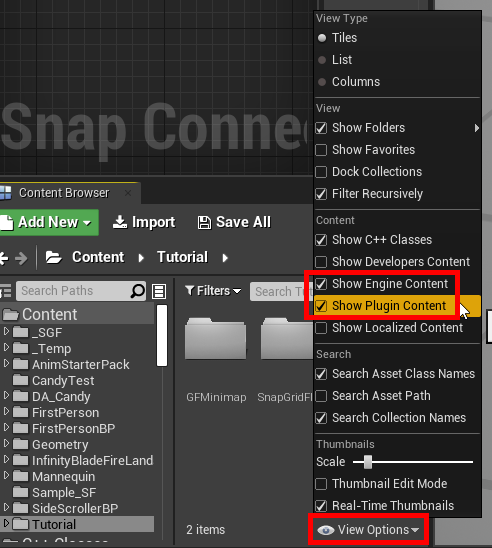
To access the plugin's sample contents, enable it from the Content Browser's View Options
Navigate to Dungeon Architect Content > Showcase > Legacy > Samples > DA_SnapGridFlow_FPS > Snap > Connections > DoorArt and
drag-drop the BP_SGF_Door asset to the graph
Link them up with the Door marker node
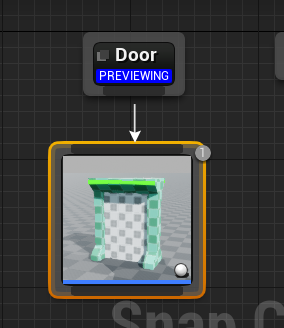
Click the Door Marker node and make sure the blue PREVIEWING message is shown. This will allow you to preview
everything under this node in the 3D viewport

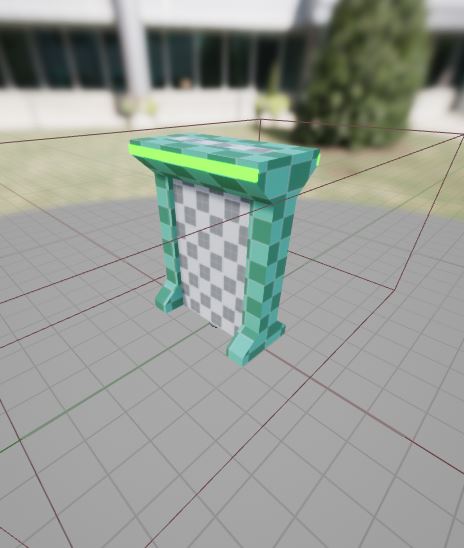
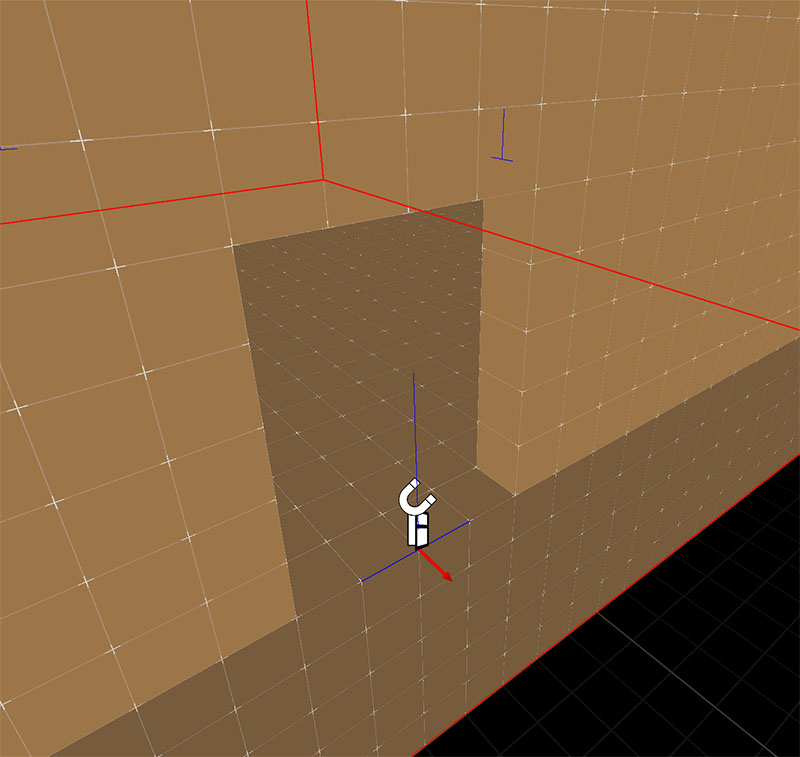
Have a look at the preview viewport, and you'll see that the orientation is incorrect, the red arrow should point away from the door/wall, (we can't see the red arrow as it is inside the door)
Select the Door Node and rotate it by -90 degrees along Z
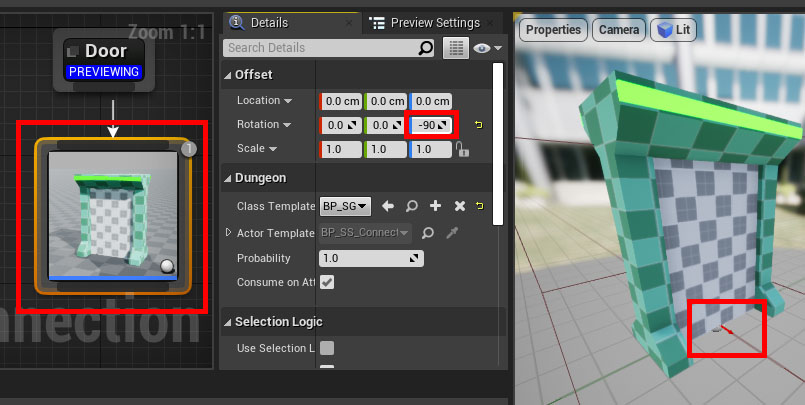
Make sure the red arrow is aligned correctly as shown in the image above
Our door setup is complete.
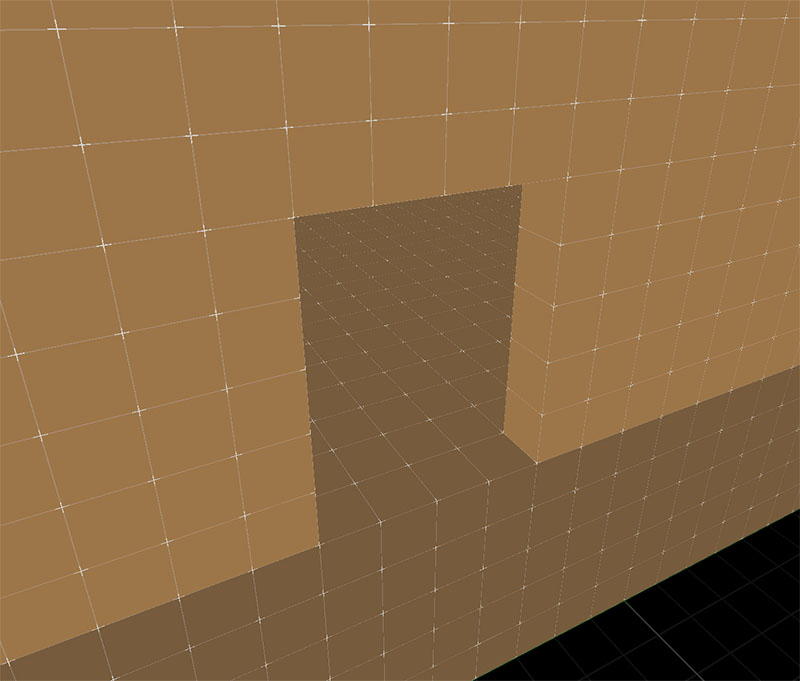
The door asset is 400 units wide and 500 units tall. This will nicely cover up
the connection gaps we created in the module in the previous section
Setup Wall Asset
While building the dungeon, if there's nothing stitched on the other side of a connection, it will be walled off
with the asset you provide under the Wall marker node
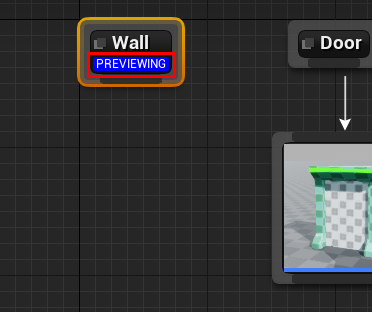
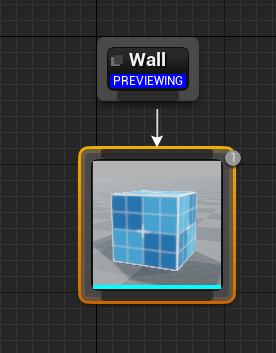
Select the Wall marker node so we can preview its content in the 3D viewport (make sure you see the
blue PREVIEWING message)
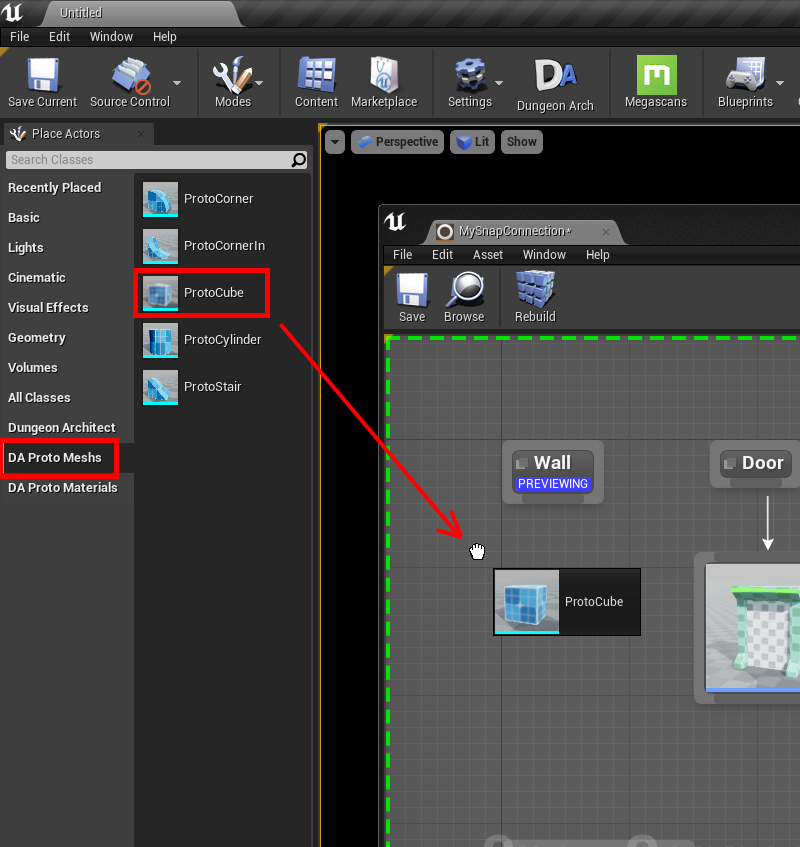
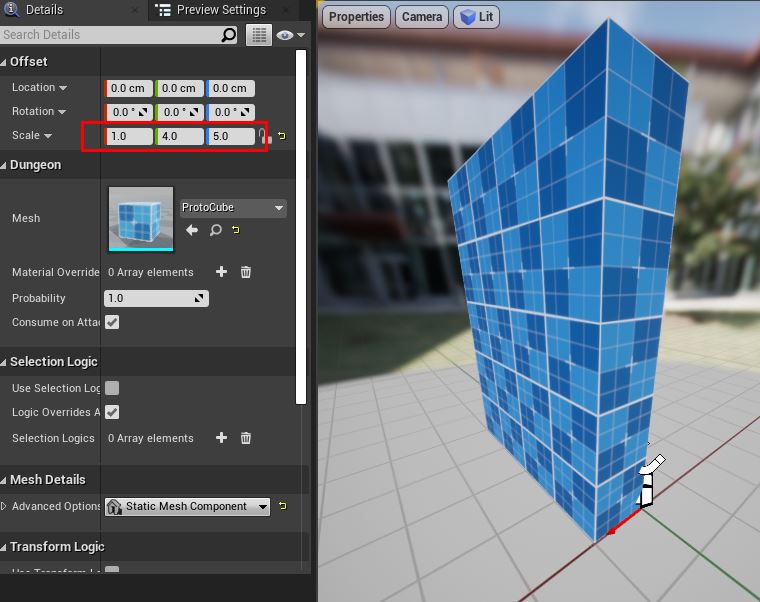
For the wall mesh, we'll use a Proto Cube mesh that comes bundled with Dungeon Architect
(feel free to use your own asset)
To do this, resize the connection editor window a bit and drag-drop the ProtoCube mesh from the main level editor
window on to the connection editor
Connect them up
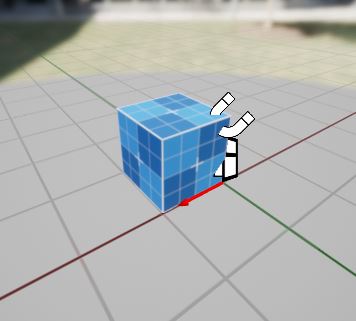
Have a look at the 3D preview viewport
We need to scale this mesh so that it is 400 units wide and 500 units tall
(since that's the gap we've left near the connections on our module design)
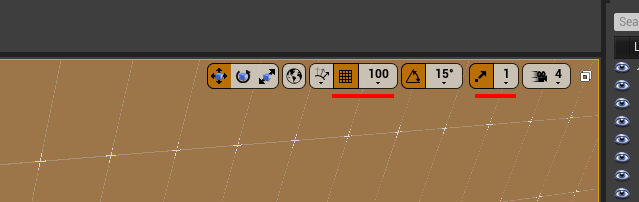
The cube mesh is 100x100x100 units in size, so we'll set the scale to (1, 4, 5)
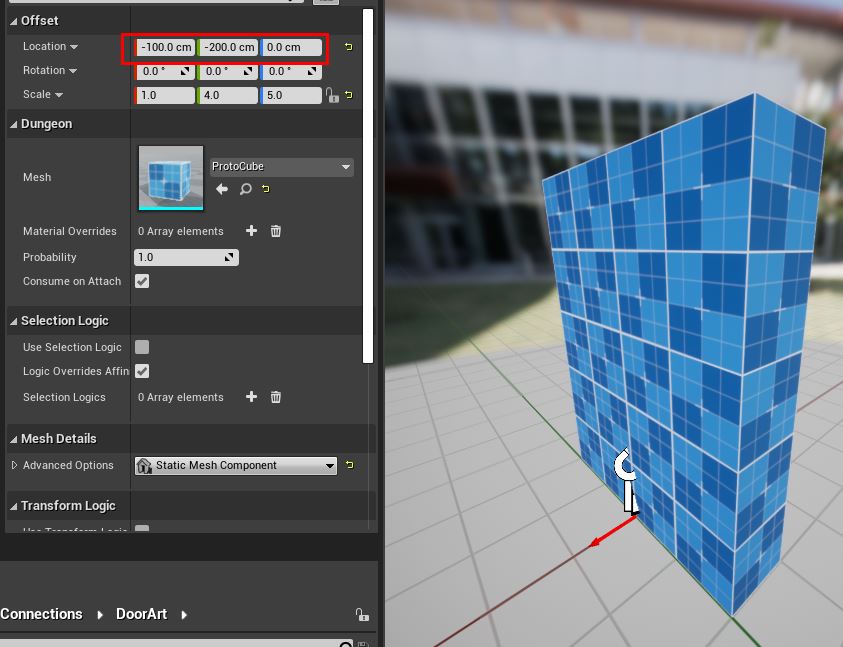
The wall should be moved appropriately so that:
- The red arrow is at the bottom-center of the wall
- The wall should be behind the red arrow's origin point
Set the Location to (-100, -200, 0)
The wall setup is complete
Setup One-way Door Asset
Some doors will be promoted to one-way doors. This is done so that the player doesn't bypass a locked door and enter through another nearby door
You'll need to provide a blueprint that opens only from one way. We'll use the sample one-way door that comes bundled with the plugin
Navigate to Dungeon Architect Content > Showcase > Legacy > Samples > DA_SnapGridFlow_FPS > Snap > Connections > DoorArt and
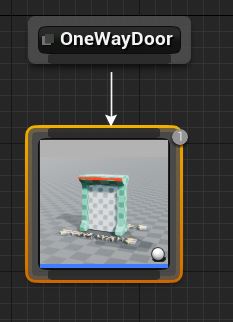
drag-drop the BP_SGF_Door_OneWay asset to the graph

Link it to the OneWayDoor marker
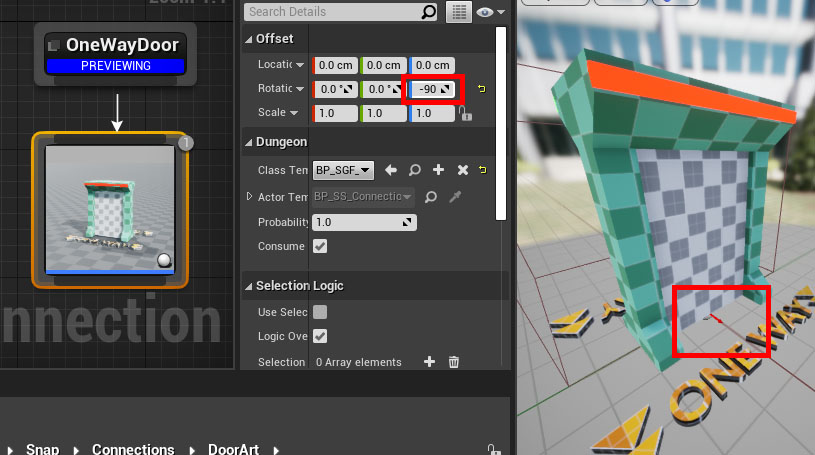
Select the OneWayDoor marker node to preview its contents in the 3D viewport
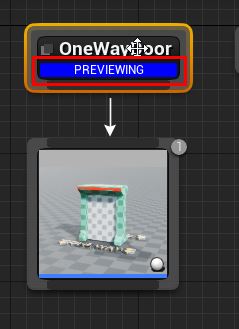
The orientation of the door is incorrect. Rotate along Z by -90 so the red arrow points in the
correct direction of the door
The one-way door setup is complete
Save the Connection Asset
Place Connections on Modules
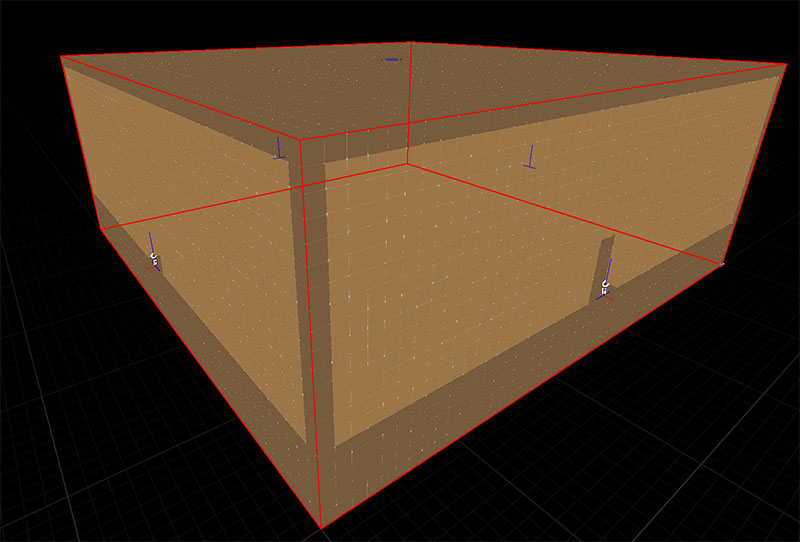
Open up the Module map file we've created earlier
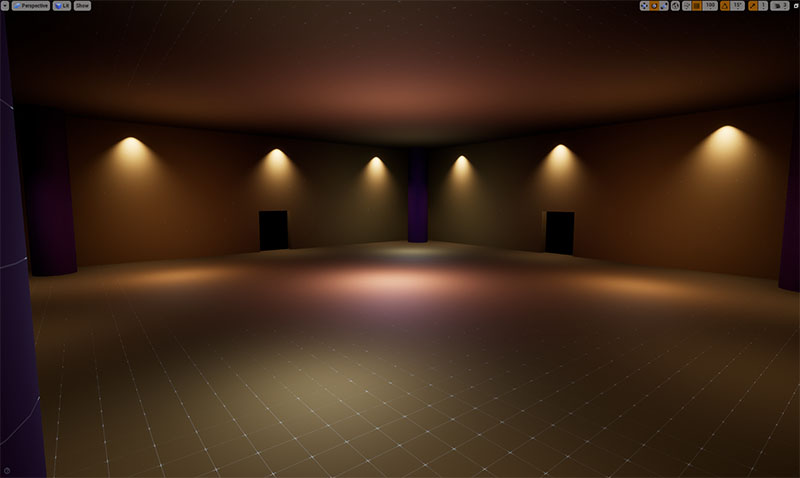
Switch to unlit mode and in the level viewport, move to one of the connection opening we've created earlier
Make sure your snap settings are enabled, so that it is easier to align the objects
Drag and drop the Connection asset on to the scene, somewhere near the door opening
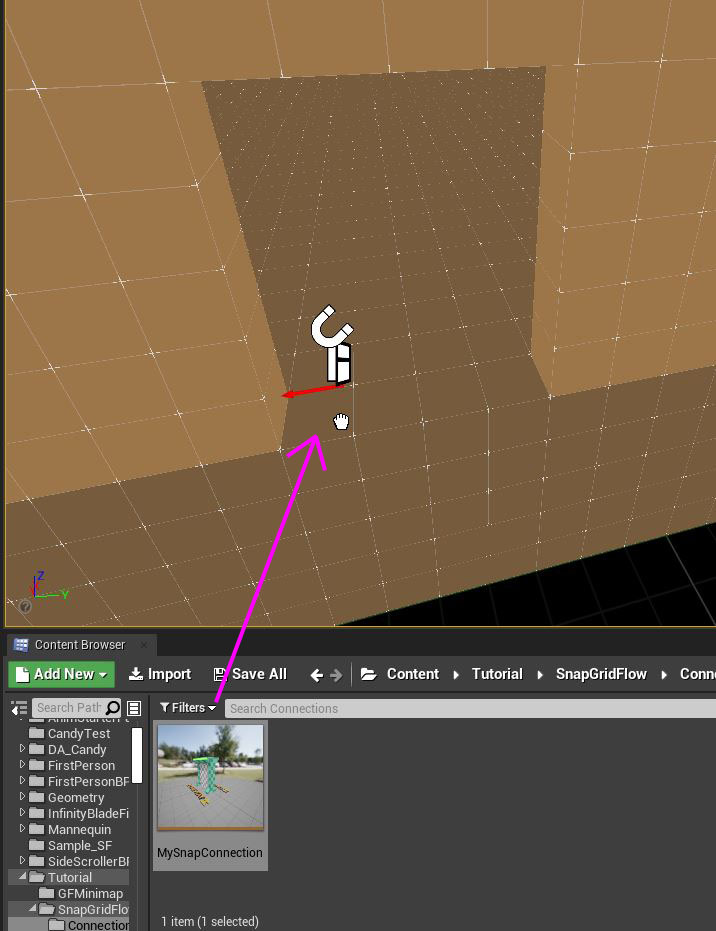
Select the connection actor that was just created and move it to the bottom-center of the door opening (the origin of the red arrow should be at the blue door indicator)
Also, rotate it so that the red arrow points outwards, as shown in the image below
Repeat these steps for all the four door openings