Design your first Theme
A theme file lets you map the different assets (meshes, blueprints, lights etc) used to populate your dungeon.
When a dungeon is built, it does not spawn any meshes. Instead, it scatters invisible points called Markers all around the
map (e.g. Wall, Ground, Door etc.) where ever they are expected.

The theme engine then runs and spawns any meshes/blueprints you specify under these markers
In the previous section, we created a dungeon with an existing theme file. In this section, we'll create one ourselves
Create a Theme File
Right click on the Content Browser and choose Dungeon Theme
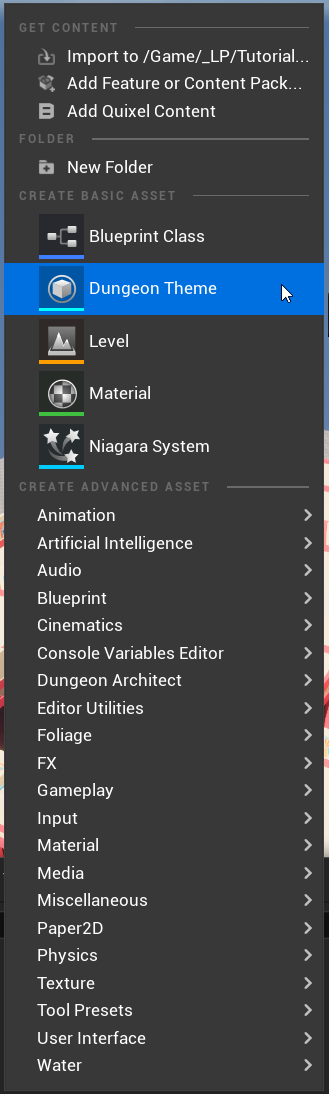
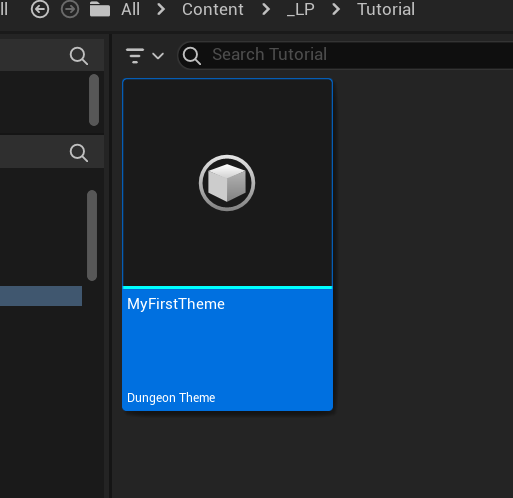
This will create the Dungeon Theme asset. Double click it to open the Theme Editor
Assign Grid Size
We'll use modular assets to populate our dungeon. As with any modular assets, they need to have a consistent size, so they all fit together nicely. You'll specify the grid size in the dungeon properties.
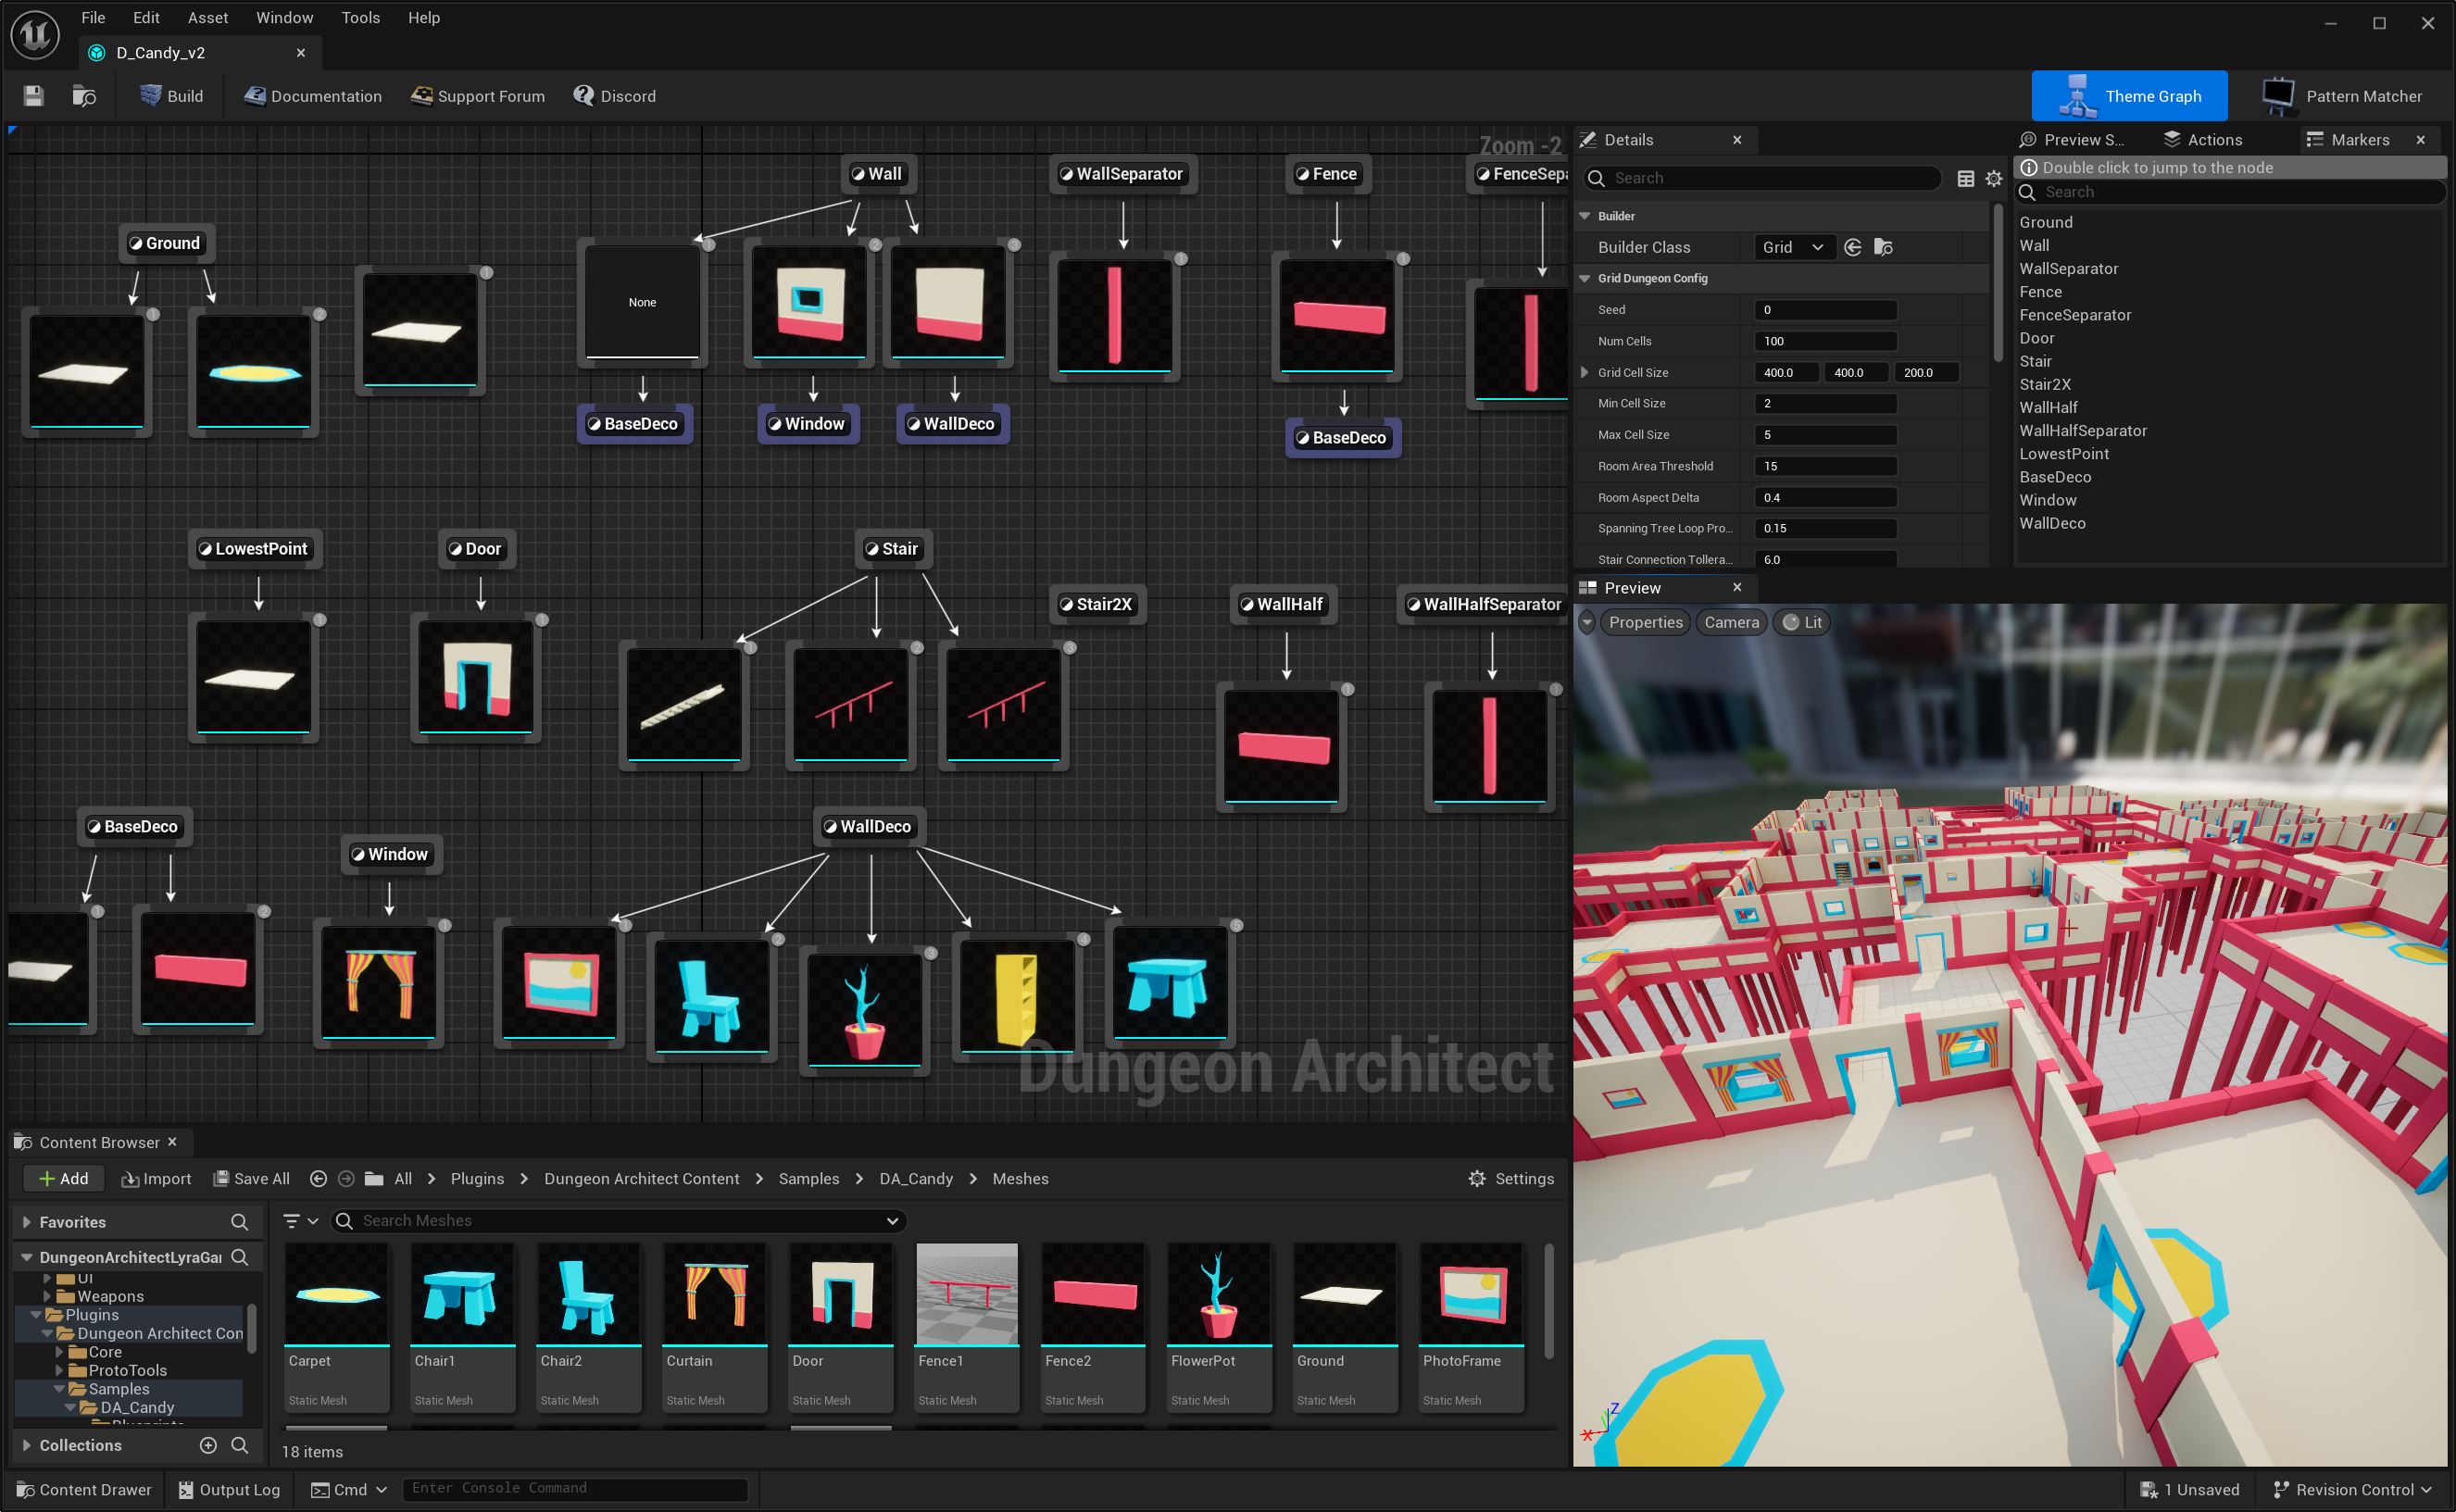
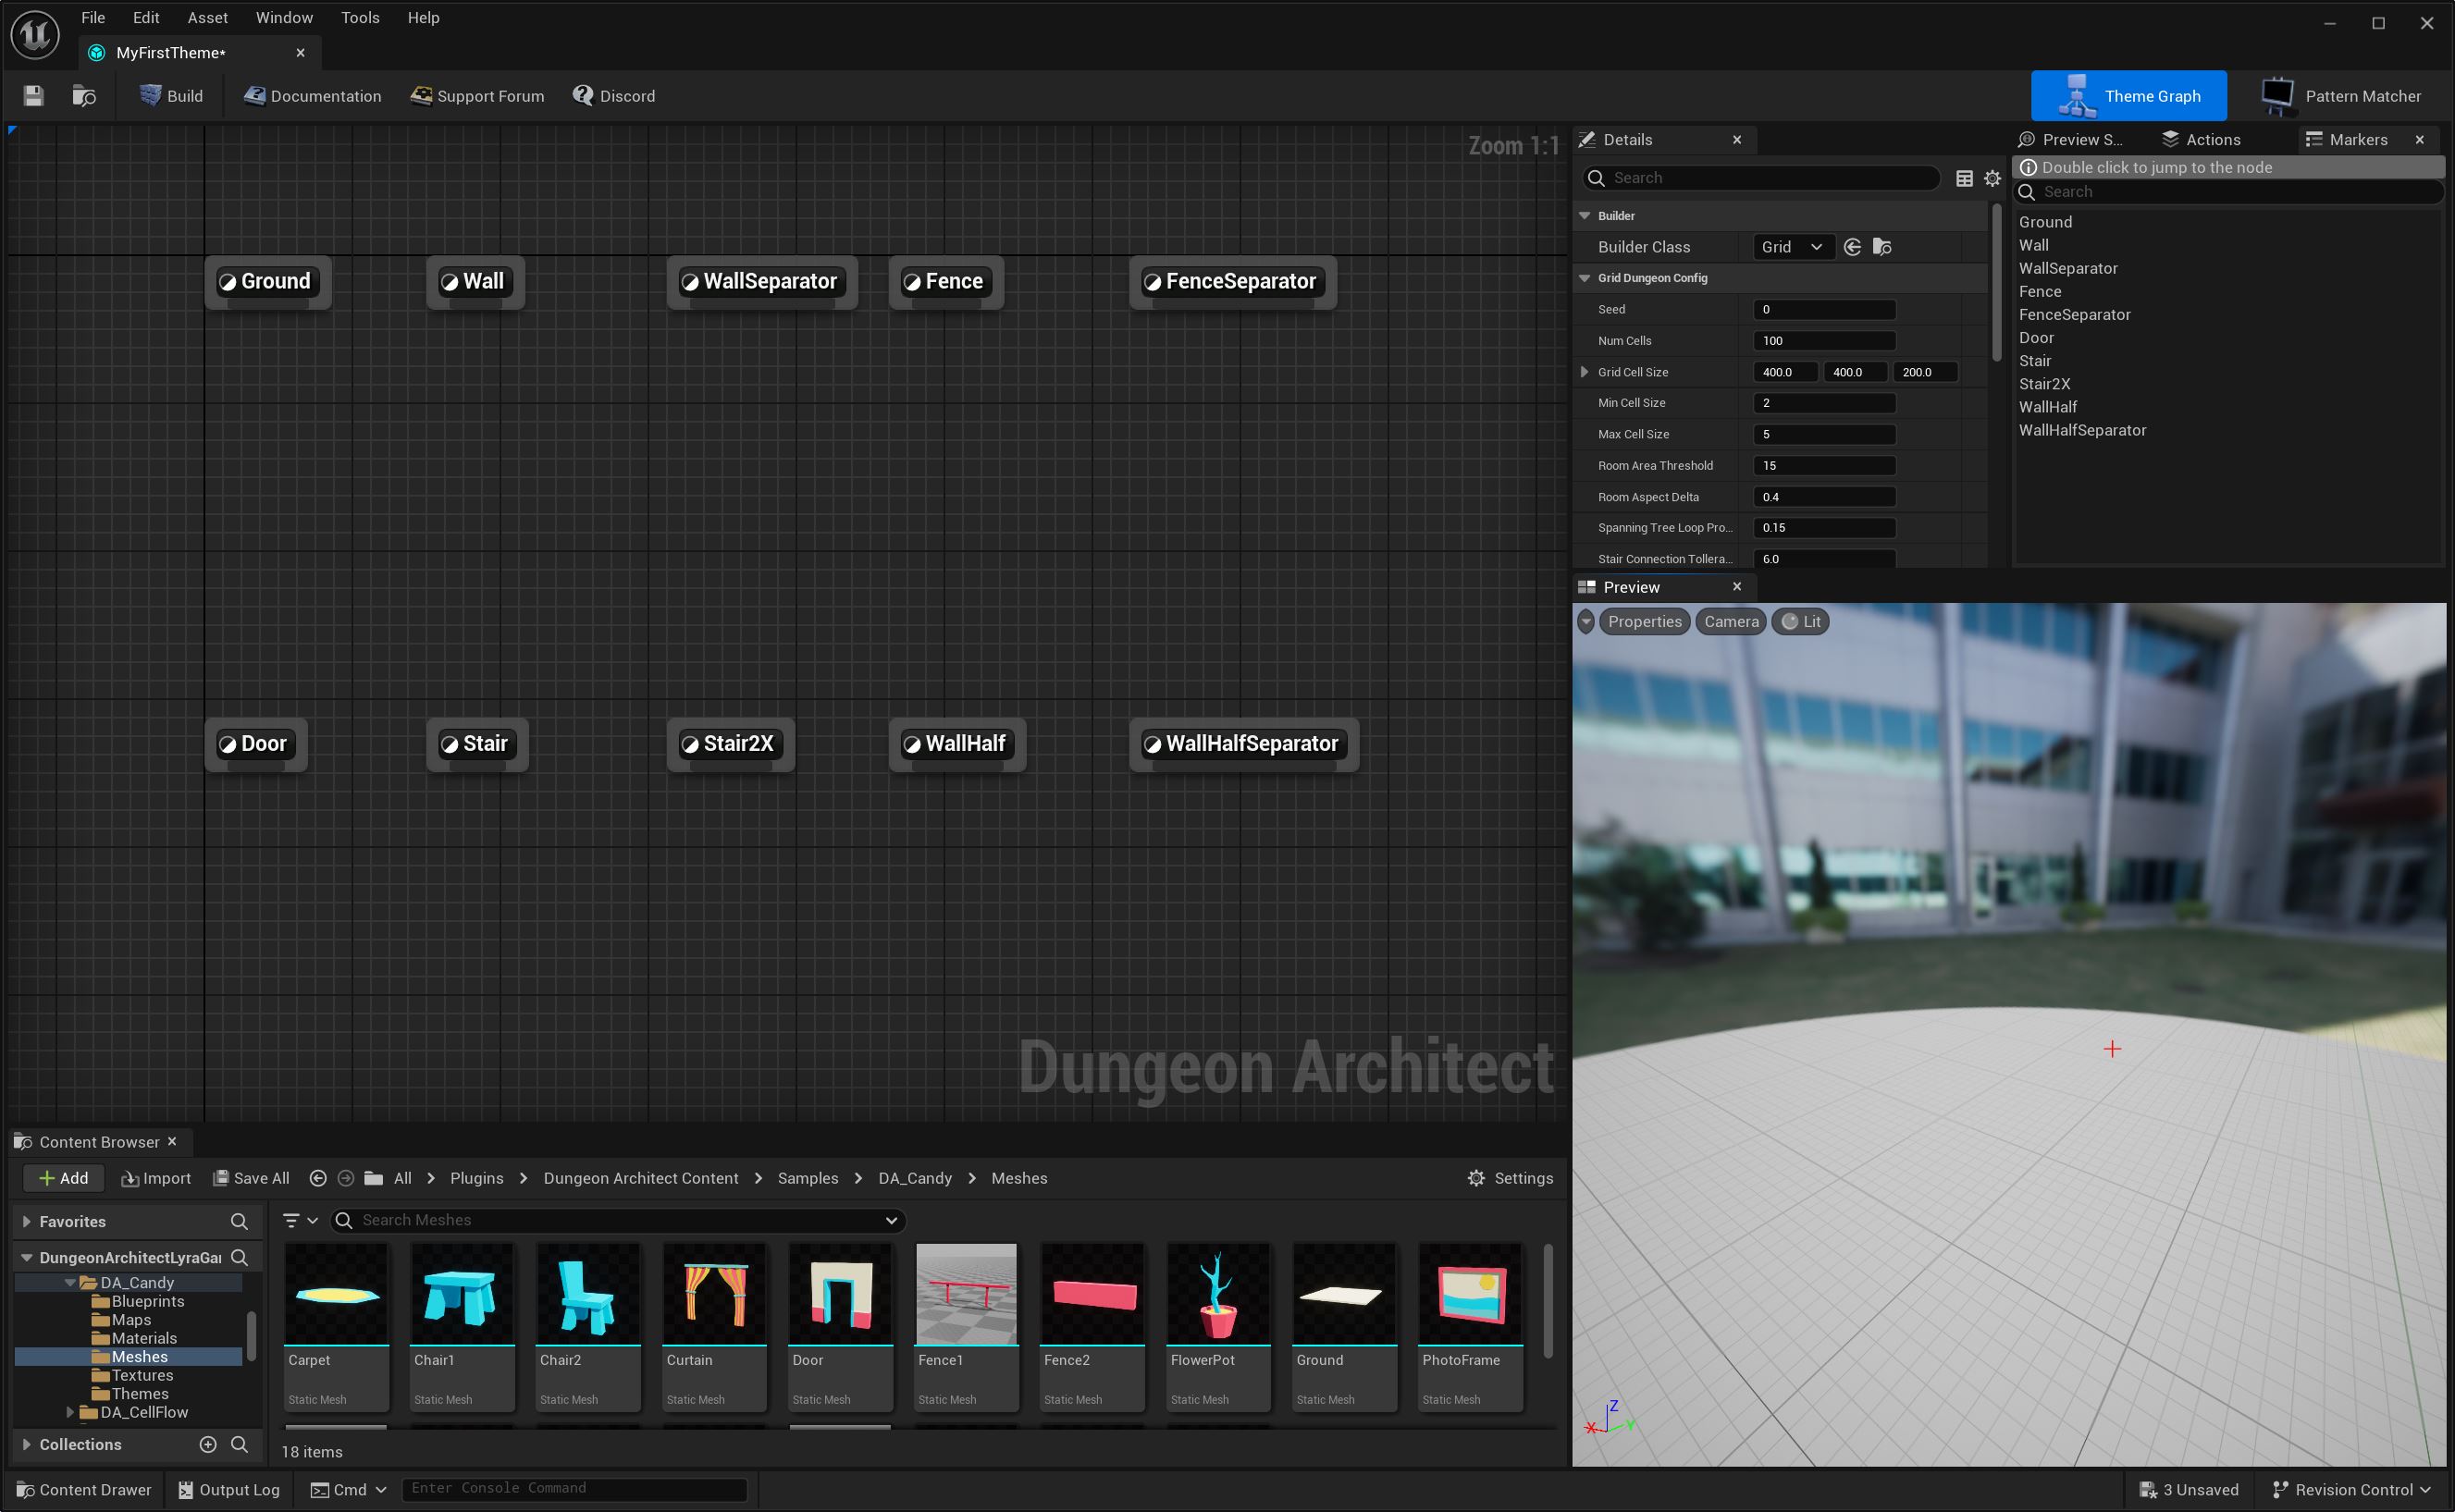
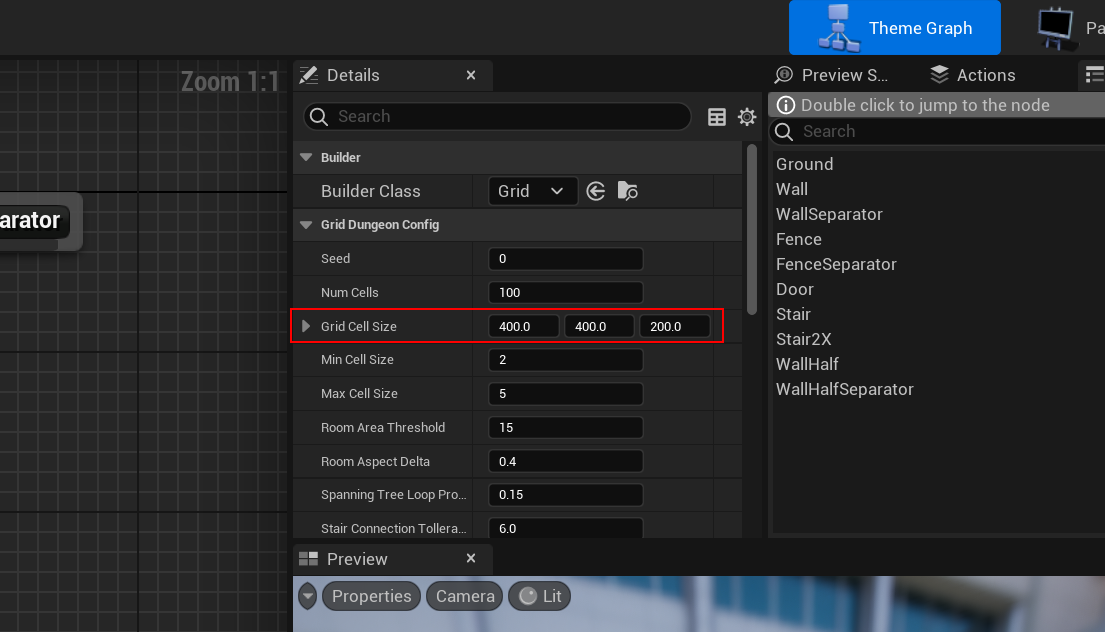
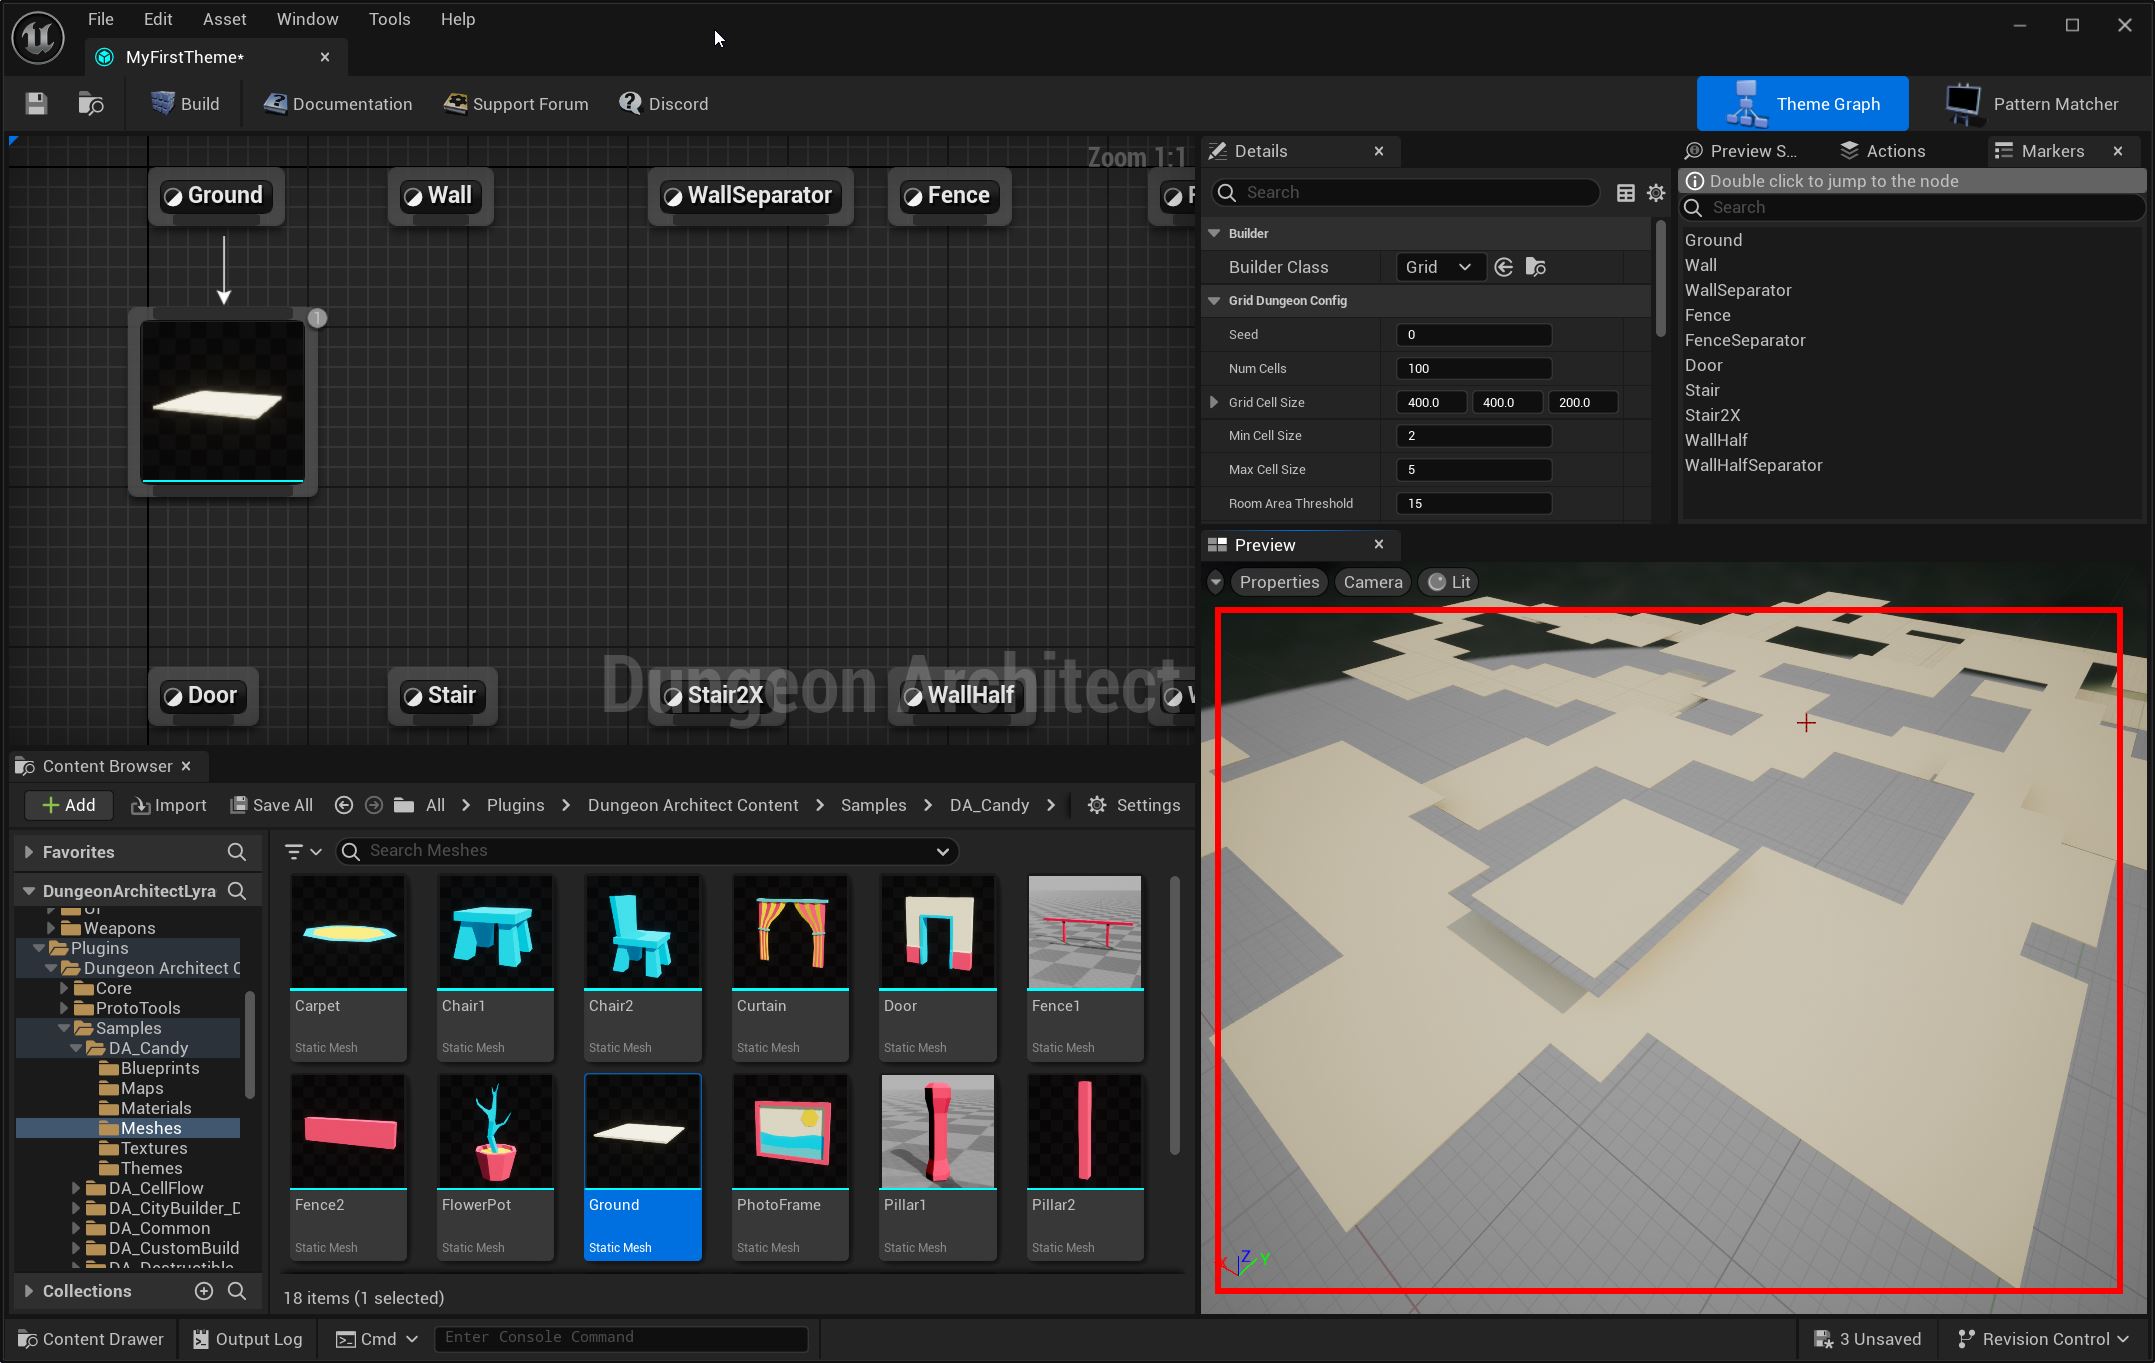
With the theme editor open, click on an empty area of the graph and inspect the details panel
The default grid size is (400, 400, 200). Leave this to the default for now, but you'll need to set this to the size
of the modular art asset being used in the theme
If you change this, you'll need to set this in the level editor's dungeon actor properties as well while building the dungeon
Use Sample Assets
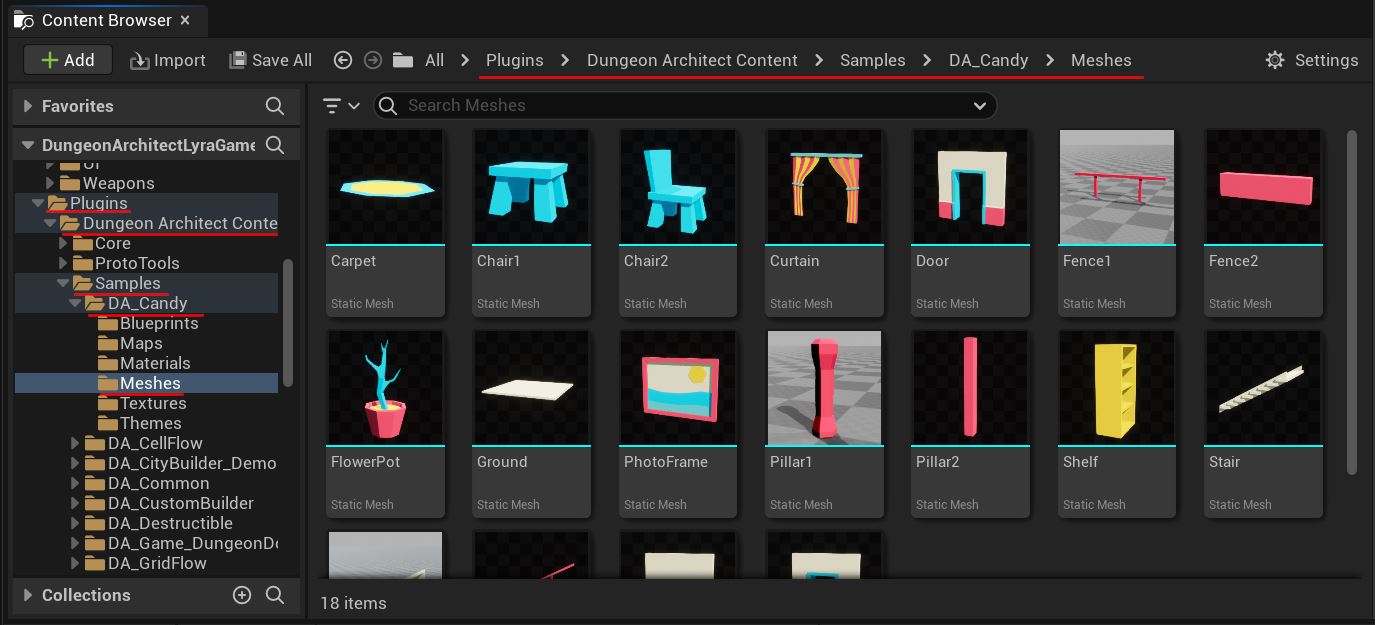
In the Content Browser, enable plugin contents, so we can use sample meshes that come with the plugin to design our theme
You can use any asset you like, but for this tutorial, lets stick with the sample assets
Navigate to Dungeon Architect Content > Showcase > Legacy > Samples > DA_Candy > Meshes. This folder contains a set of meshes we can use for our dungeon
Add Ground Mesh
Drag-drop the ground mesh on to the Theme Editor
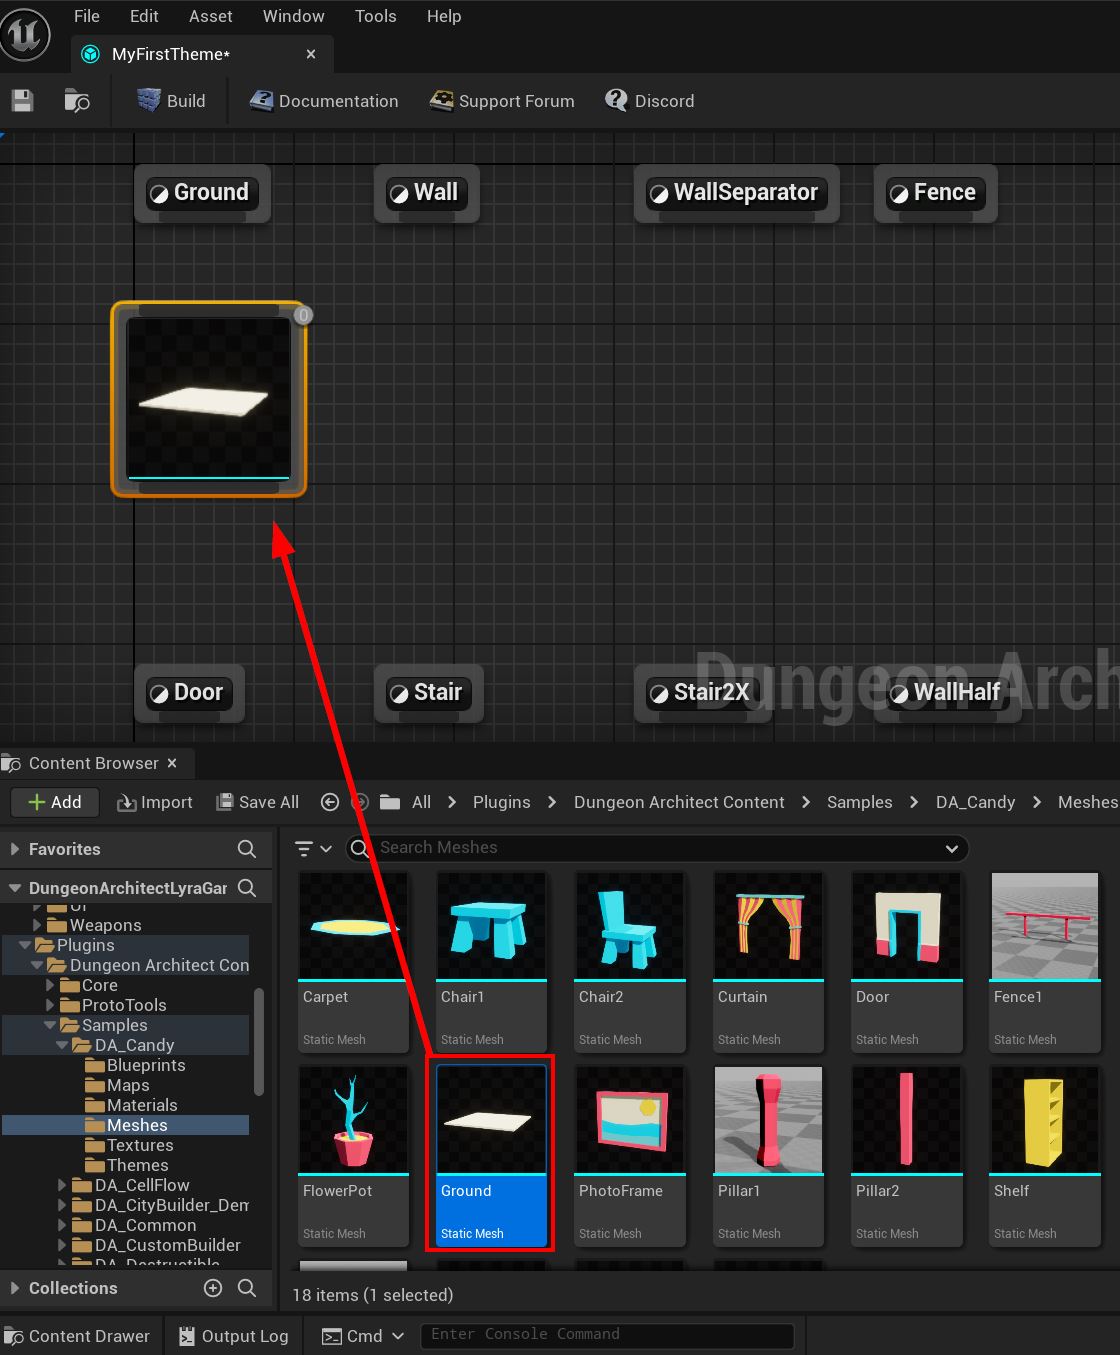
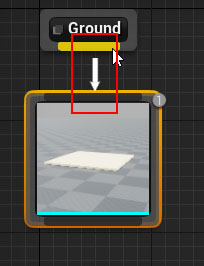
Link up the mesh node with the Ground marker node. When you do, you should see a live preview on theme editor's Preview Viewport window
Add More Meshes
Go ahead and add more meshes under the following markers: Wall, Fence and Door


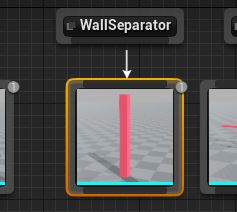
Add Wall Pillars
Drag drop the Pillar2 mesh to the theme editor and link it to the WallSeparator marker node
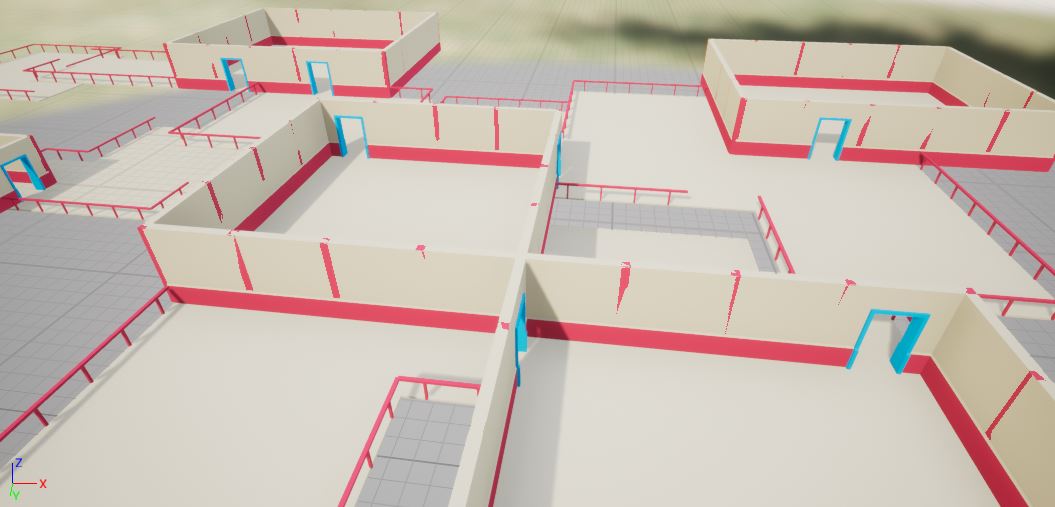
We'll need to make this pillar a bit bigger. Select the node you just dropped and modify the Scale parameter under Offset category
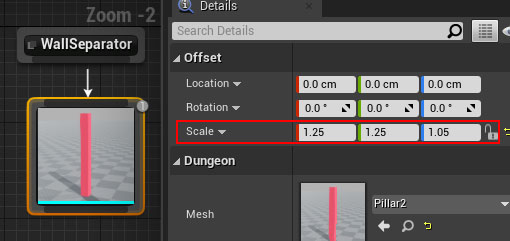
The live preview should update automatically to show the new scaled pillars
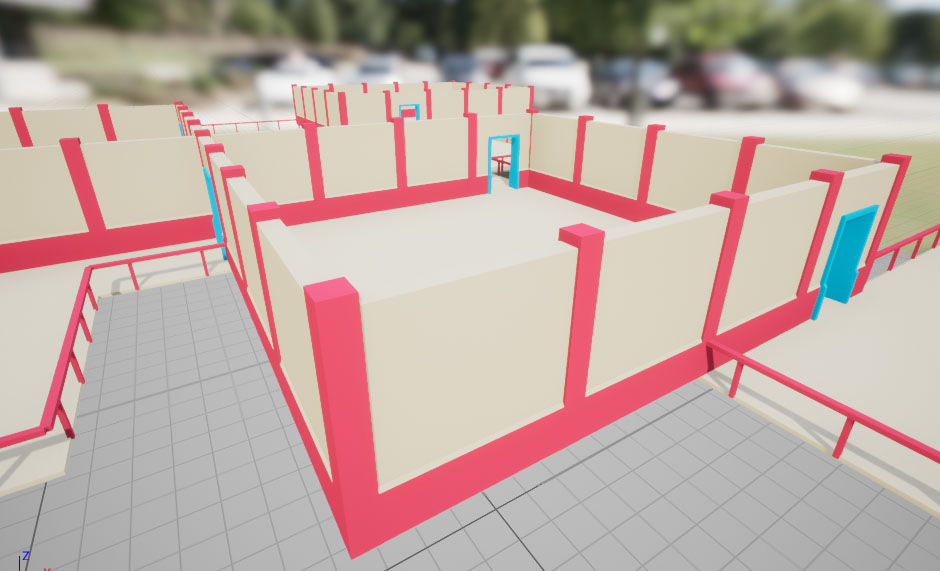
Add Windows
We have two wall meshes in the samples folder

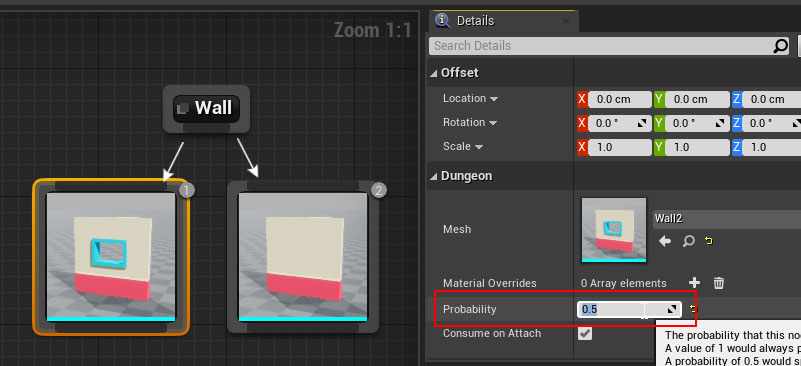
The other one (Wall2) has a window. Lets configure the theme to sometimes use this second mesh, so we can have some windows
Drag drop Wall2 mesh on to the theme editor and place it before (left of) the existing wall mesh node
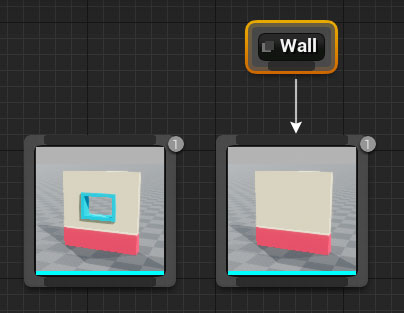
Link them up. The execution index should get updated, indicating their execution order
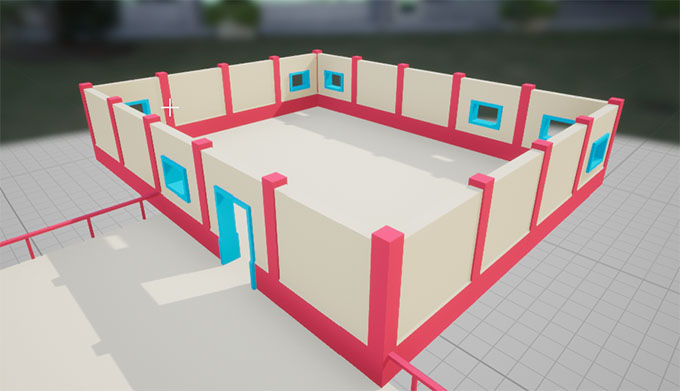
Notice that the first node has been picked up and all the walls have been replaced with the windowed version
This is because Dungeon Architect starts executing the nodes from left to right. When the condition was satisfied to pick the first node, it stopped execution and never came to the second node.
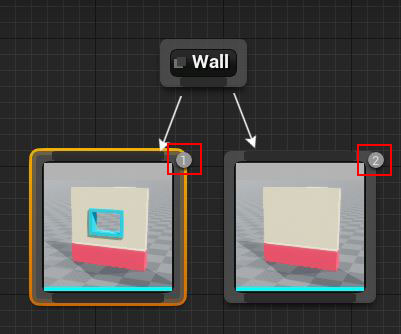
There are multiple ways you can control this condition, the simplest being adjusting the probablity of selection.
Select the node you just dropped and change the probability to 0.5 (this would mean it gets selected 50% of the time). The other 50% of the time, it would not be selected and the execution would then move to the next node, and hence selecting the non-windowed wall node
Add Wall Decorations
There's a photo frame mesh we'd like to attach to every wall. Drag drop this mesh to the theme editor before the two existing wall nodes and link it to the Wall marker node
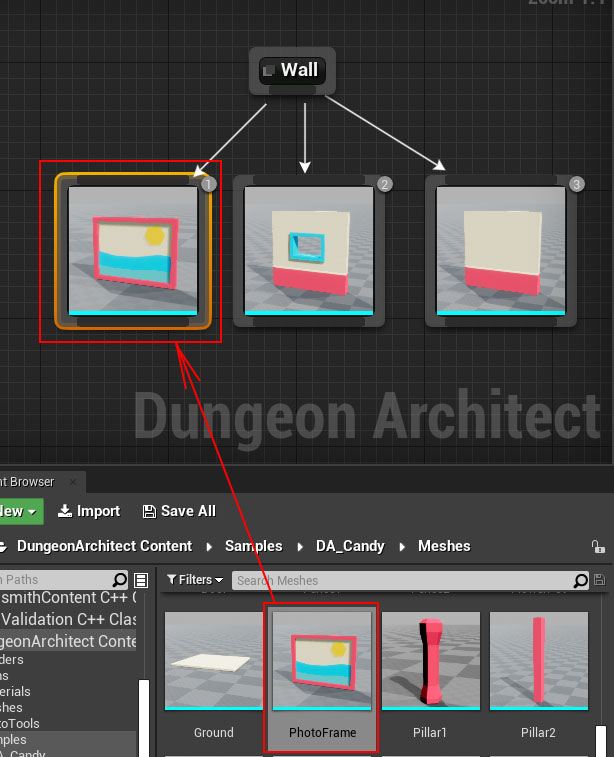
This will cause all the walls to disappear and be replaced with this photo frame
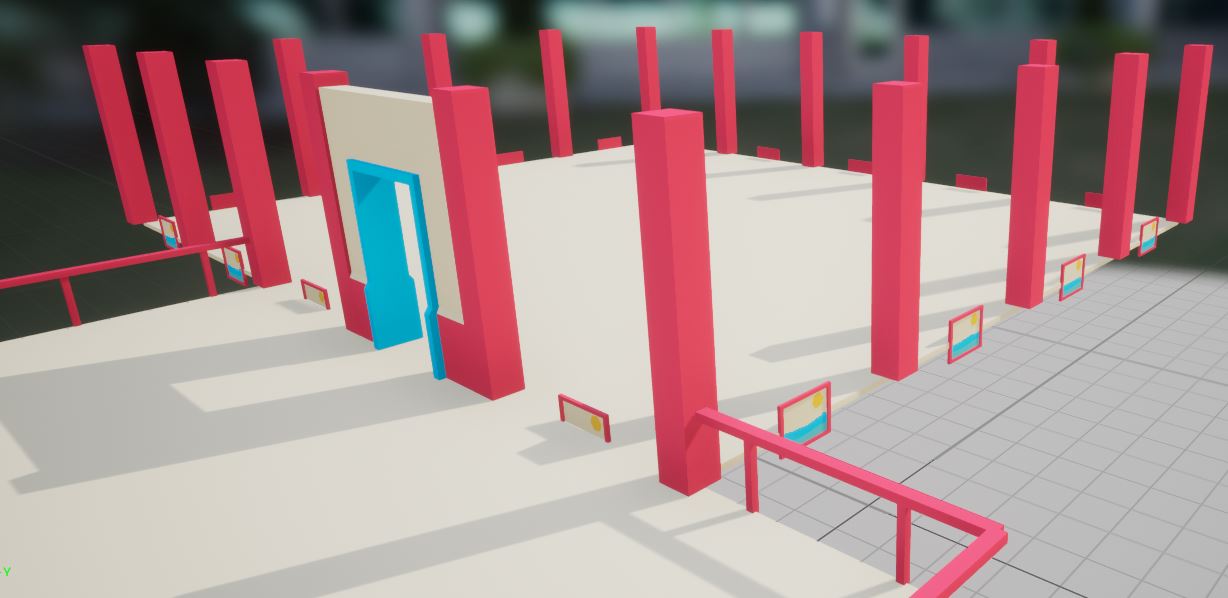
This is because once the photo frame node was selected, the execution stopped there and the wall nodes further down the line were not executed.
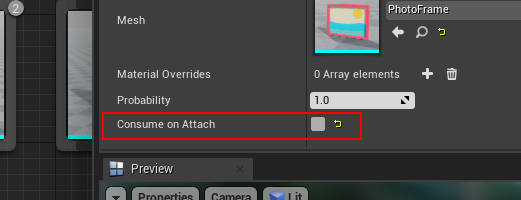
Selected the photo frame and uncheck the flag "Consume on Attach". This will cause the execution to continue further even though this node was selected by the theming engine
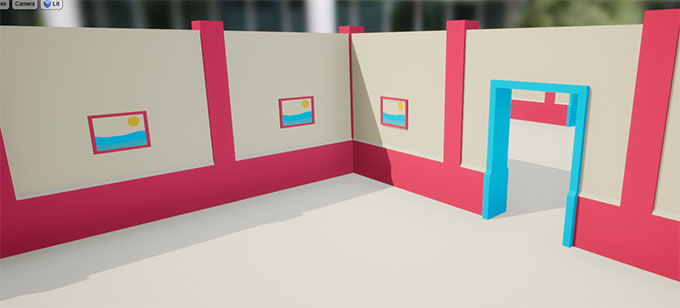
Lets adjust the offset of the photo frame (position and rotation) to make it properly align with the inner walls
Select the photo frame node and change the Offset's Position to (0, -22, 200) and Rotation to (0, 0, 180)

The photo frame is aligned now with the walls correctly
Marker Emitters
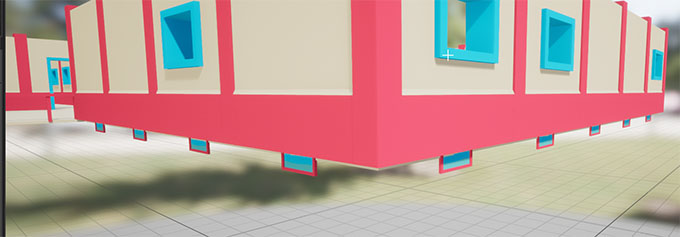
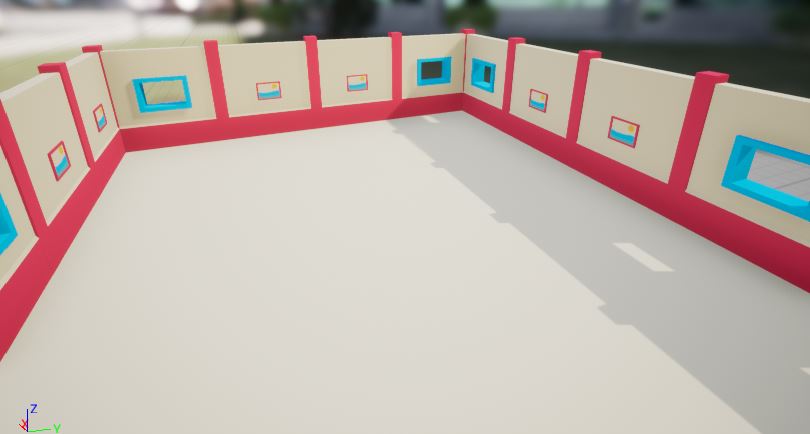
We have an issue with the photo frames. They also spawn near windows
Marker Emitters allow you to emit marker names from any of your dropped mesh nodes. This means, we can define a new marker node (e.g. MyWallDeco) and then emit that marker from the wall node that doesn't have a window (Wall1 mesh). All our wall decorations can now go under this MyWallDeco marker and it will show up only near solid walls
Right click on an empty area in the theme editor and select Add Marker Node
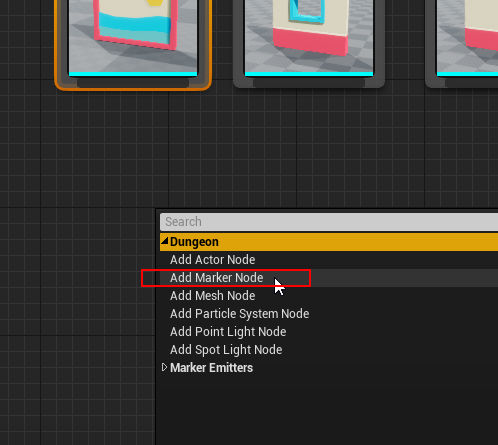
Select the newly created marker node and change its name to MyWallDeco

Break the link to the photo frame
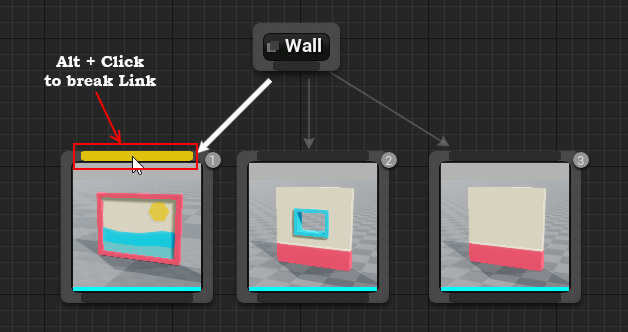
Connect this under MyWallDeco marker node. All the future wall decorations can also go under this marker

Now emit this marker from the wall node that doesn't contain a window
Drag a link out of the bottom of the solid wall mesh node and release the mouse in an empty area
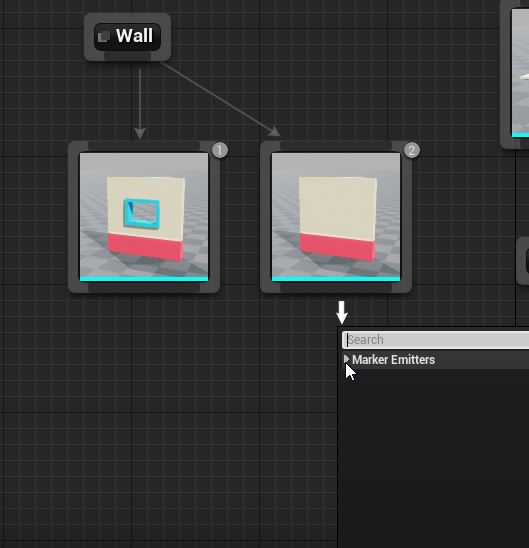
Expand the category Marker Emitter in the context menu and select MyWallDeco
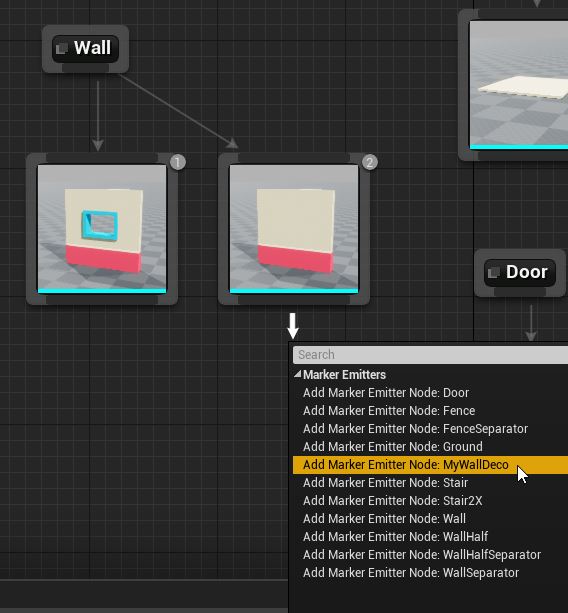
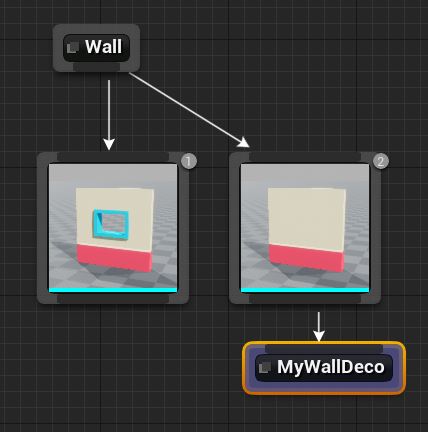
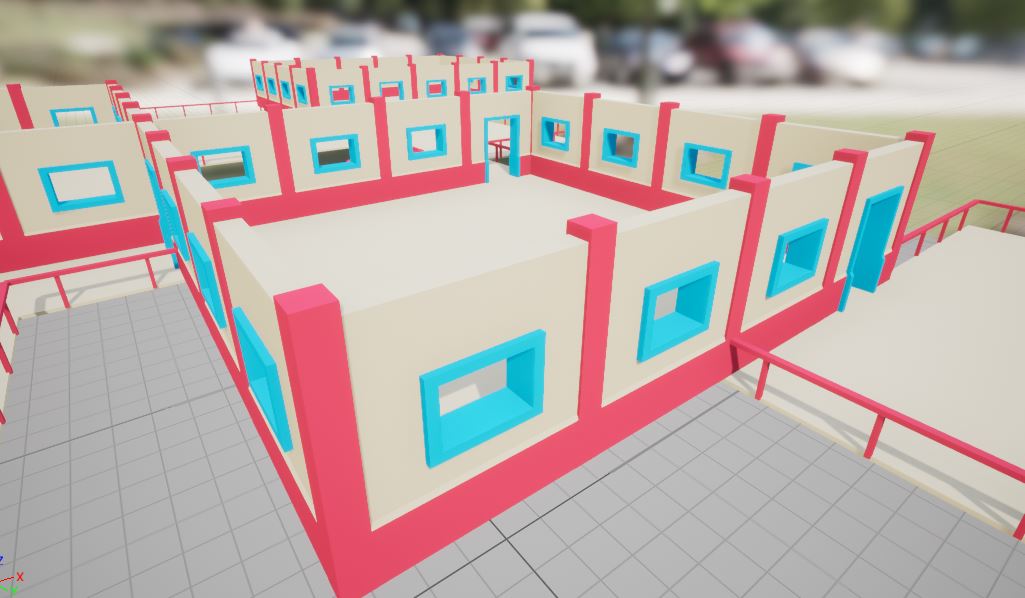
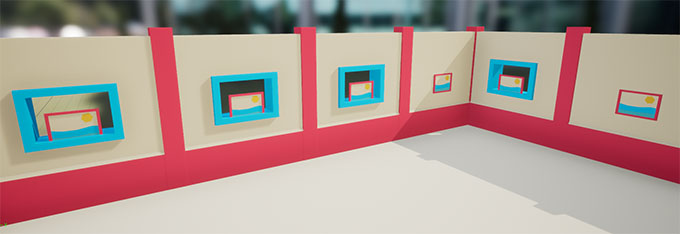
This will cause the marker named MyWallDeco to be emitted in the scene whenever the solid wall node is selected, in which case it would then process the nodes defined under it. Now our decorations don't show up near windows
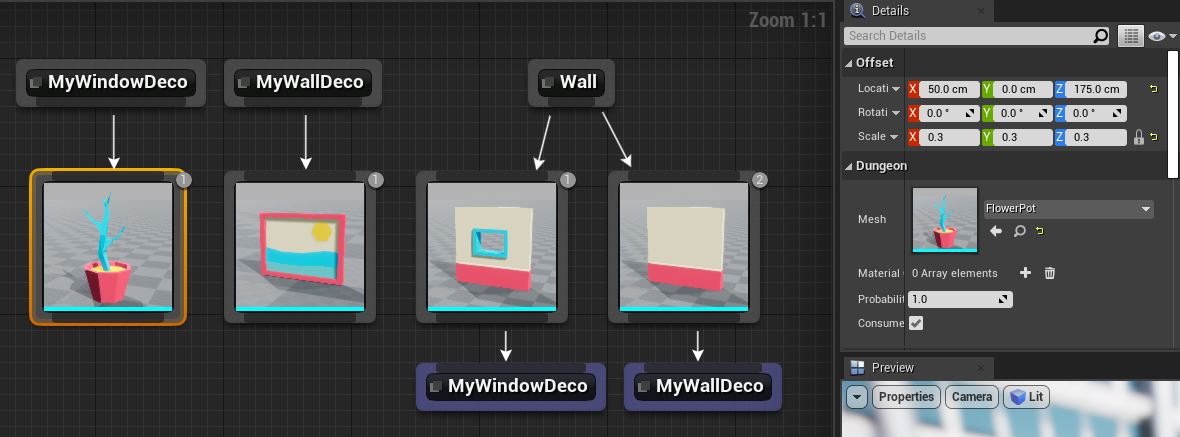
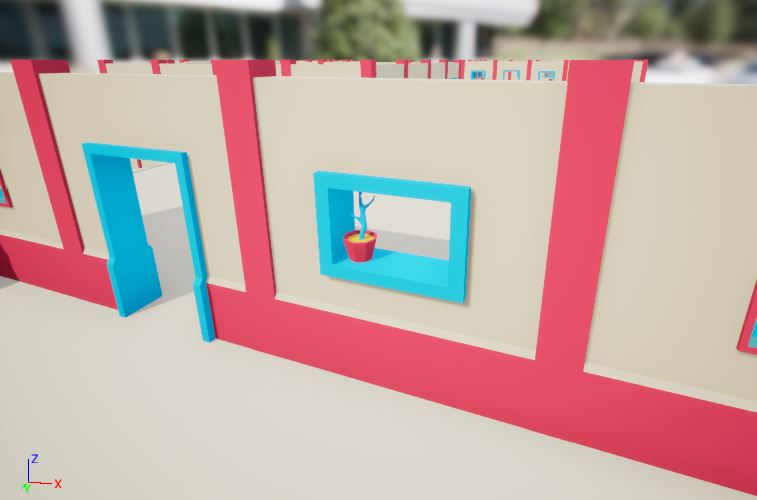
You can follow the same method to create another type of decoration (e.g. MyWindowDeco) and emit it from under the windowed wall node. In this example, I've added a flower pot in the windows
Recap
In this section we learnt the following:
- Probablity - Controls the percentage chance of a node being selected. A value of 1 means 100% selection chance. A value of 0.25 means 25% selection chance
- Execution Order - The theme engine executes all the nodes under a marker node from left to right. If it selects a certain node, it stops executing, unless the
Consume on Attachflag is unchecked - Marker Emitters - You can create complex hierarchies with your own marker nodes, giving you more freedom to decorate your dungeons