Modules
A room is designed in a separate map file, and it is called a Module
All Modules in the Snap Grid Flow builder have a fixed size called the Chunk Size. Your module size can be in mulitples of this size (e.g. you can create a taller room of size 1x1x2 or a bigger room 3x3x2)
Module Bounds
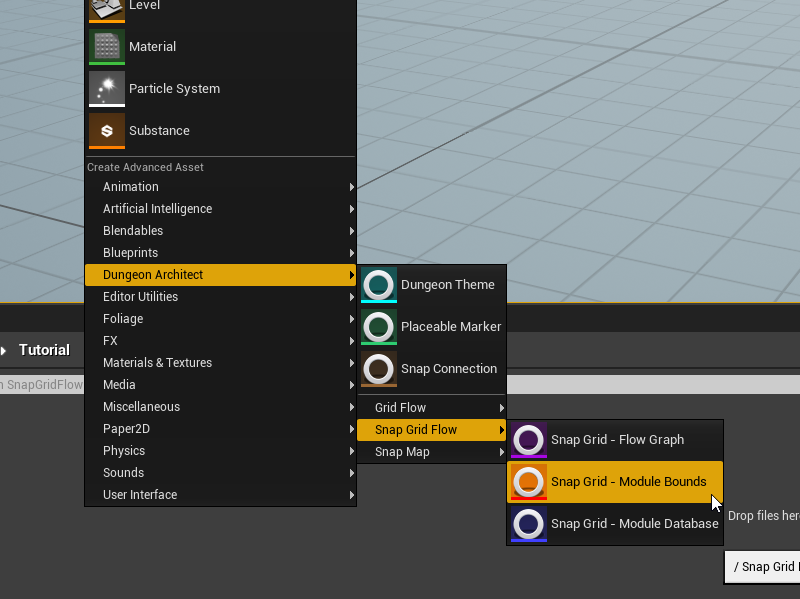
Start by creating a Snap Grid - Module Bounds asset. You will assign a size for your modules here and use it while designing the modules
Right click on the Content Browser and create the Snap Grid Flow Module Bounds asset
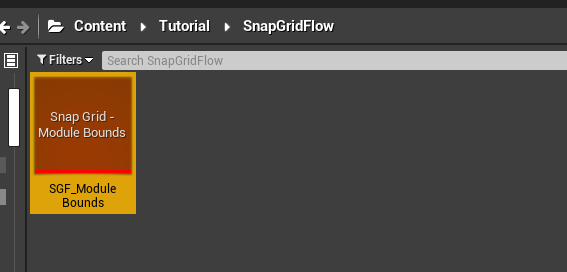
Double click the asset to open the editor
Set the
Chunk Sizeto something like(5000, 5000, 2000). TheXandYhas to be the same if you want your modules to support rotation. In this case, we've provided5000for bothSet the
Door Offset Zto500.
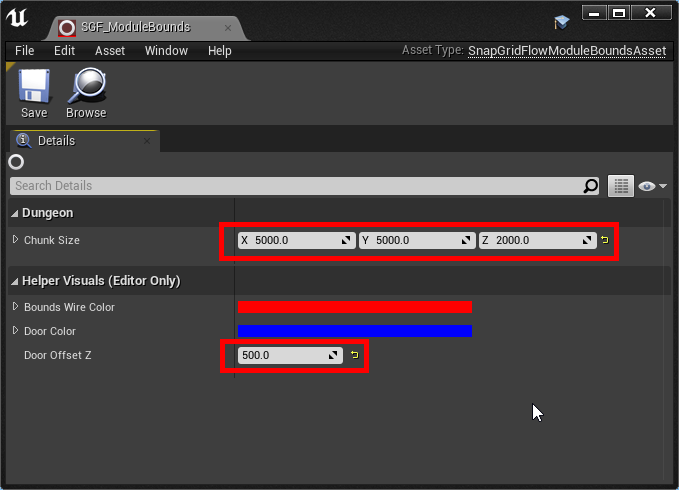
Door Offset Z determines how high the door is from the base of the module. It is a good idea to leave some gap, so you have space to create some pits or lower areas
You'll drop this asset on each of the module levels you design
Modules
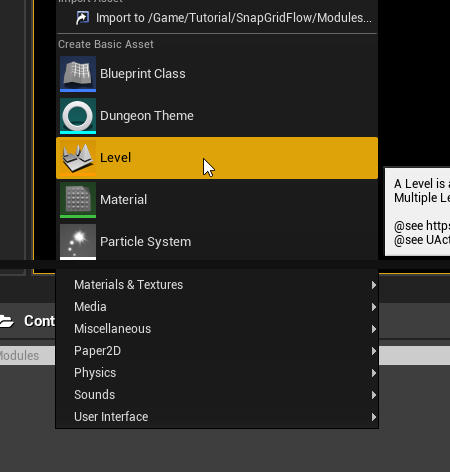
Create a new Level file. We'll design a room module in this file
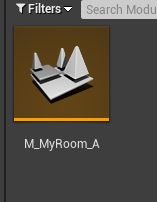
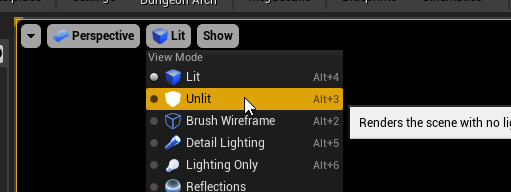
Open this map file and switch to Unlit Mode
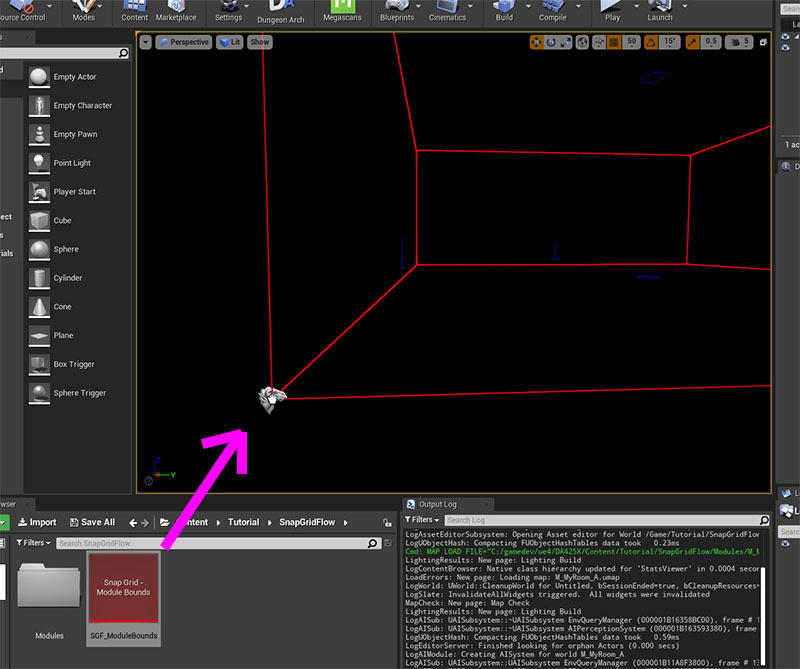
Drag and Drop the Module Bounds Actor on to the scene
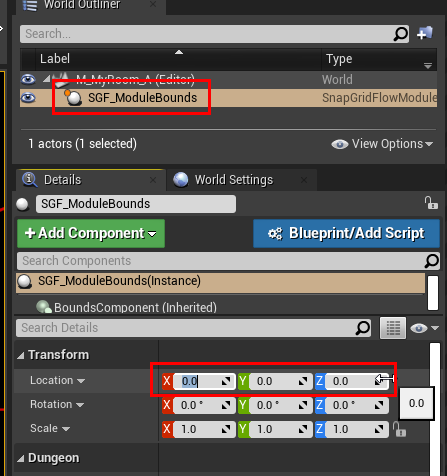
Reset the Transform of this actor
Design your module inside the level bounds.
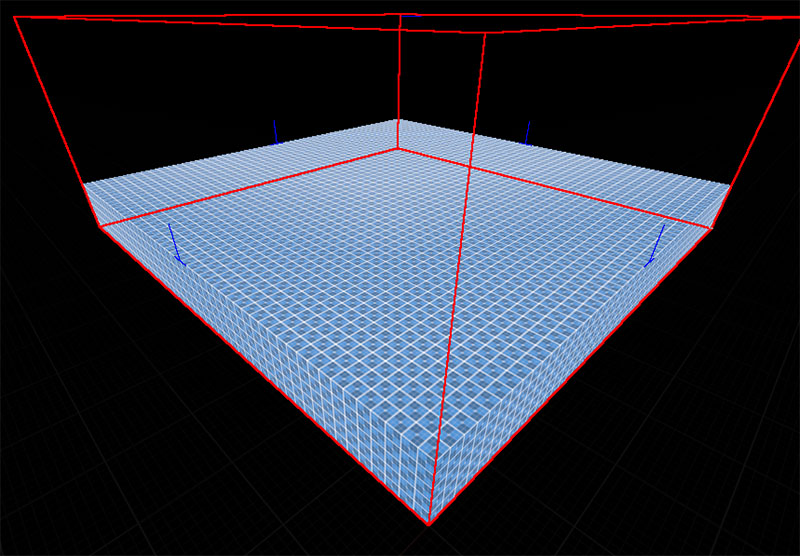
Note how the ground mesh was aligned to a height where it matched the door indicators (blue lines). These blue lines were previously configured to be 500 units above the module's base (DoorOffsetZ)
Go ahead and design the rest of the room any way you like
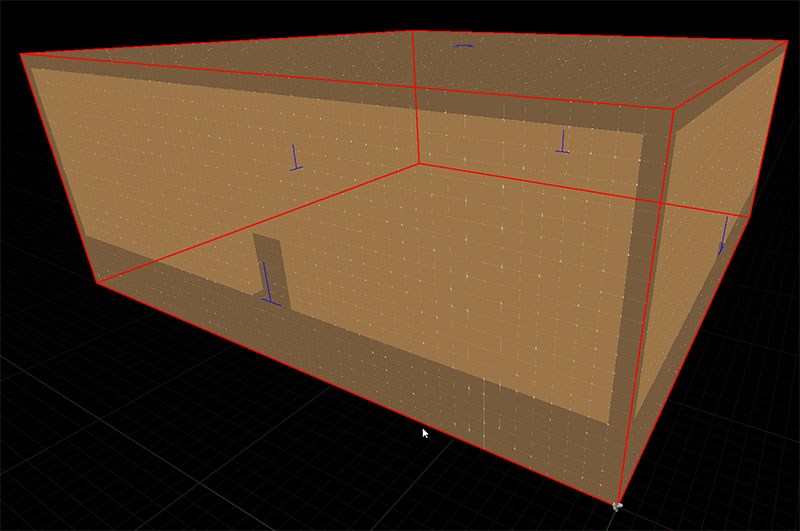
In this simple example, we want to have doors on all the 4 sides. A gap of 400 wide / 500 high was left out at the door openings. Our door and wall assets will eventually be of this size to fill up the gap
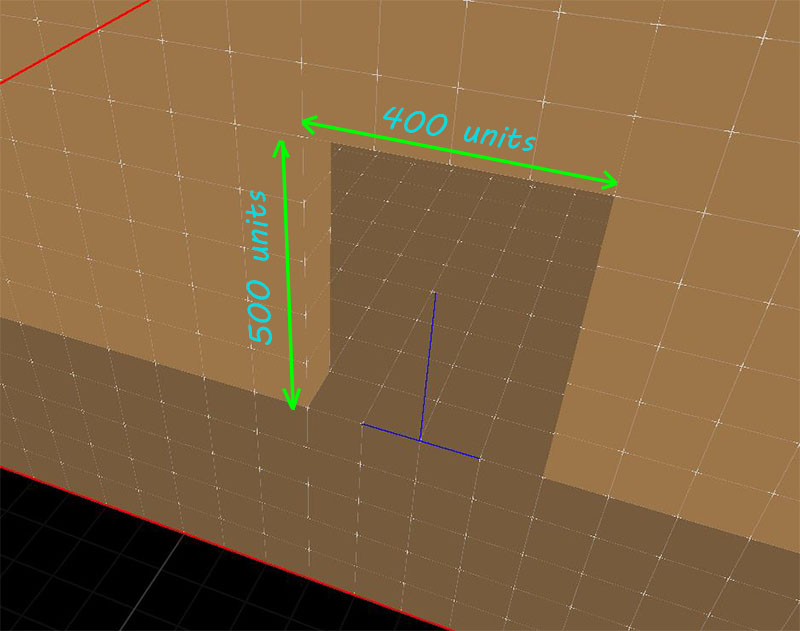
Do this for all the four doors
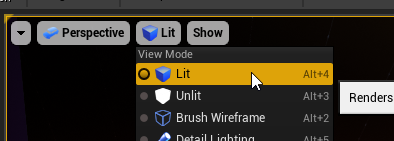
Optionally, Drop in a few lights and switch to Lit mode
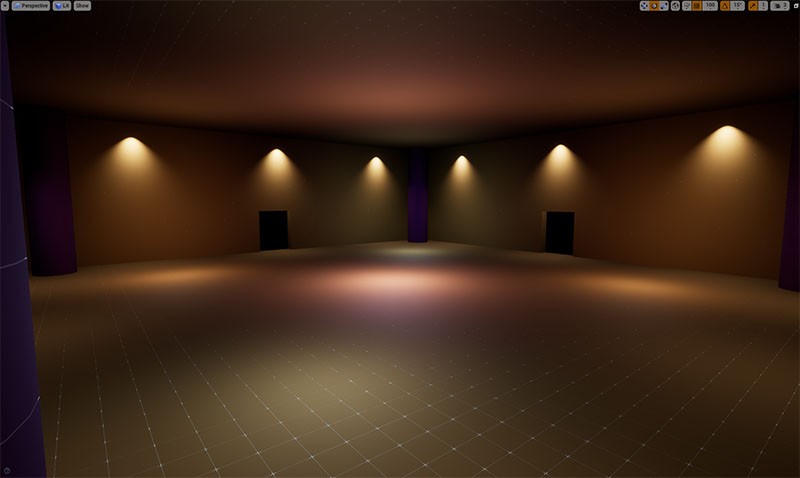
In the next section, we'll create a Connection and add it near the door openings