Scripting
Control the growth of your flow network using custom scripts.
Position Constraints
Use position constraints to control where the node grows.
Example 1
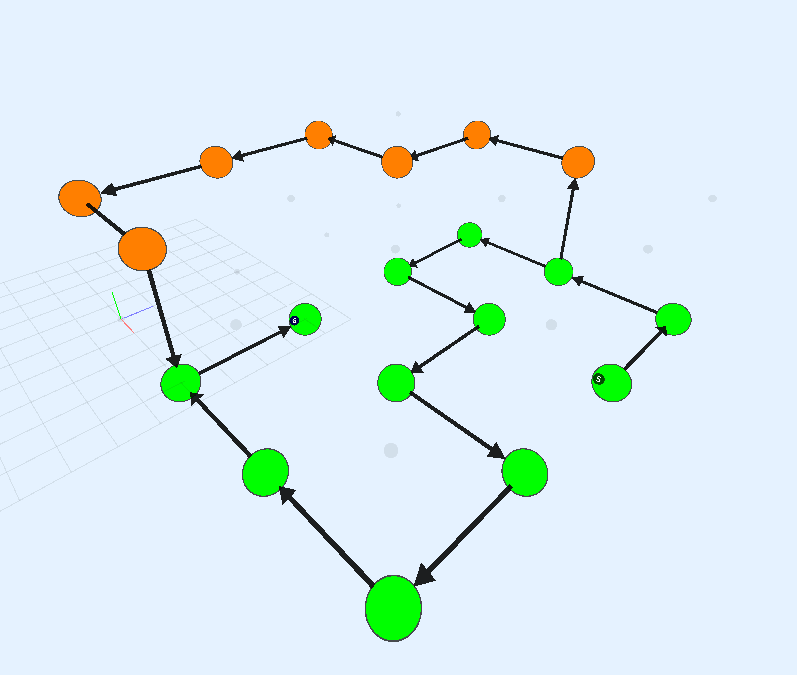
We want to restrict the main path to the ground floor and have another path grow only on the top floor like this:
Start by creating a grid and a main path. Without constraints, it grows anywhere on the grid
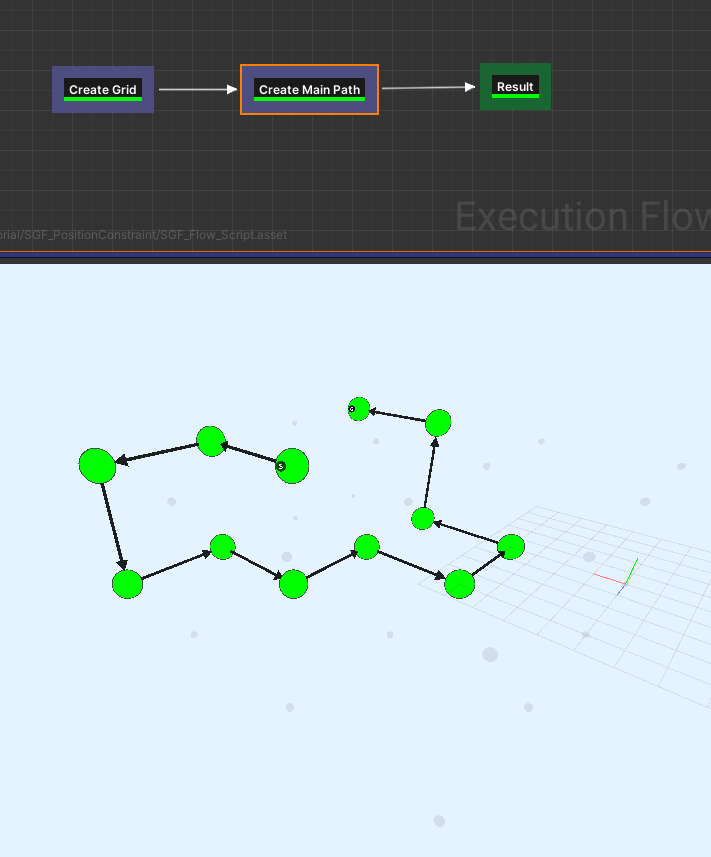
We'll restrict the growth to be only on the ground-floor. Select the Create Main Path node and inspect the properties
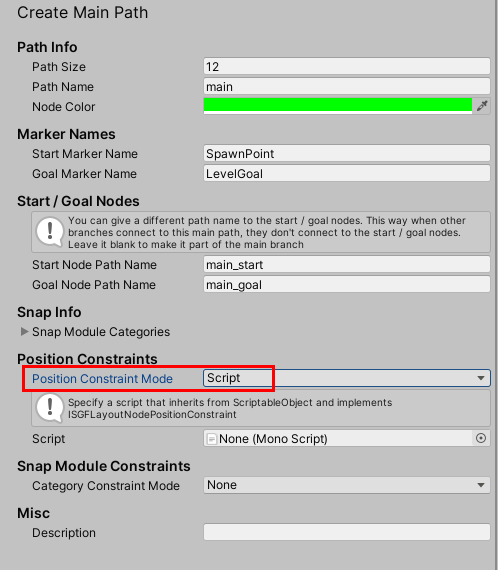
Set the Position Constraint Mode to Script.
We can now pass in a script with our own rules and constraints for growing this path
Create a new C# script with any name and set it up like below:

You can place your logic here and allow or disallow nodes at certain locations
We want the path to grow only on the ground-floor, so we return true only when the node coordinate's y component is 0
Assign this script to the Create Main Path node

Hit Build
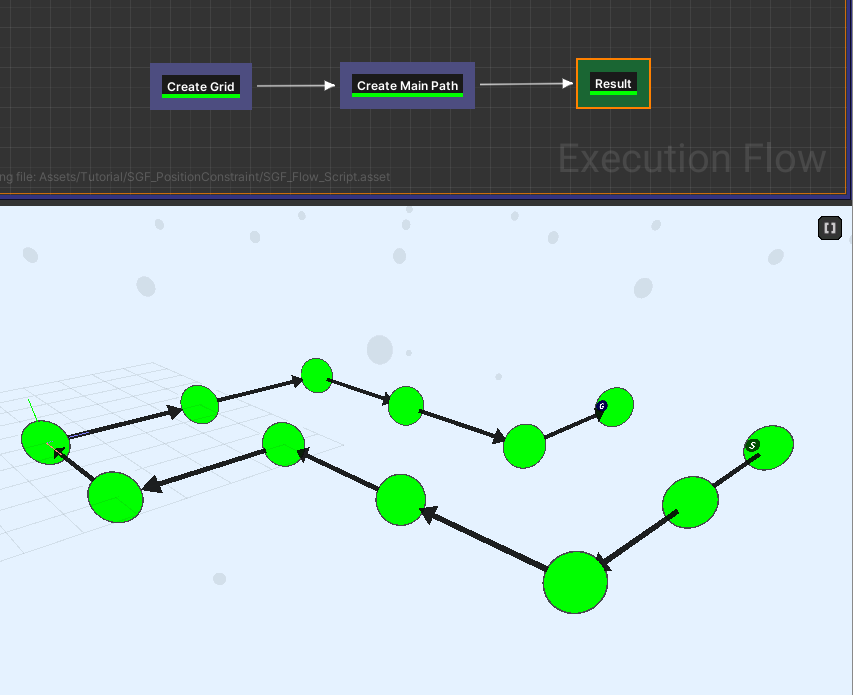
Create another path using the Create Path node
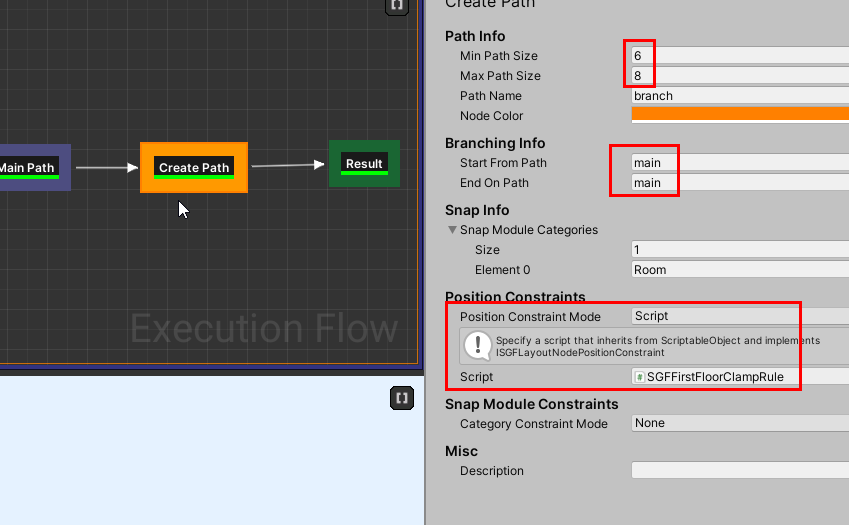
Add another script so this is restricted to the first floor

Example 2
Create a Ring like structure like below:
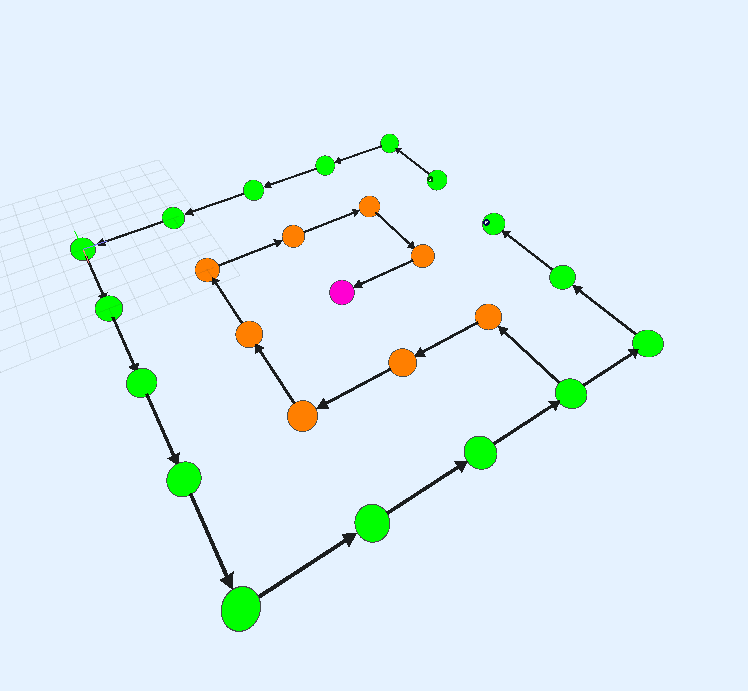
Start by creating a setup as follows:

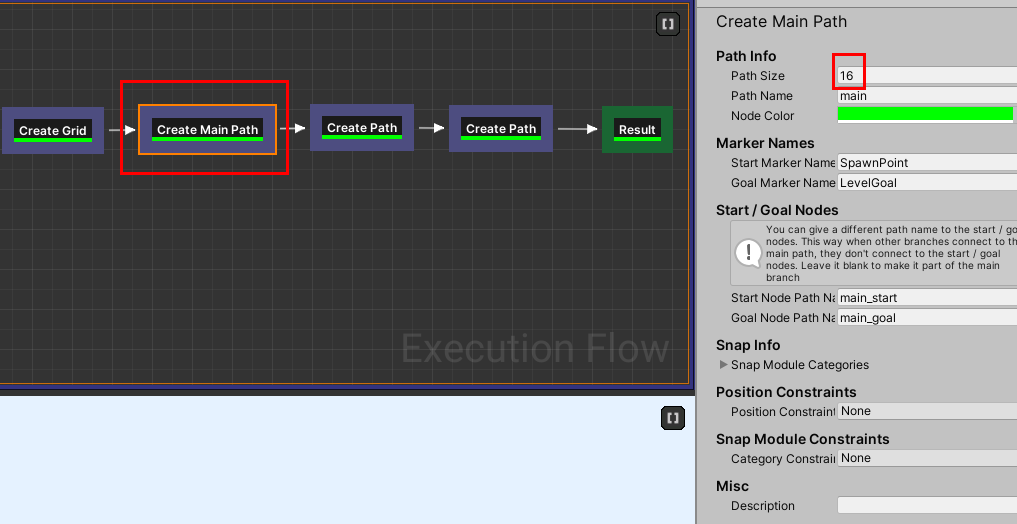
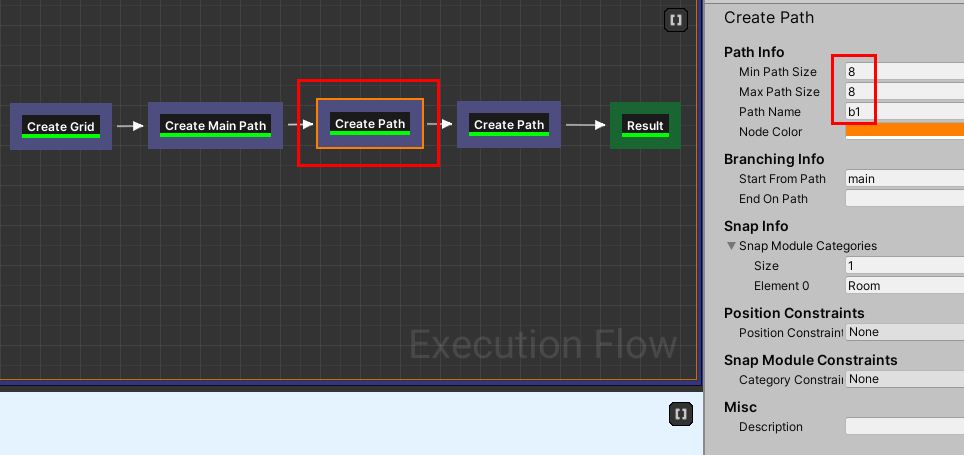
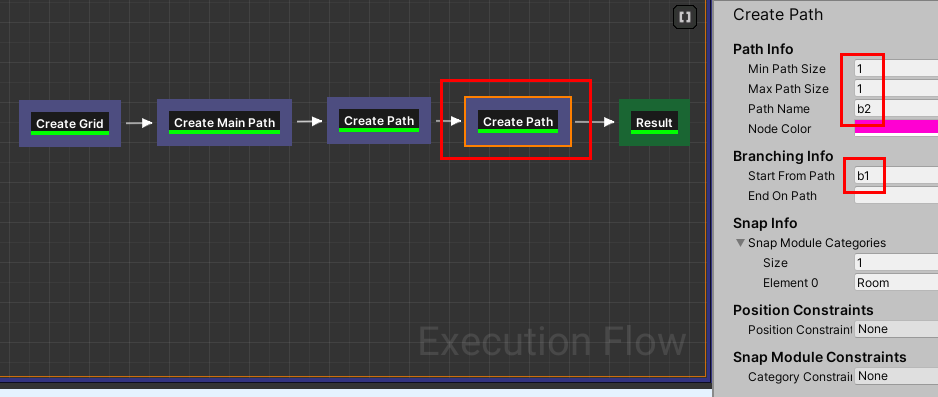
Run it and you see a graph generated like this:
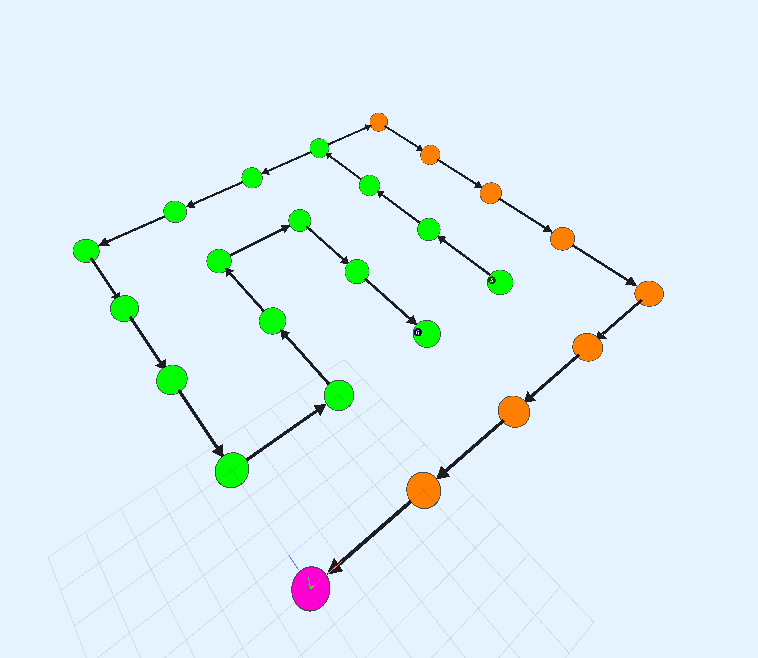
We'll now apply rules so the green path takes up the outer ring, the orange path the middle ring and the purple node in the center
Outer Ring
Create a script like below and attach it to the Create Main Path node's Position Constraint
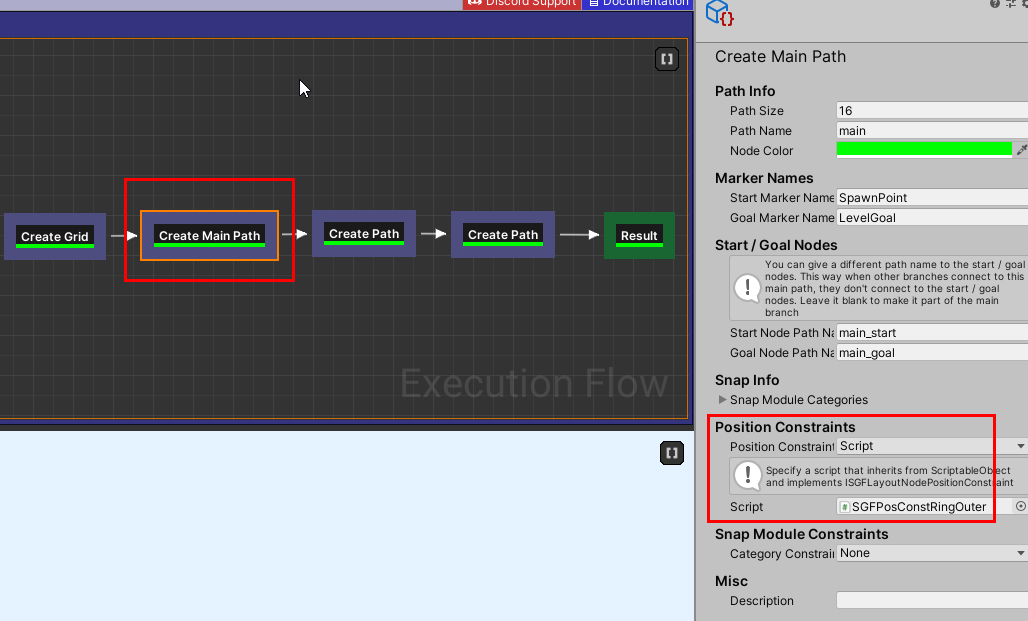
This will restrict the green path to the boundary
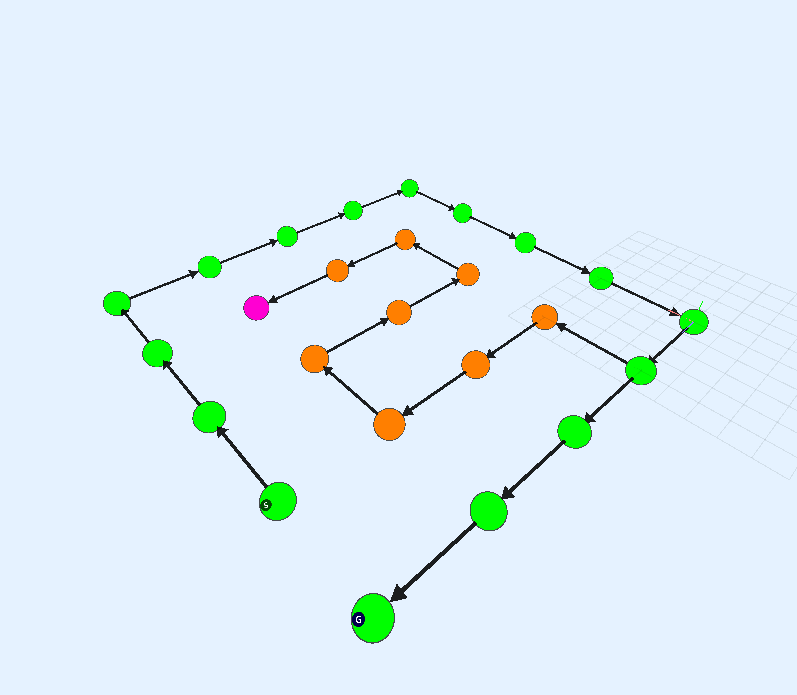
Middle Ring
Create another script as below and attach it to the first Create Path (orange) node
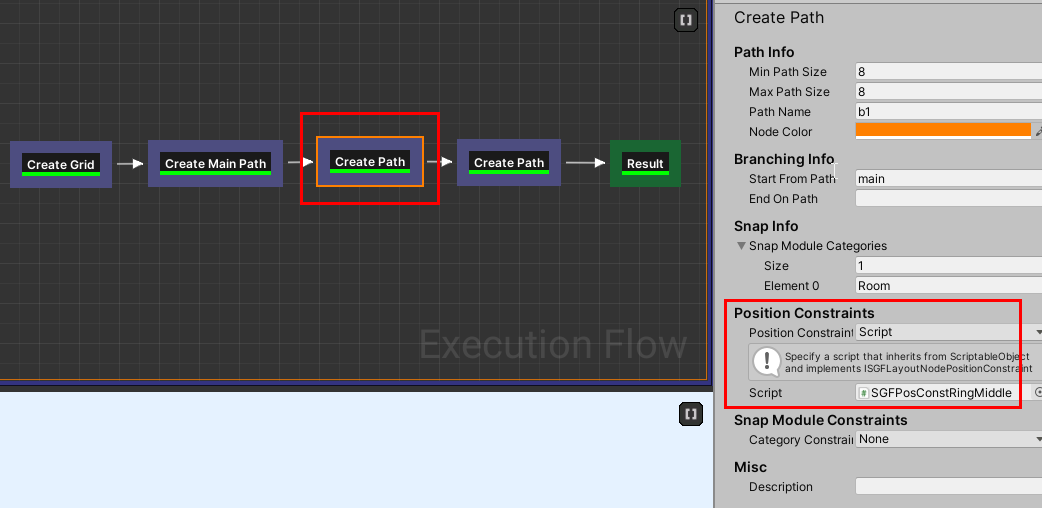

Snap Module Constraints
Control the room modules that should be used in any of the path nodes. By default, the room modules are defined in the Snap Modules Categories array of the Create Main Path and Create Path nodes.

You can have more control on this and provide your own array for any of the nodes in the path using a snap module constraint script
Create a new C# script and set it up like below:
Here we make the system spawn a Boss room in the last node of the path. Before the boss room, we have either a shop or a health fountain room. We show larger rooms on every alternate nodes and show normal rooms otherwise
Of course, you'll need to register your rooms with these names (Boss, Shop, HealthFountain etc.) in the module database, so it can pick one up from the list
Assign to the Create Main Path node
