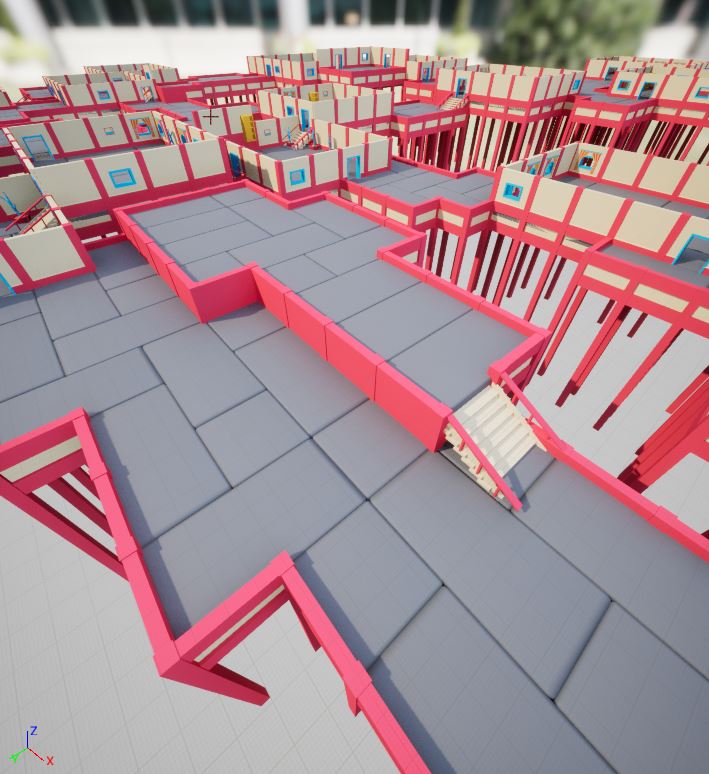
Pattern Matcher - Getting Started
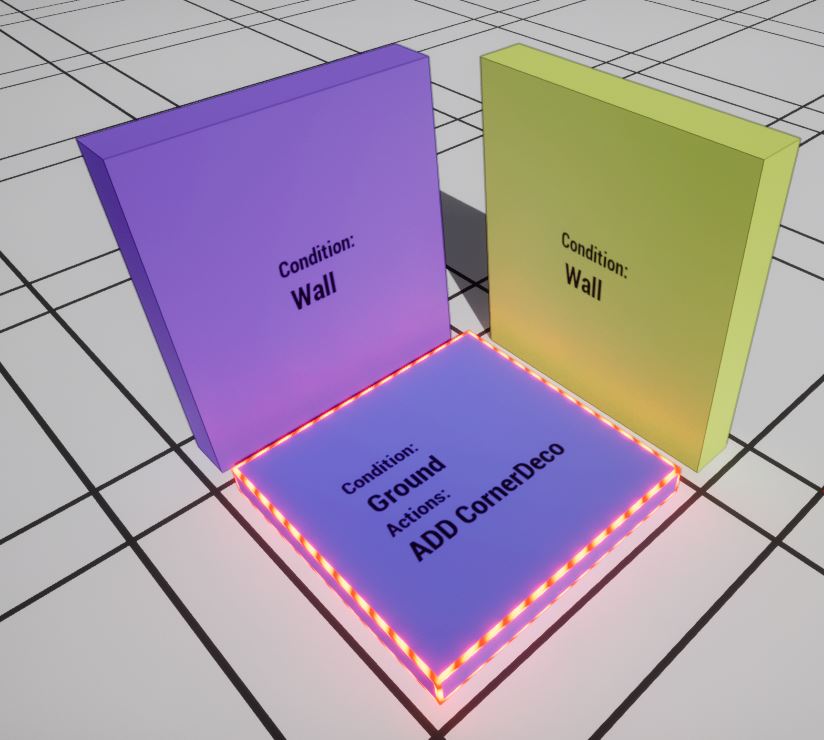
Capture patterns in your dungeon layout and add or remove markers around this pattern. This is a powerful system for decorating your themes, as you are no longer restricted to a single tile level decoration and can decorate across multiple tiles using your own patterns
Switch to Pattern Matcher Mode
Open an existing theme file. On the top right, you'll find two tabs for the different app modes in the theme editor
Theme Graph
Pattern Matcher
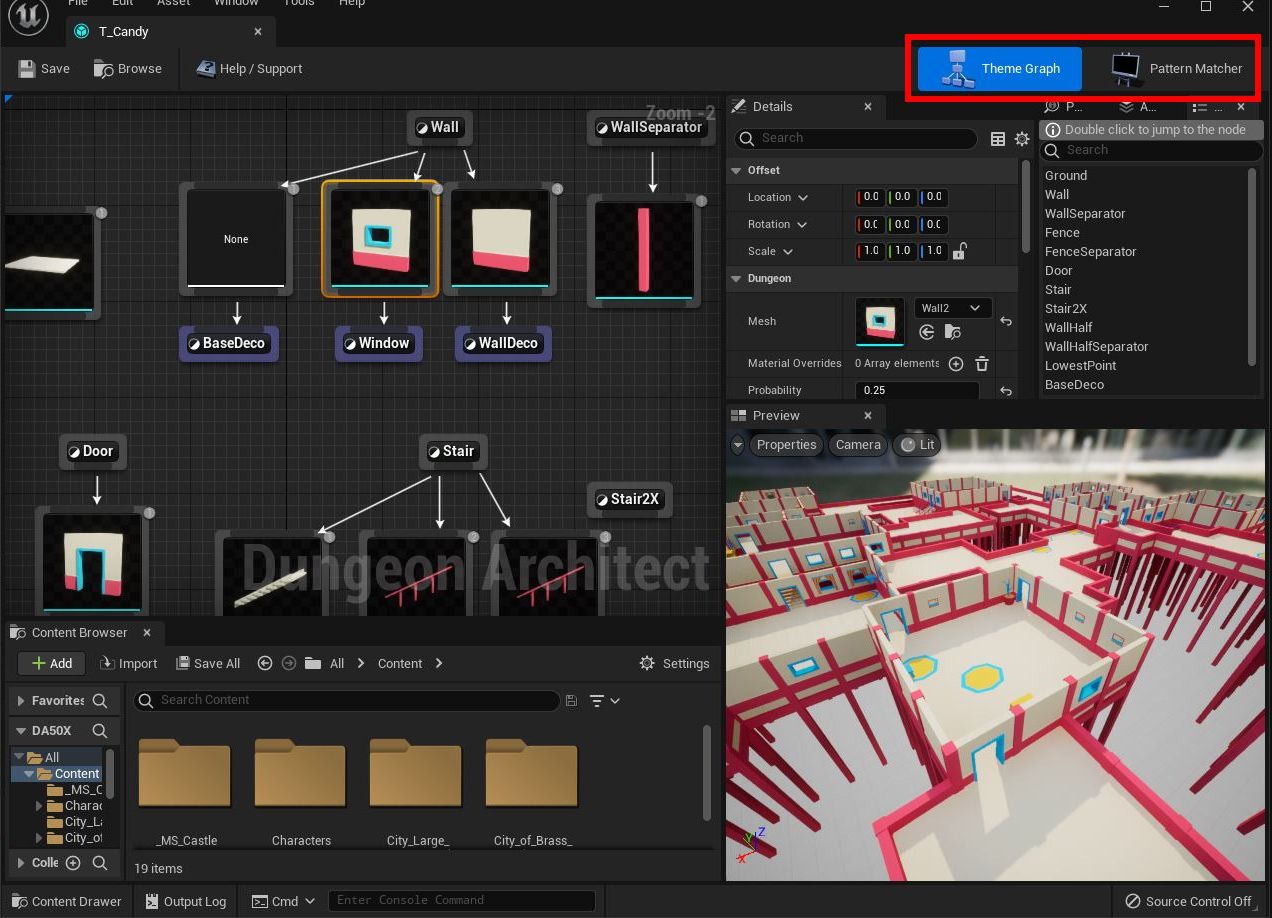
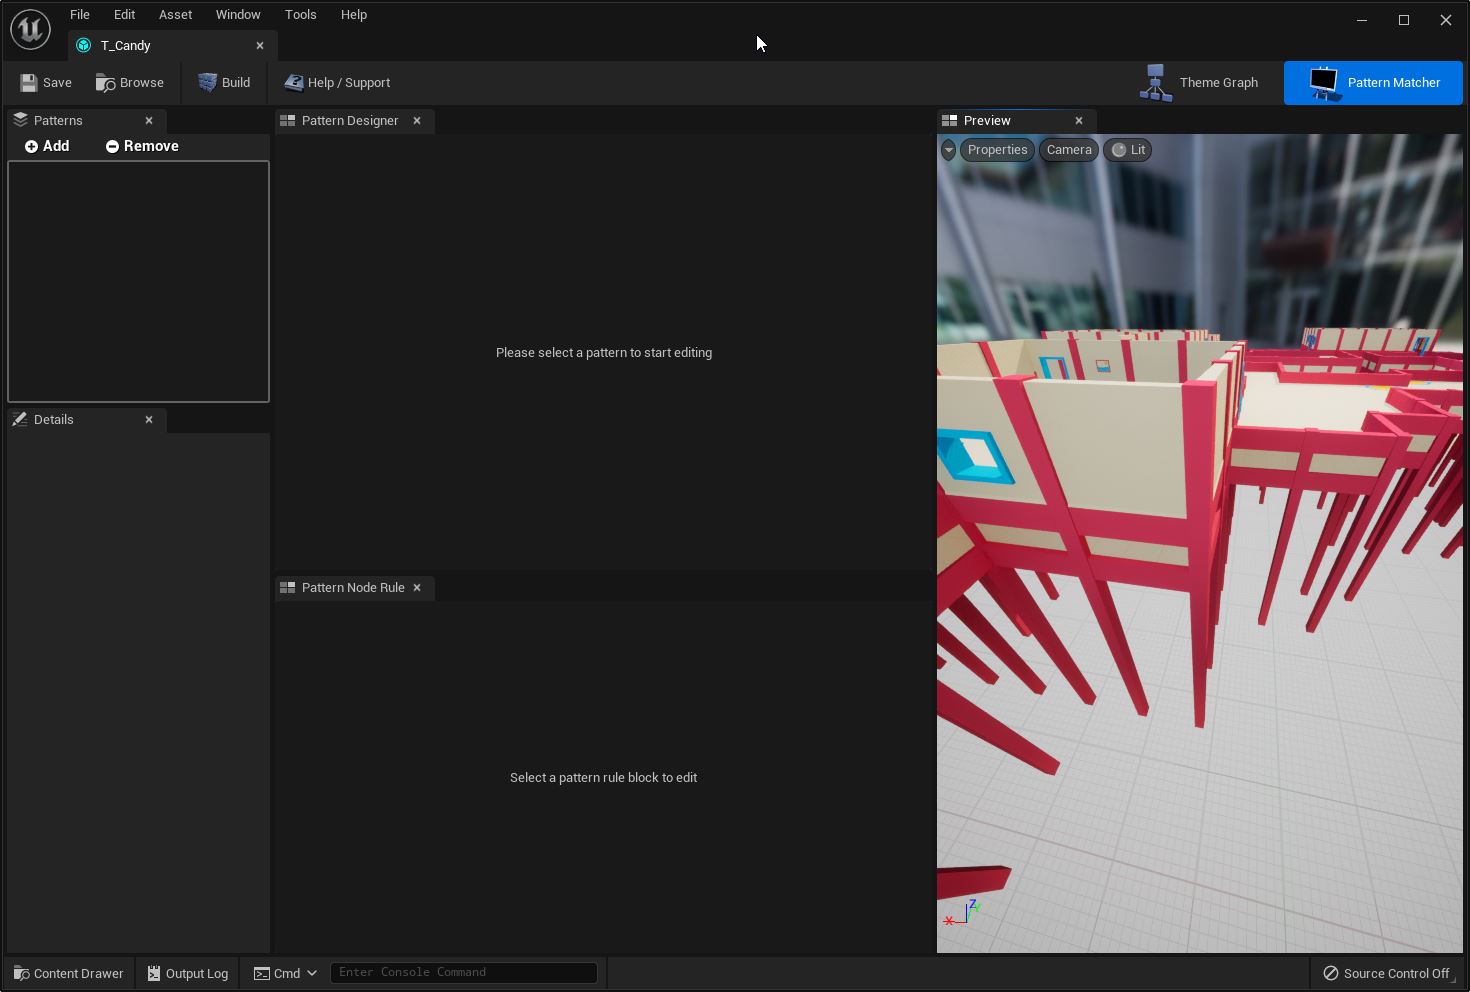
Click the Pattern Matcher button to switch to the Pattern Matcher App Mode
This will change the layout of the theme editor. You can switch between the two modes at any time without losing data
Create your first Pattern
Create a new Pattern
Start by adding a new pattern by clicking the Add button in the Patterns panel
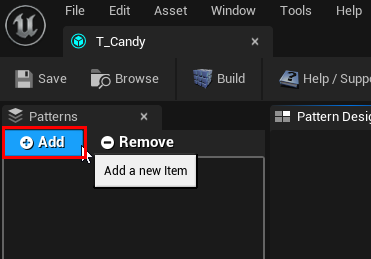
You can have multiple patterns, and they run in sequence one after the other
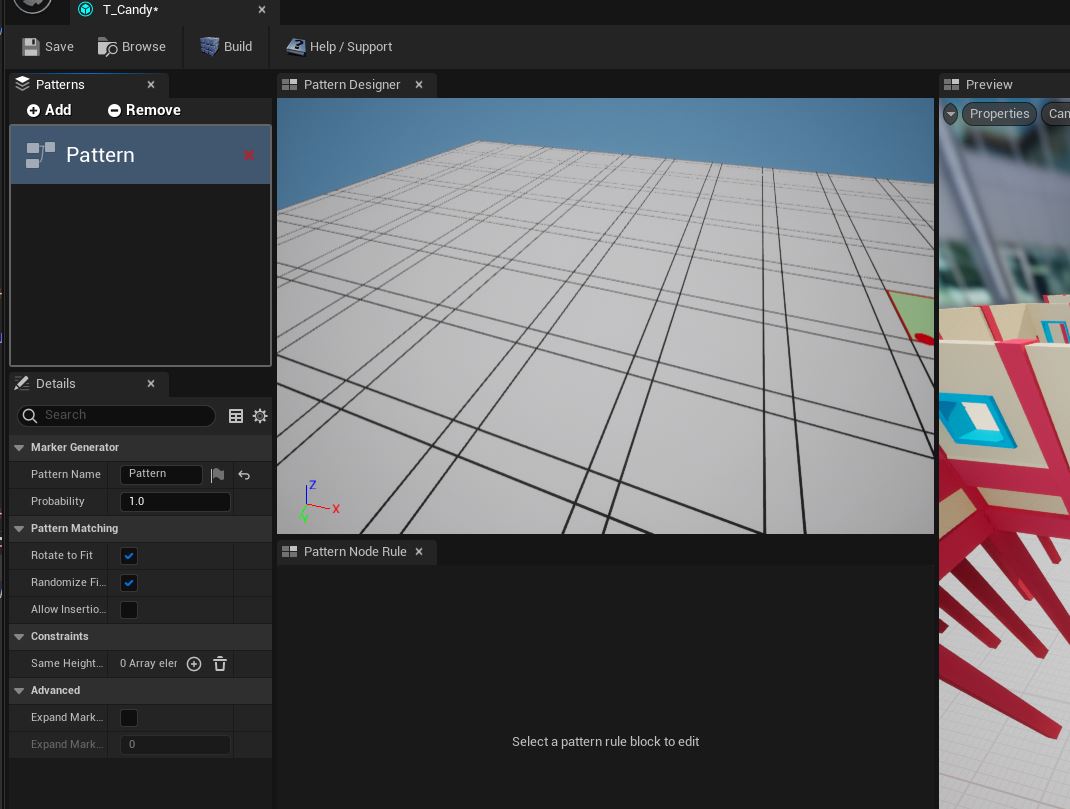
Pattern Rules
A pattern is formed by assembling various pattern rules together (think of them as blocks arranged in a certain way)
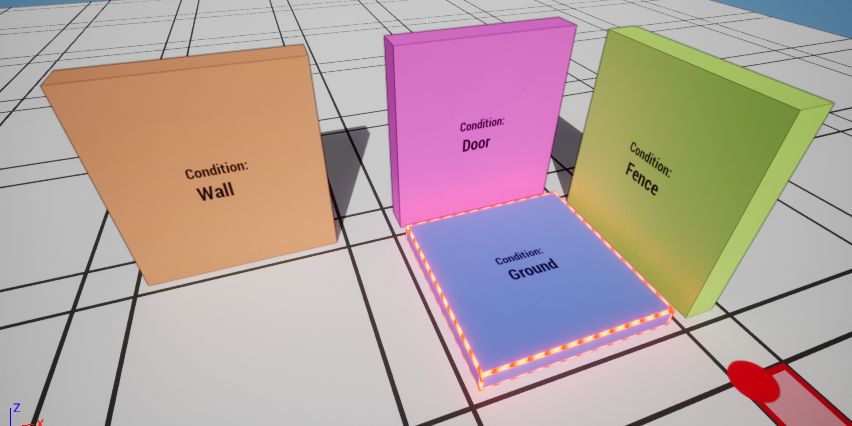
Right click on an emtpy space and select Add new Rule
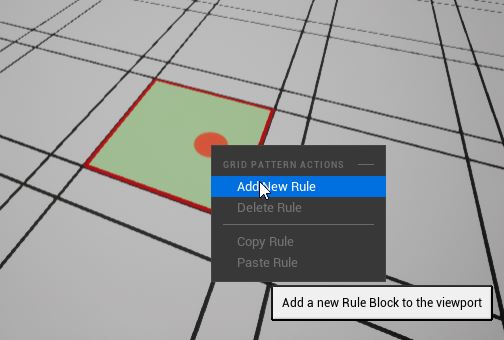
This will create a new rule
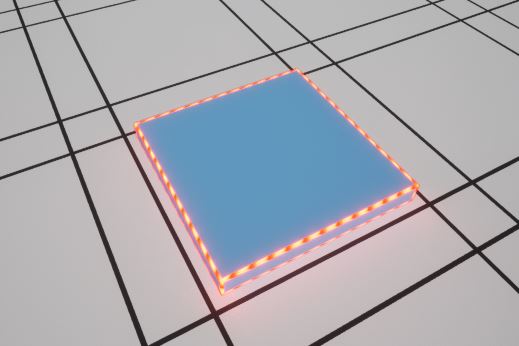
You can click and drag the rule to another location
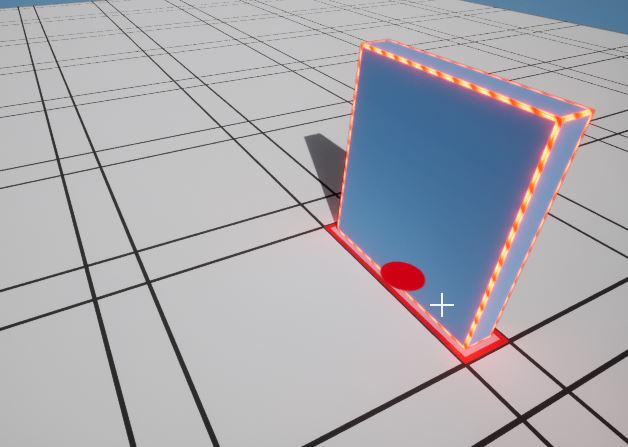
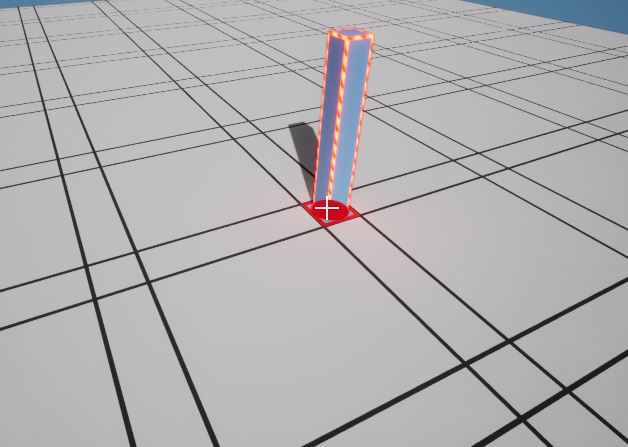
Move the rule to an tile position like shown below and select it
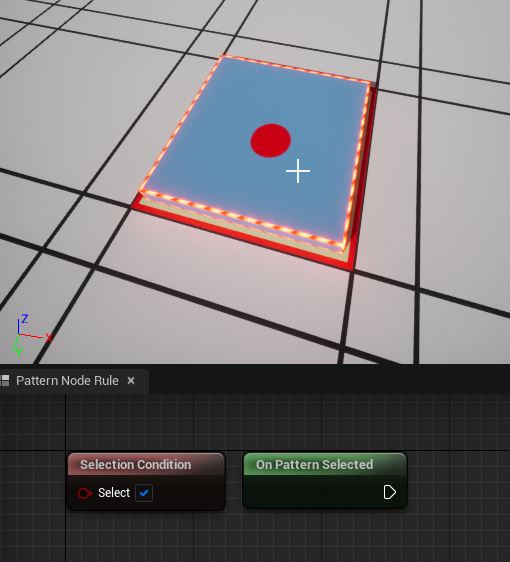
Pattern Rule Graph
Each Pattern rule block has a rule graph. Here you define what needs to be present (or not present) at this location for the pattern to match
The Selection Condition node takes in the result of your condition (boolean).
Create a graph like this:
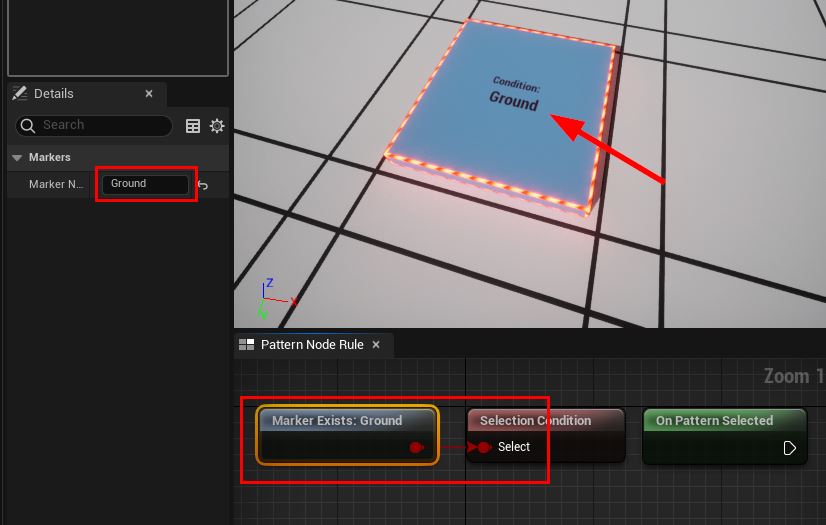
The text in the rule block will update to reflect the rule graph condition
If the pattern is matched (i.e. the condition of every rule block succeeds), then the On Pattern Selected node will fire on all the rule blocks. Use this node to either emit or remove markers at this block's location (more on this shortly)
Create a new rule node next to it as shown below. Place a similar constraint to make sure a ground marker exists in this location
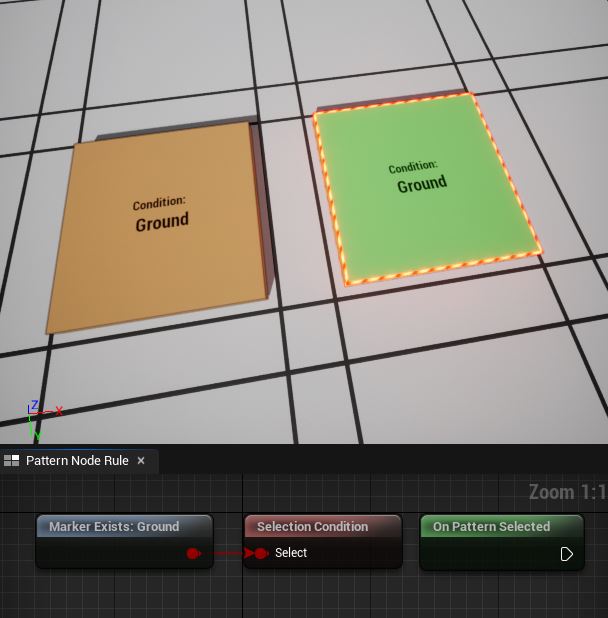
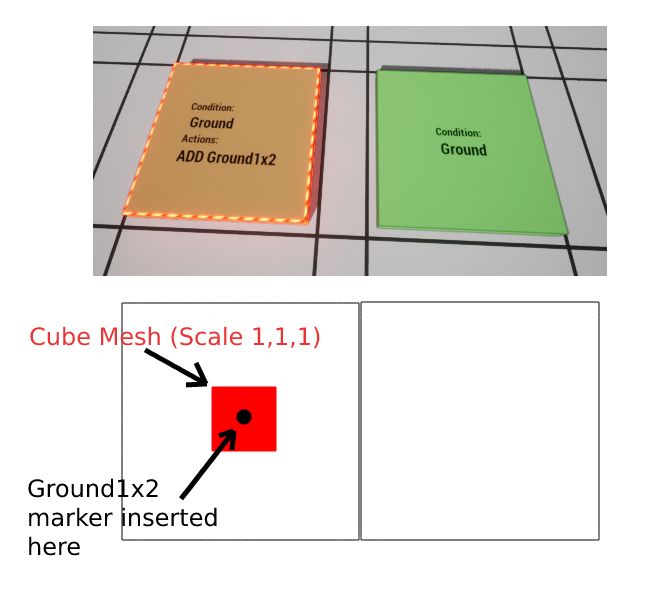
Our pattern will now match two adjacent ground blocks, and we can place a 1x2 Ground tile here
Whenever this pattern matches, it would fire off the On Pattern Selected node
Select any one of the two rule block and add a Emit Marker node with the name Ground1x2 (later, you'll need to adjust the mesh's offset transform accordingly depending on which block you chose)
It should look like this:
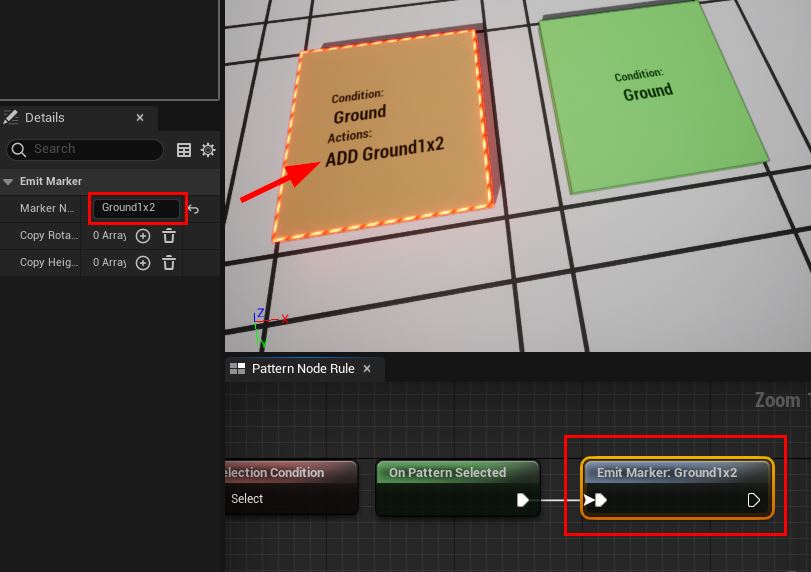
So, when the dungeon is created in the scene, this would create a marker named Ground1x2 on all the places where the pattern matched. We'll need to switch back to the Theme Graph app mode, so we can add our art asset under the Ground1x2 marker
Add Marker Node
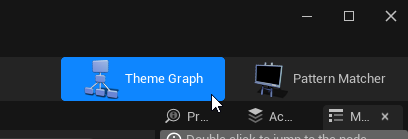
In the top right corner of the editor, click the Theme Graph tab
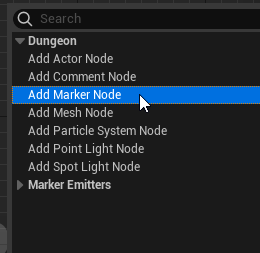
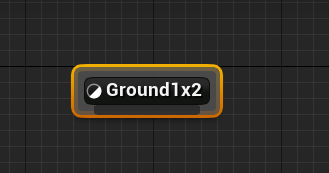
Create a new marker node and rename it to Ground1x2
Add this mesh under the Ground1x2 marker node: /Game/Geometry/Meshes/1M_Cube_Chamfer (available when you add starter content)
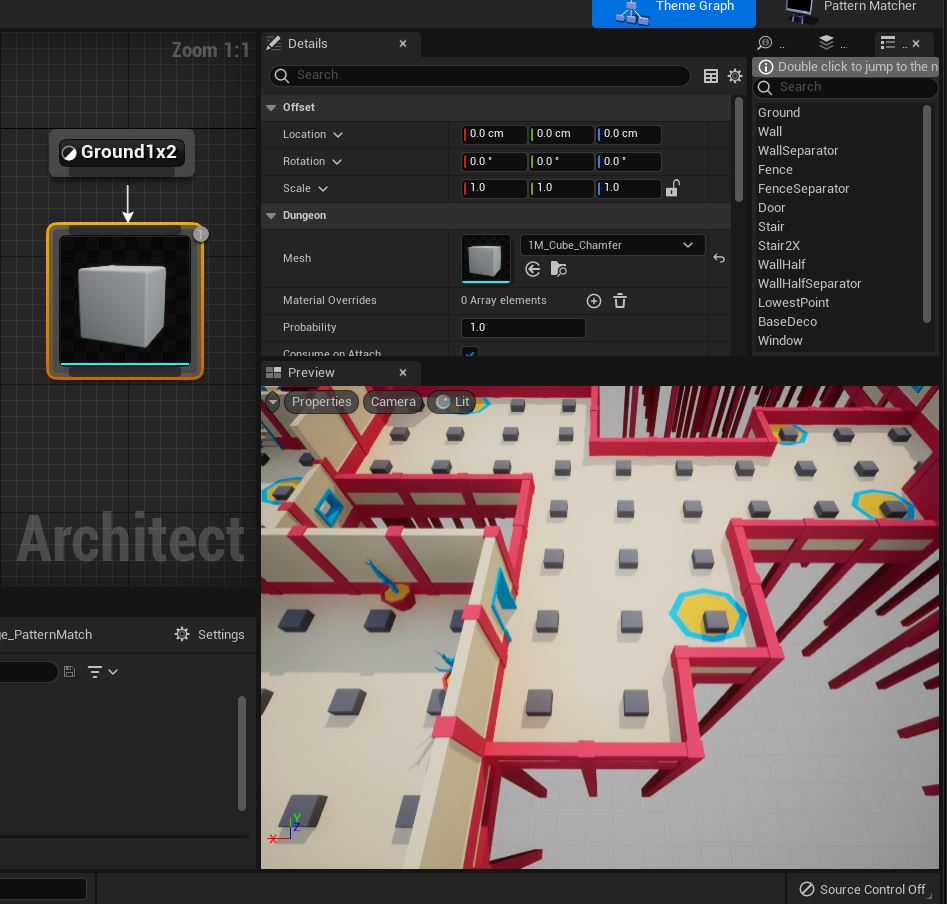
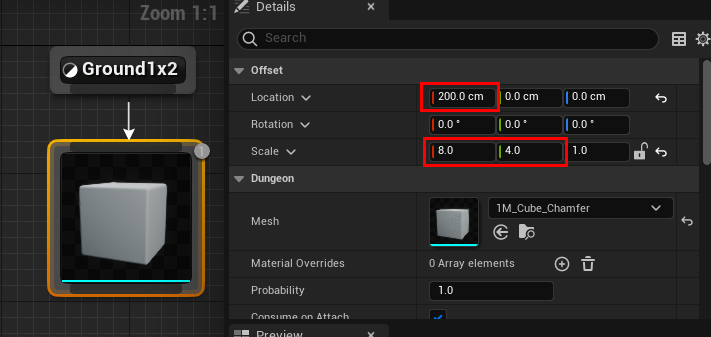
We want to scale the cube along X axis by 2 units nudge it to the right (since this is a wide tile and is spawned on one of the tile)
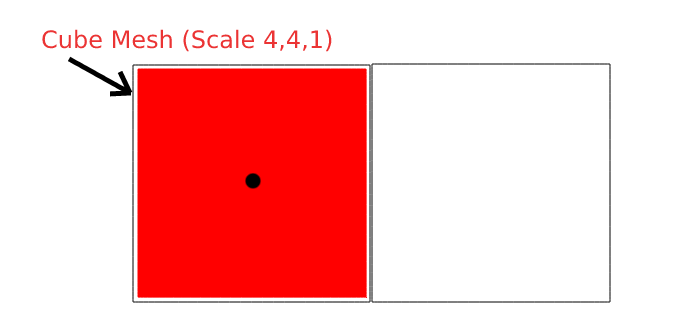
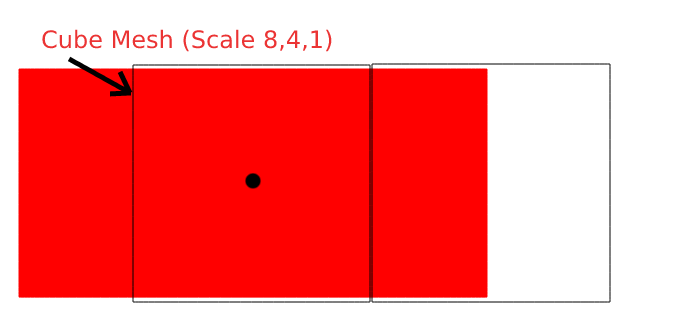
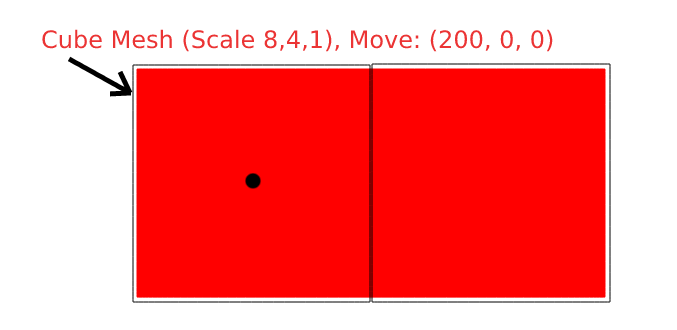
Select the Cube mesh node in the theme graph and set the following transform:
The result looks like this:
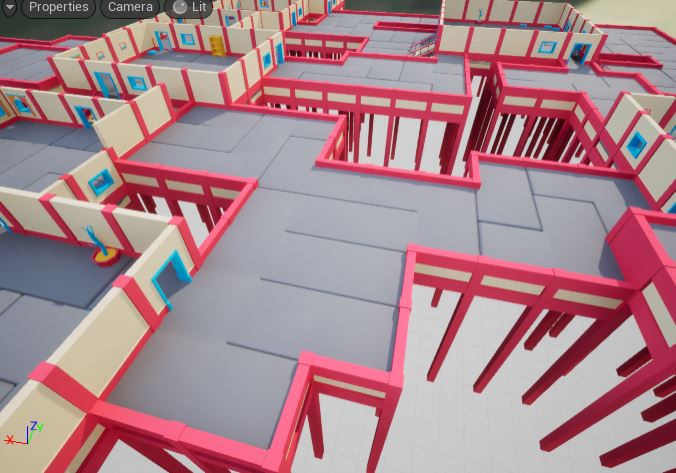
It has inserted our wide tiles, however there are overlaps.
Avoid Overlaps
Since we are emitting a marker in the left rule block (orange), the system already knows that there might be something spawned at that location, and it will try not to overlap it when searching for this pattern through the scene.
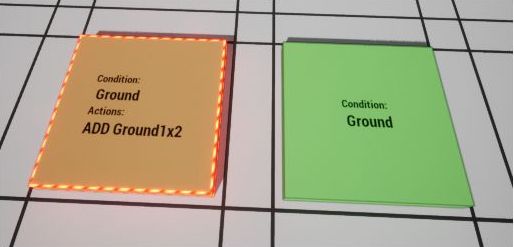
However, it does now know that the art asset you plan to insert here would take up 2 tiles and the block on the right (green) would also be occupied. To let the system know this, select the block on the right (green) and check Hint Will Insert Asset Here
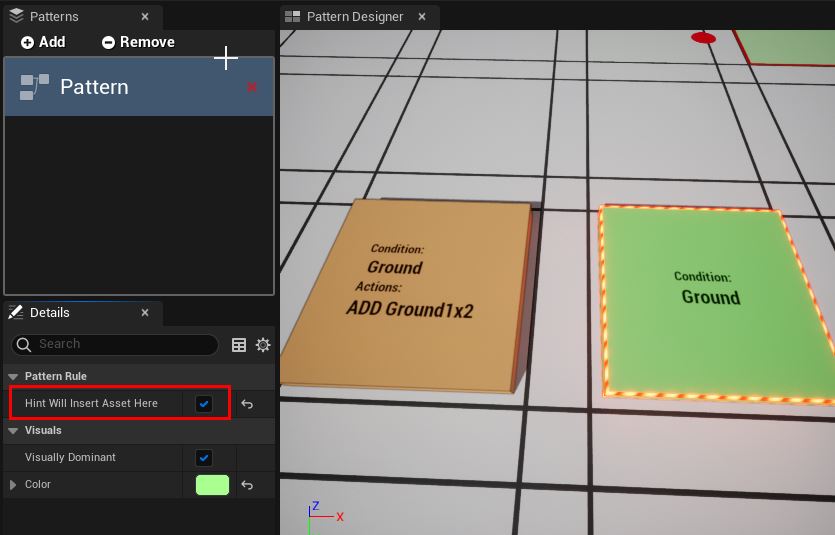
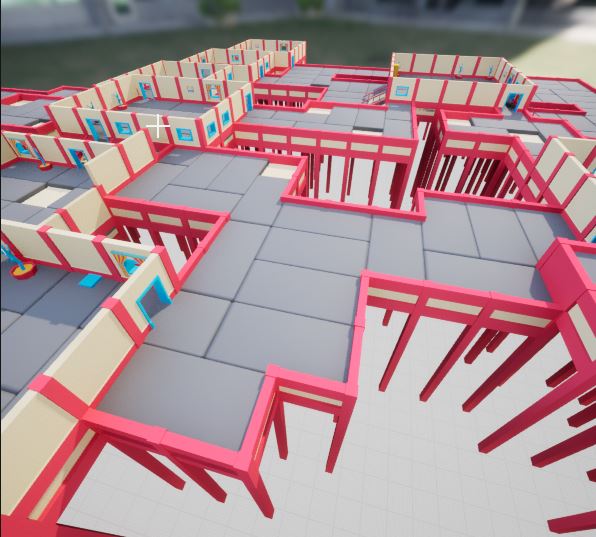
The tiles no longer overlap
Remove Markers
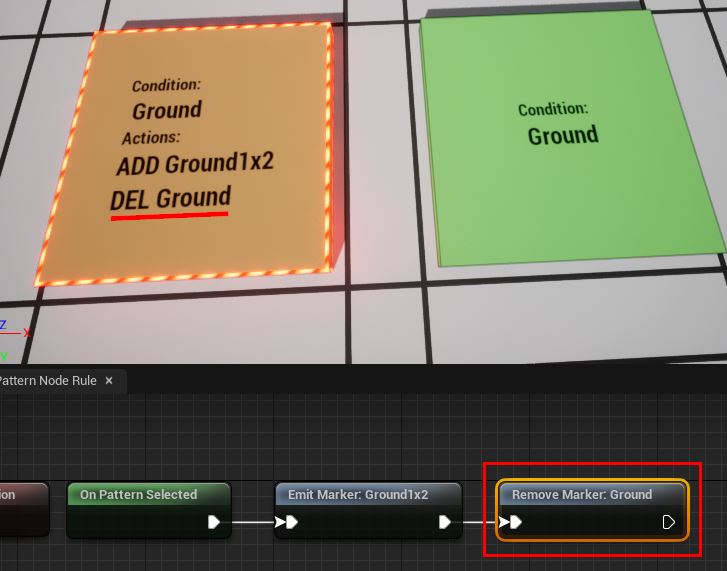
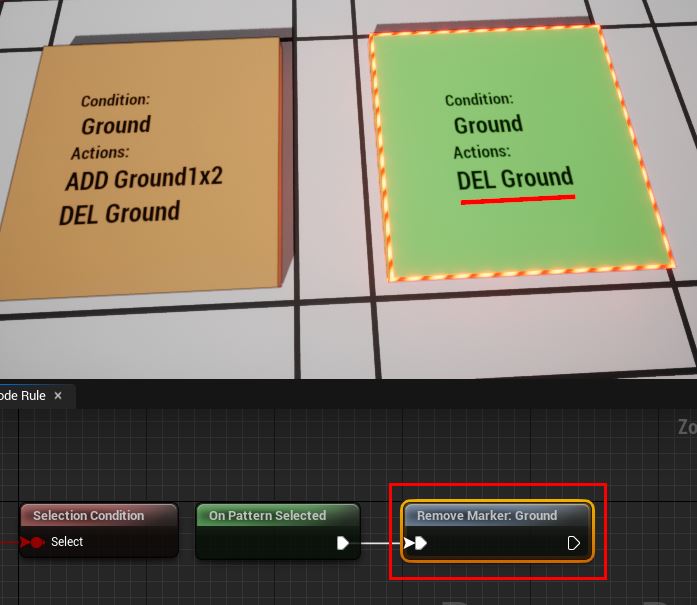
Since we are inserting a 2-wide ground tile, we don't need the Ground marker in its place as it's redundant.
Select each of the two rule blocks and add a Remove Marker node with the value Ground like shown below
Cleanup
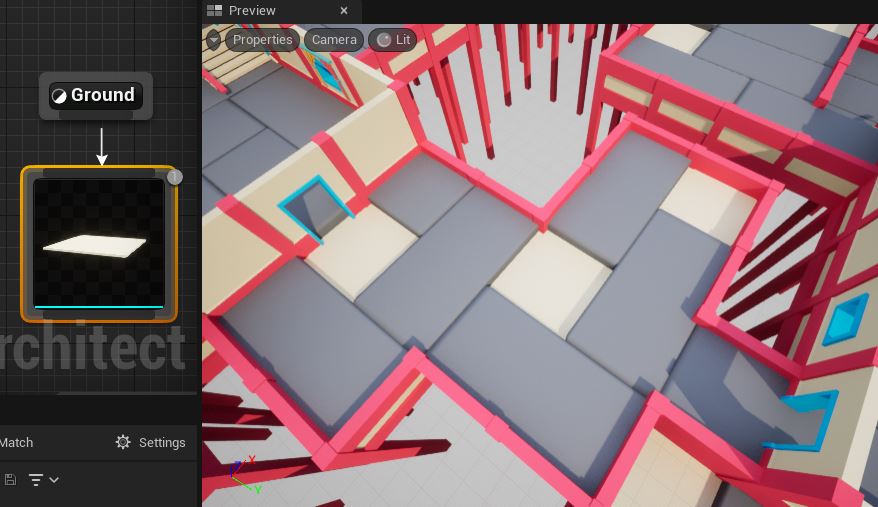
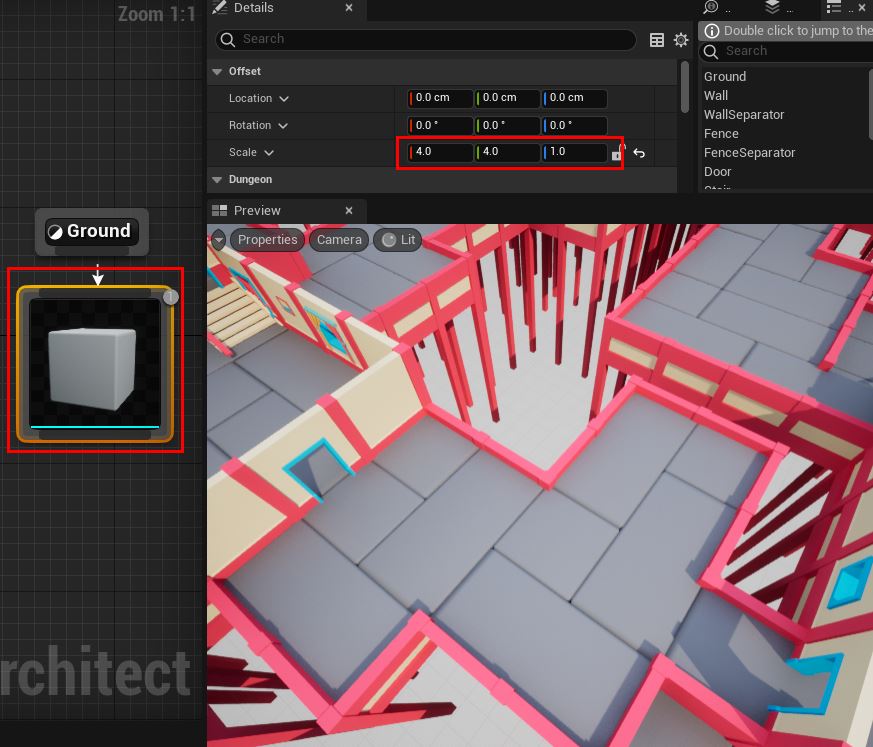
Just for consistency, let's update the Candy theme's ground tile to have the same art asset. We've removed the default ground mesh node and replaced it with a new mesh node that has the same chamfered gray cube (scaled to 4x4x1 since it takes up a single tile)
Before:
Same Height Constraint
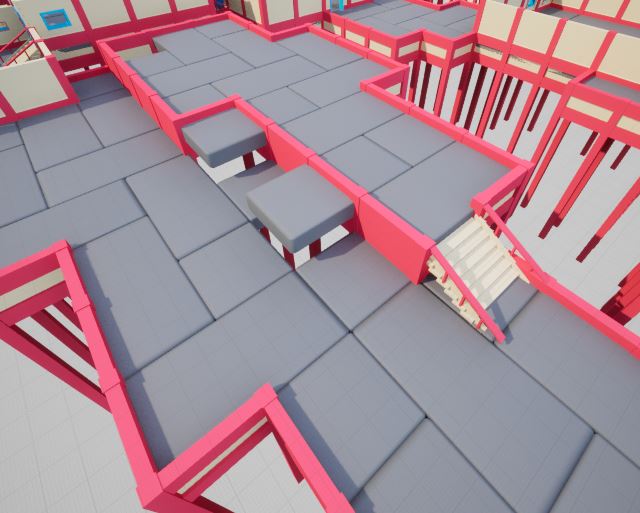
We have a problem in some locations. We don't want ground tiles in adjacent locations to be merged if they are in different heights
To fix this, select the pattern and have a look at the details panel
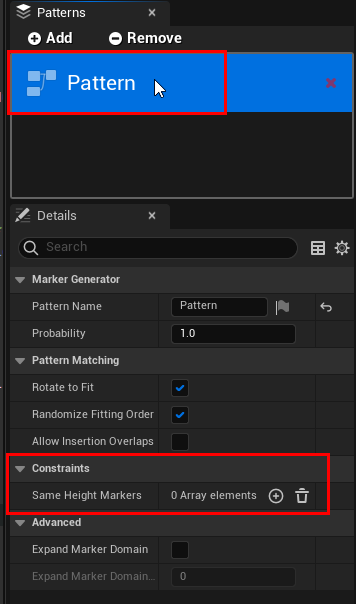
Add an entry to the Same Height Markers list named Ground. This will match the pattern where all the entries in this list are in the same height

