Placeable Markers
In this section, we'll spawn items like NPCs, power ups etc in our dungeon.
For this, we'll do the following:
- Use the
Spawn Itemnode in the flow graph. This will add items in the layout graph - Create
Placeable Markerassets and drop a few of them in the snap modules so that the builder can spawn them at those places when necessary - Use the Theme engine to spawn the actual prefabs at those marker locations
Spawn Items in Flow Graph
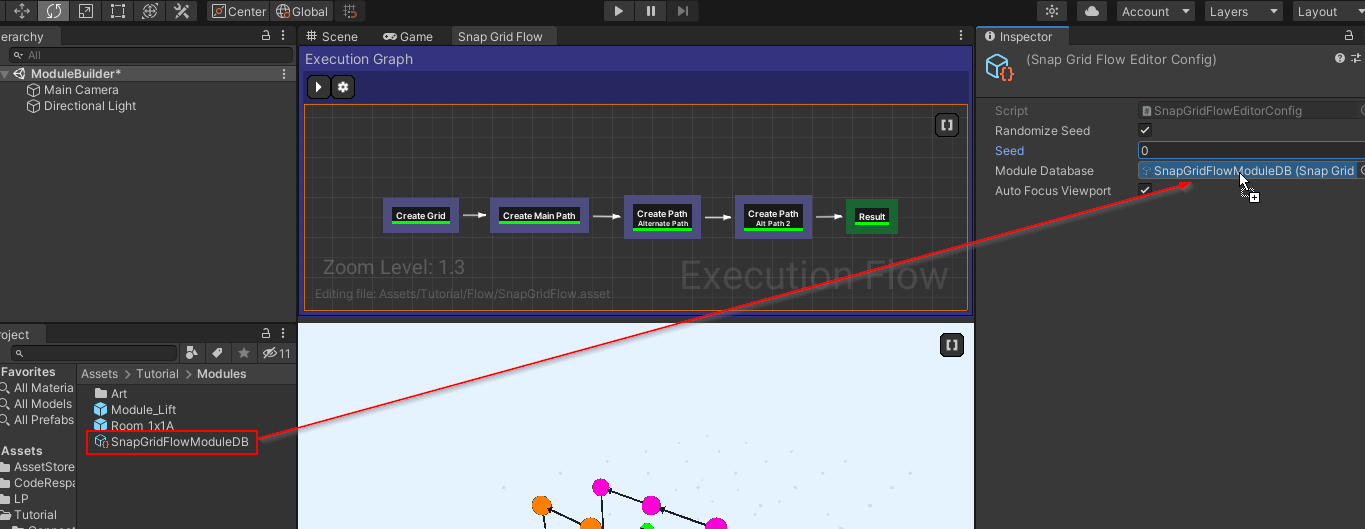
Open up our flow graph editor and reassign the Module database in the Editor Settings, as we've done previously
- Create a new
Spawn Itemsnode and link it up as shown below:


- Select the
Spawn Itemsnode and inspect the properties.
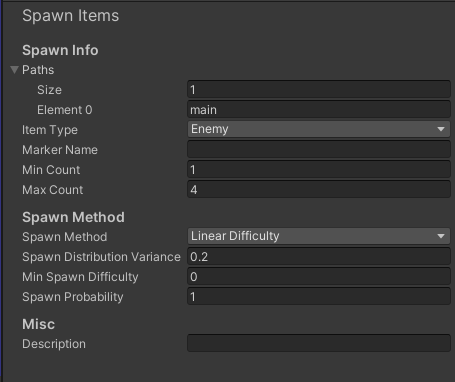
- We want to spawn enemies in the
mainpath (green) and thealtpath (orange).- Add two entries to the
Pathsarray and set the values tomainandalt - Set the
Item TypetoEnemy - Set the marker name to
Grunt. Later in the theme file, we'll create a marker node namedGruntand place our NPC prefabs under it
- Add two entries to the

- Rebuild the flow graph

The nodes now in the green path (main) and orange path (alt) have red enemy items
-
Add a description to this node


Placeable Markers
A placeable marker is an prefab you create, which you can then drag and drop anywhere on your modules. You can then use the theme file to spawn objects at that location.
A placeable marker prefab can contain more than one marker name. For example, a placeable marker prefab named
PM_Enemies may contain a list of marker names like (Grunt, FireTroll, IceTroll, Goblin). In your snap module,
you'd place these markers in appropriate locations (say 10 different locations within the room module).
If the dungeon builder needs to spawn a Grunt marker 4 times inside the room, it will first find all the existing and
compatible marker assets placed in the room. In this case PM_Enemies would be compatible since it contains a
Grunt marker. Since we have 10 of these in the room module, it will randomly pick 4 from them and use the
theme file to spawn the grunt prefab
Create Prefab
-
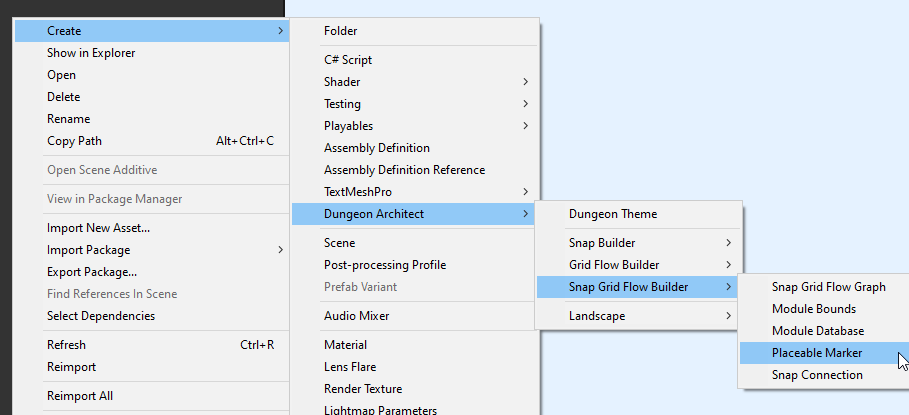
Move to an appropriate folder and create a Placeable Marker prefab from the create menu
-
Rename it to
PM_Enemies
-
Select the
PM_Enemiesprefab and inspect the properties. Add aGruntmarker (since we specified this earlier in theSpawn Itemsnode). Add a few more markers for future use likeIceTroll,FireTroll,Goblin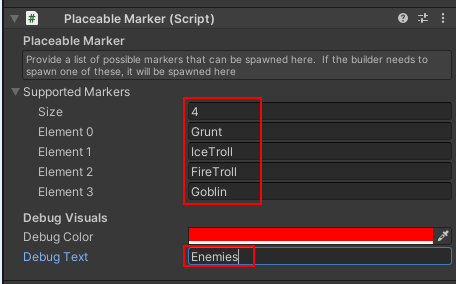
Add to Snap Modules
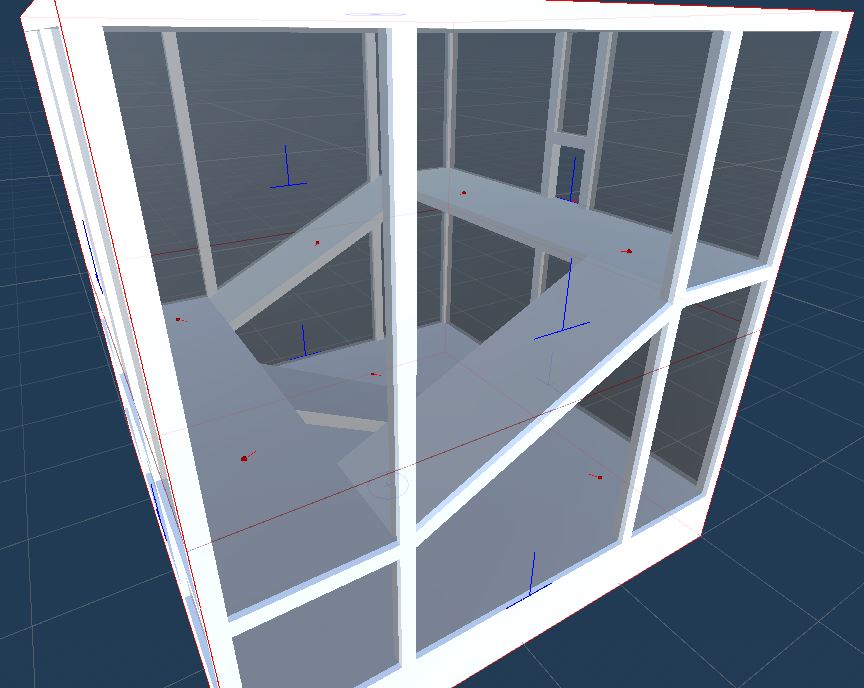
Open up the previously created room module


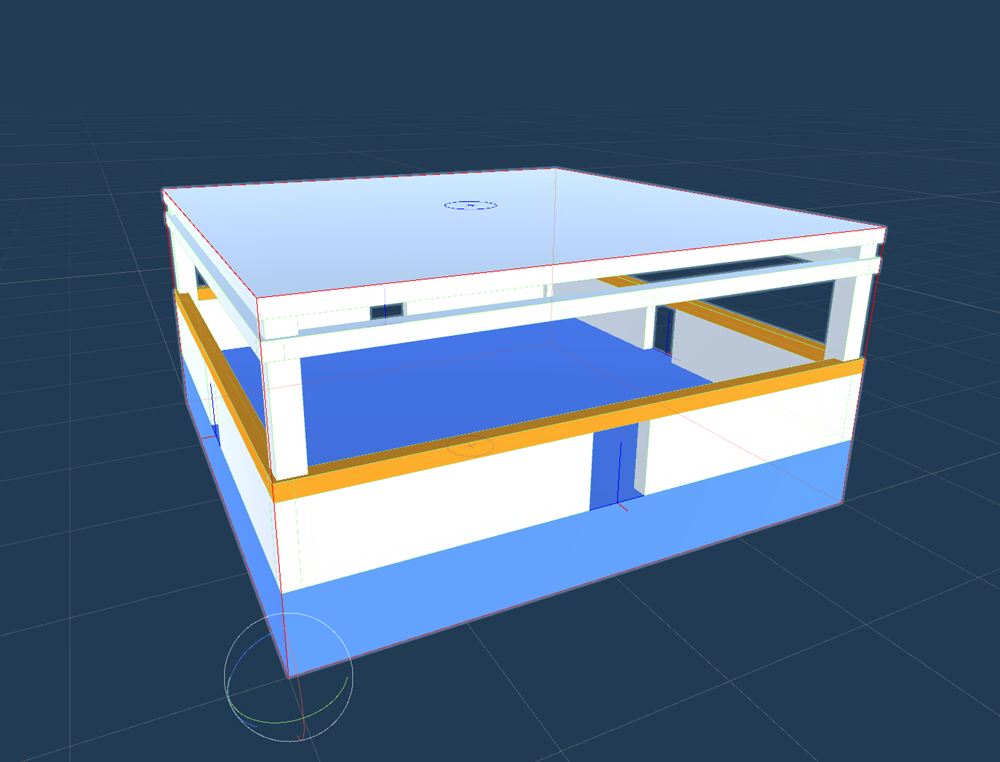
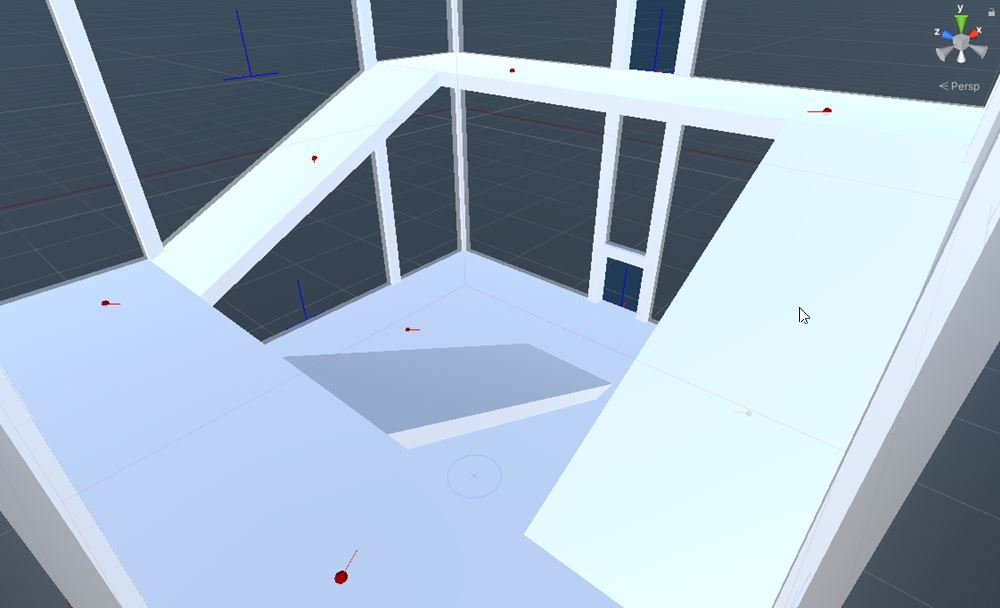
We went ahead and added a bit of geometry int he room
The snap system gives complete freedom to the artist to design the room as they see fit. In that same spirit, the artist should also have control on where the markers spawn. This is where placeable markers come in
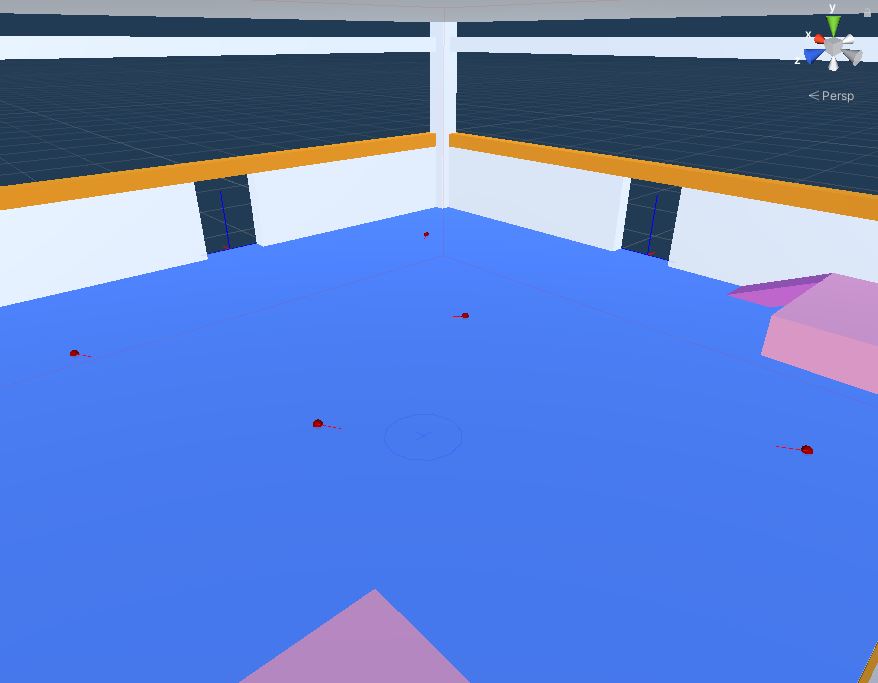
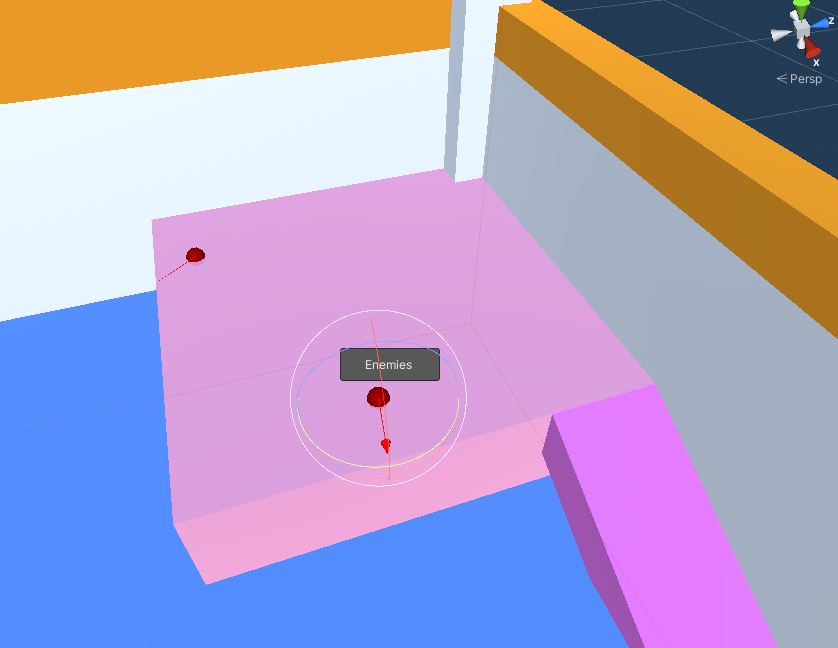
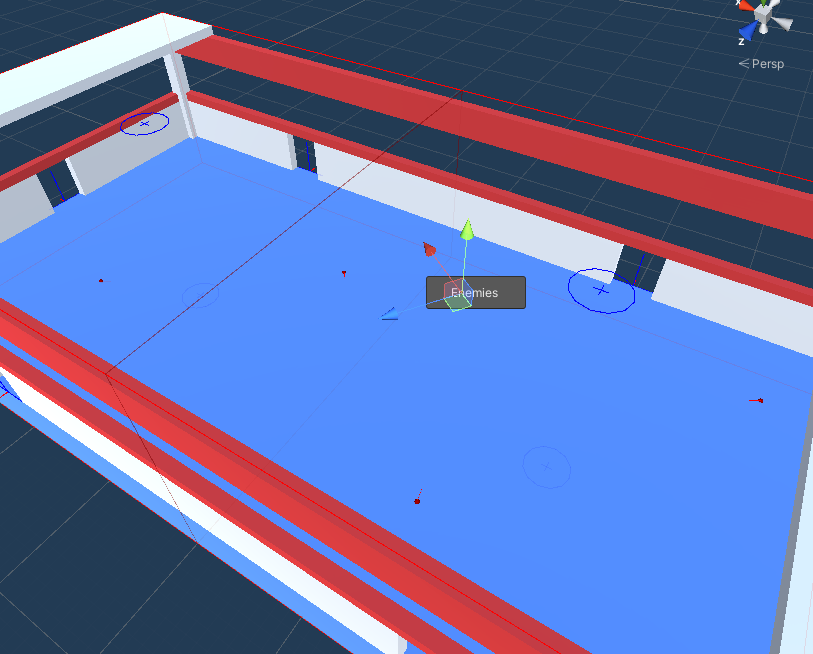
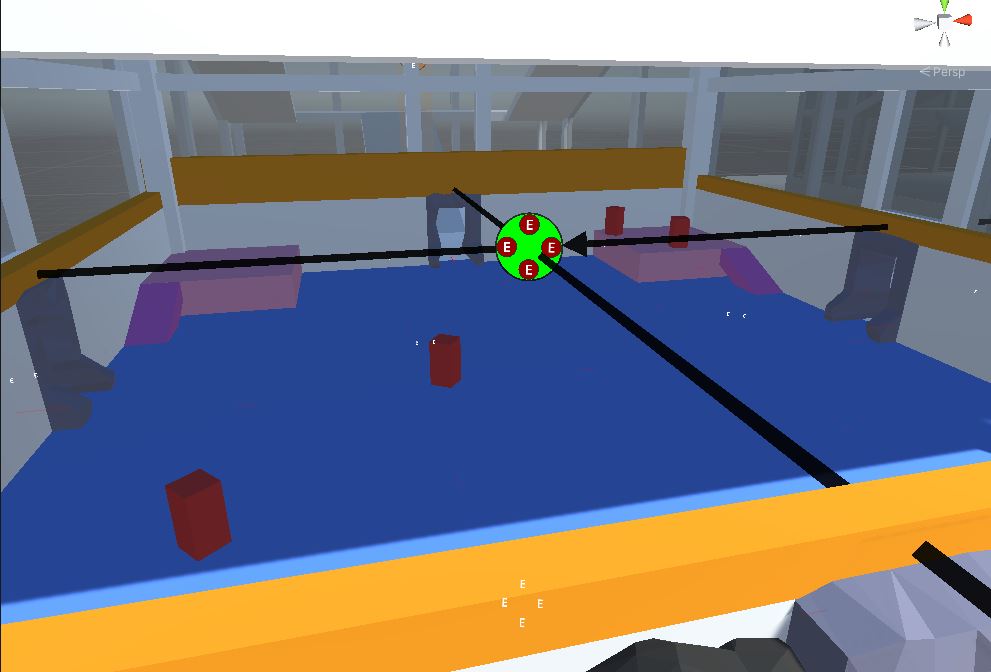
Drag drop the placeable marker prefab that you've created before, on to the scene
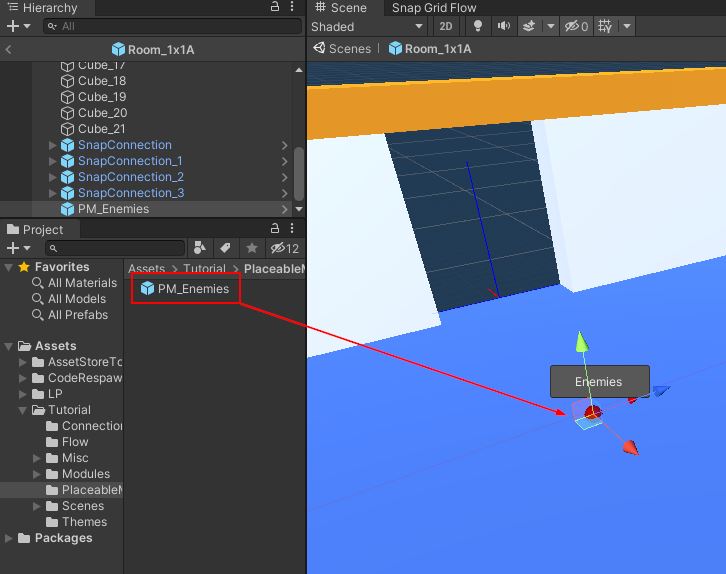
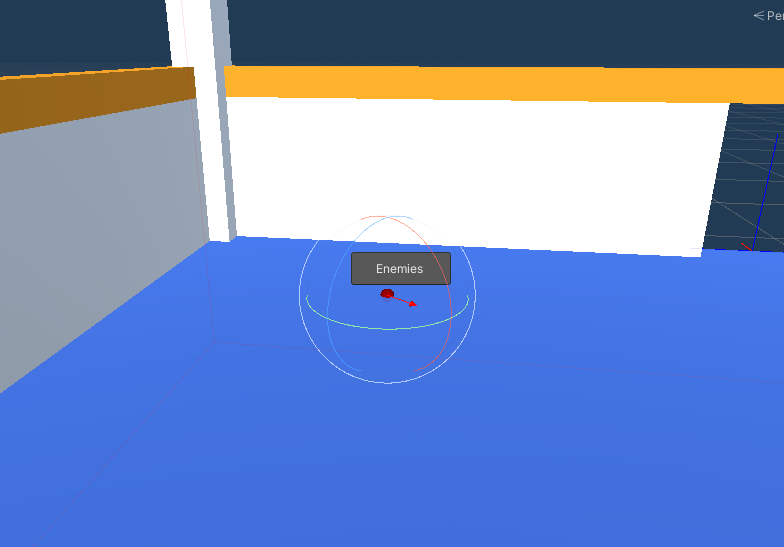
This will spawn a placeable marker game object on the scene. When selected, it shows the descripton (Debug Text) of the placeable marker.

Rotate the actor as needed. The red arrow shows the orientation of the marker. When the theme engine spawns an actor here, it will do so with this rotation
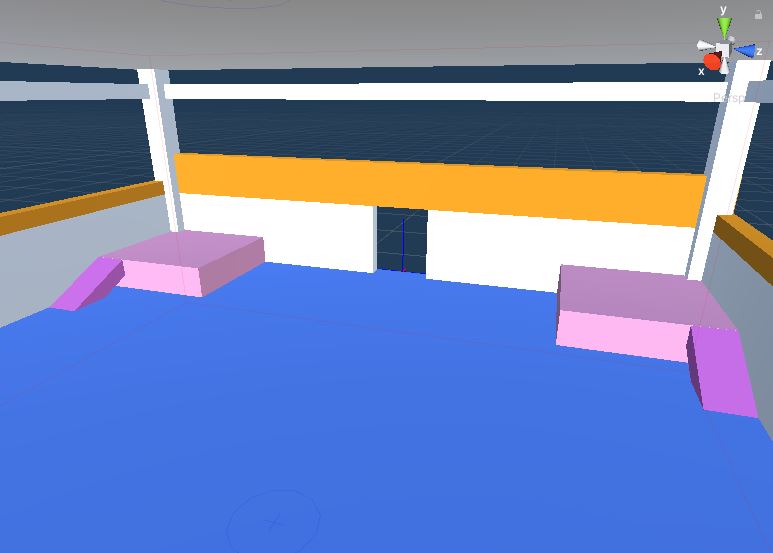
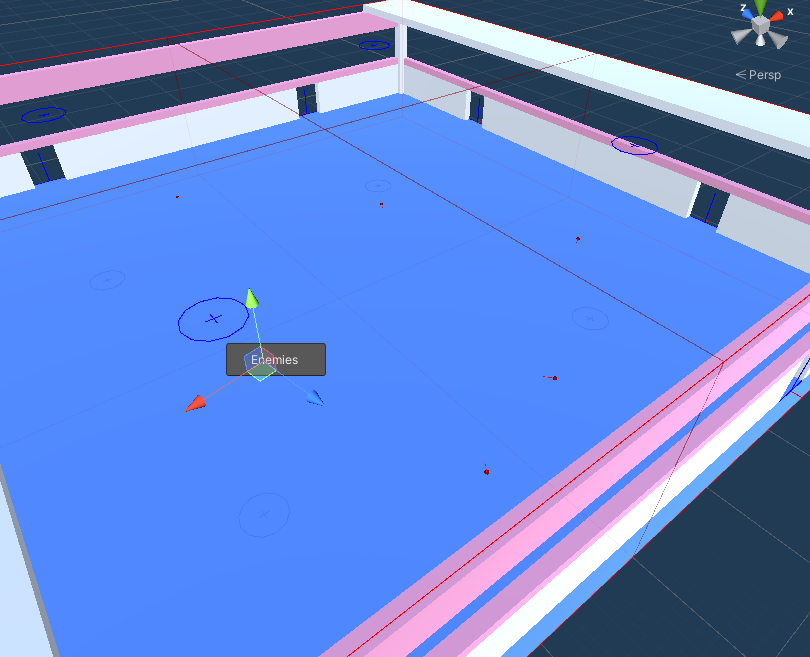
Add a few more markers. Add at least 4 markers, since we are adding a maximum of 4 enemy items per node in the
flow graph using Spawn Item, but adding more is always better
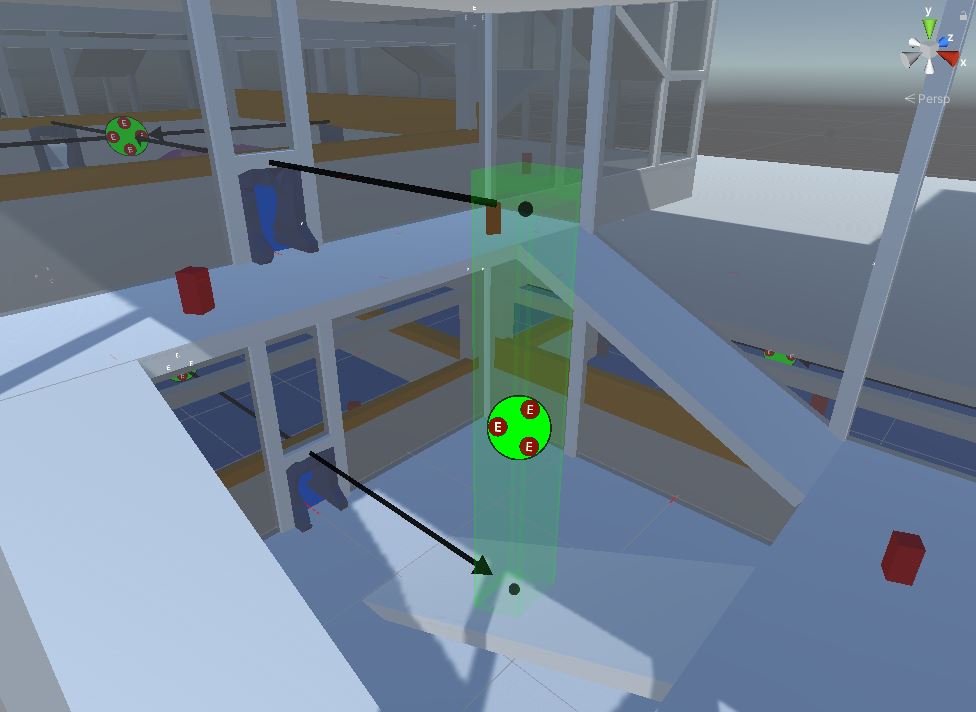
We'll add a few more on top of the ramp
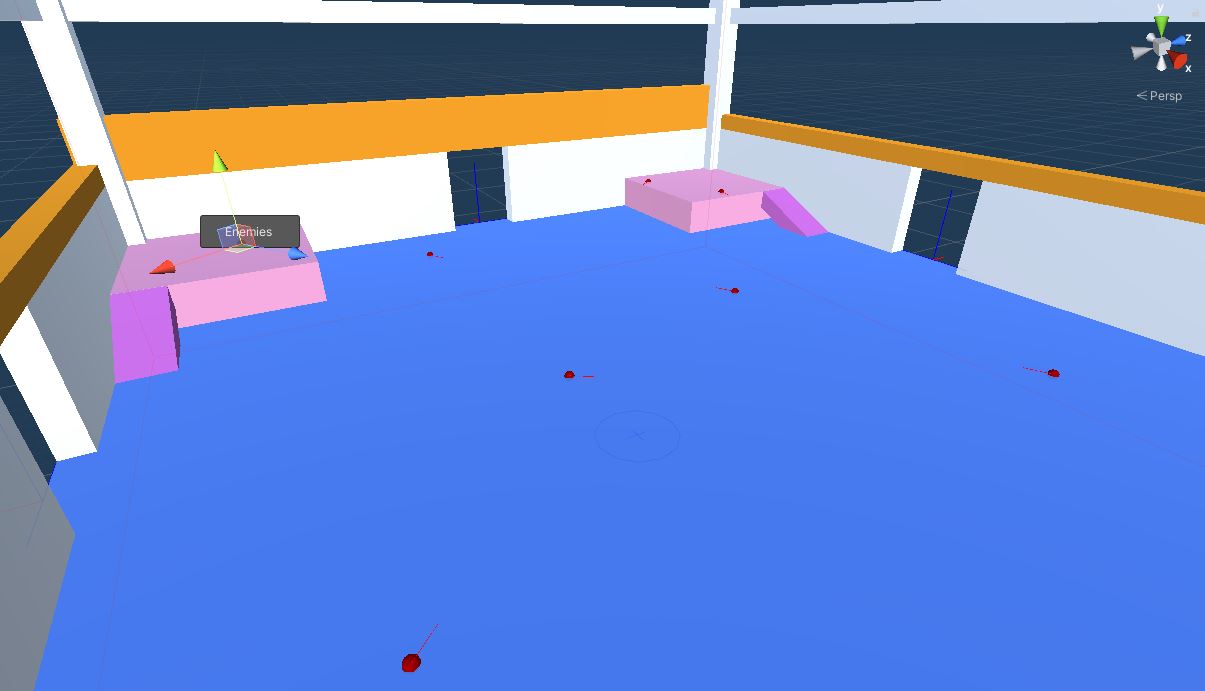
Do this for all the modules you've created so far that would need this marker in it
Open up the Lift module and add a few more placeable markers there


Open up the 2x1x1 and 2x2x2 Room modules and add the markers there as well
Rebuild Module Database Cache
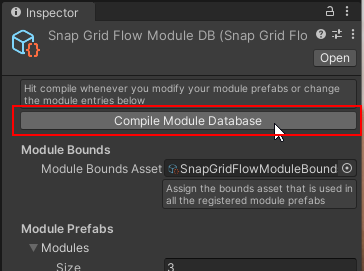
If you add / remove a placeable marker from a snap module, you'll need to rebuild the module database cache
Select the Module database asset that we created in the previous section and in the inspector, click Build Module Cache button.
Save the module database asset

This is an important step. Remember to rebuild the cache when needed
Update Theme File
We'll use a theme file to actually spawn our enemy prefab.
Open Theme Editor
Open up the existing theme file we created in the previous section.

Double click on the theme asset to open the theme editor
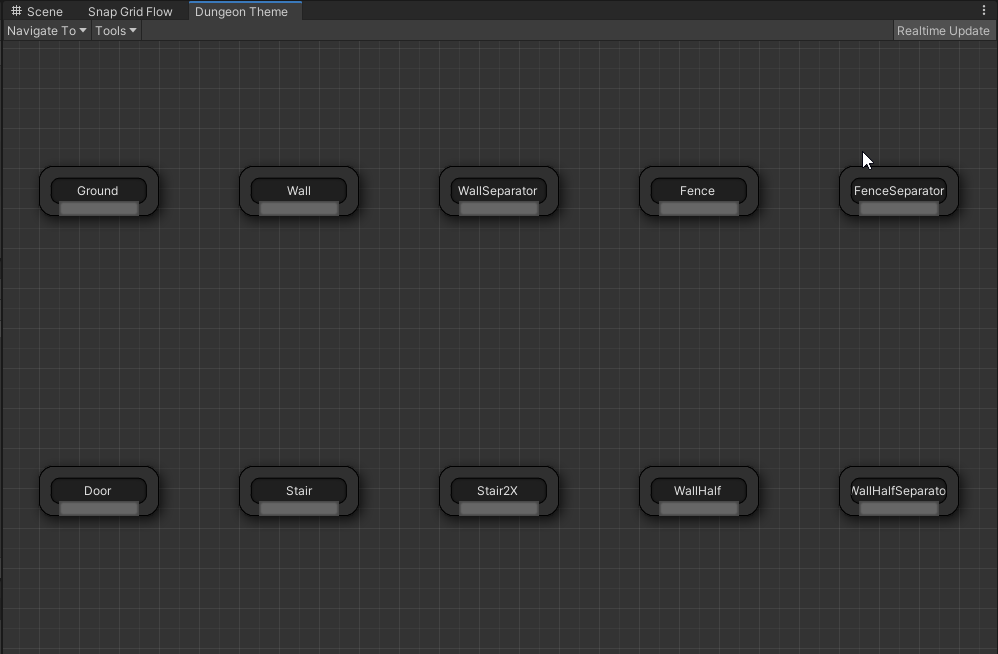
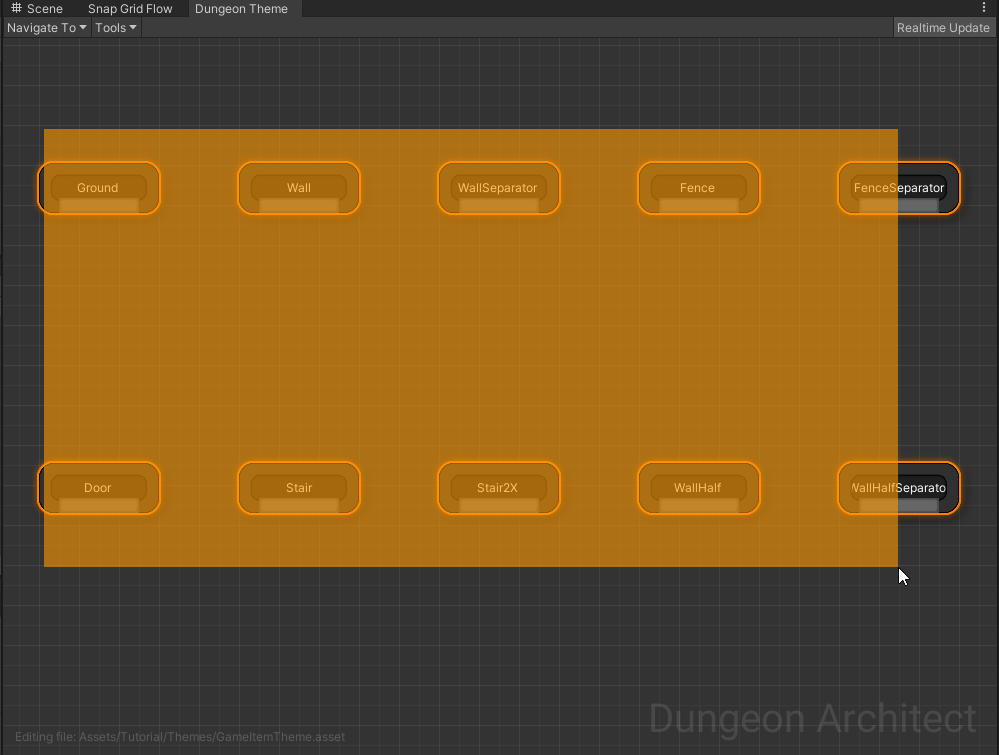
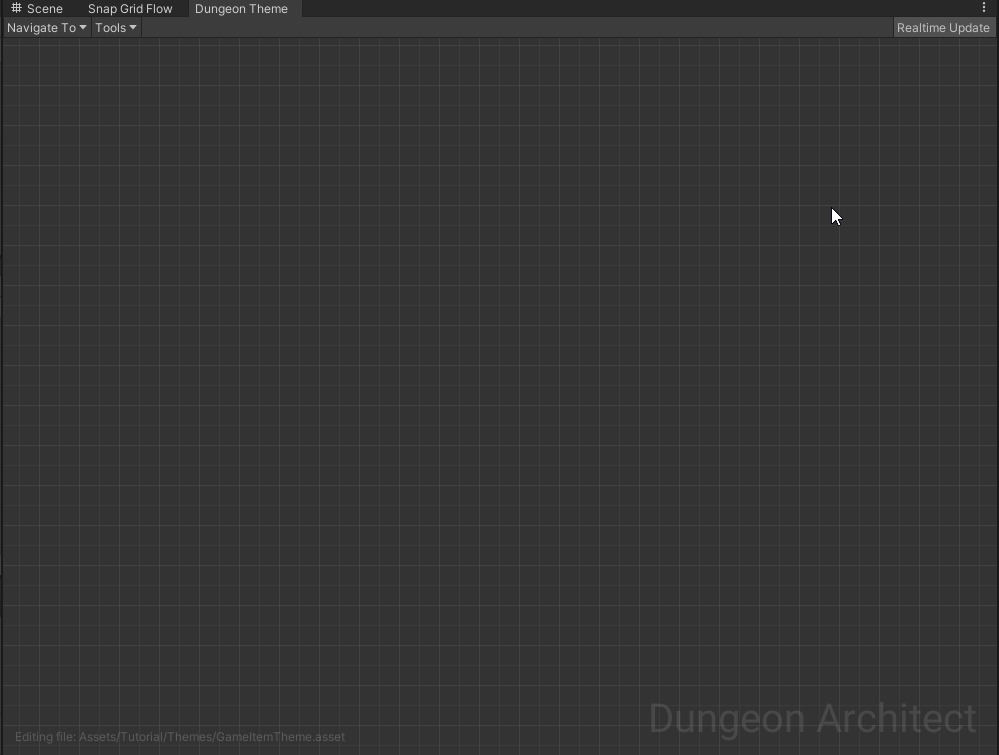
Box select all the marker nodes and delete them
Create Marker
In the previous section, we assign the marker name of Grunt in the Spawn Items node. In the theme file, we'll
create a new marker node and name it Grunt
Right click on the graph and choose Add Marker Node

Select the marker node and from the inspector, change the Marker name to Grunt


Add Enemy prefab
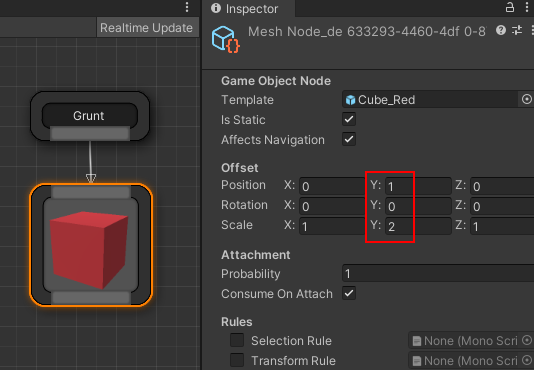
Add your NPC character prefab here. For this tutorial, we'll add a cube and adjust the size and scale
Navigate to Assets > CodeRespawn > DungeonArchitect_Samples > Demo_Theme_SimpleShapes > Prefabs and drop in Cube_Red and connect it the Grunt marker node to it
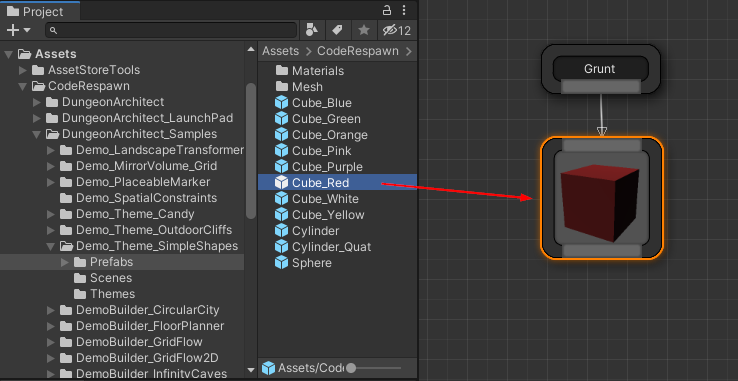
Select the cube node that you just dropped and adjust the scale and position
Save and close the Theme Editor
Build Dungeon
Open the map where we previously configured our dungeon and build it.
You'll see that enemies start to spawn at the locations where you've placed the markers
You can use this system to spawn anything (treasure chests, weapon racks, power ups or any gameplay prefab)